Beyond the Bloom: Mastering the Art of Dasiphora Arbuscula Propagation
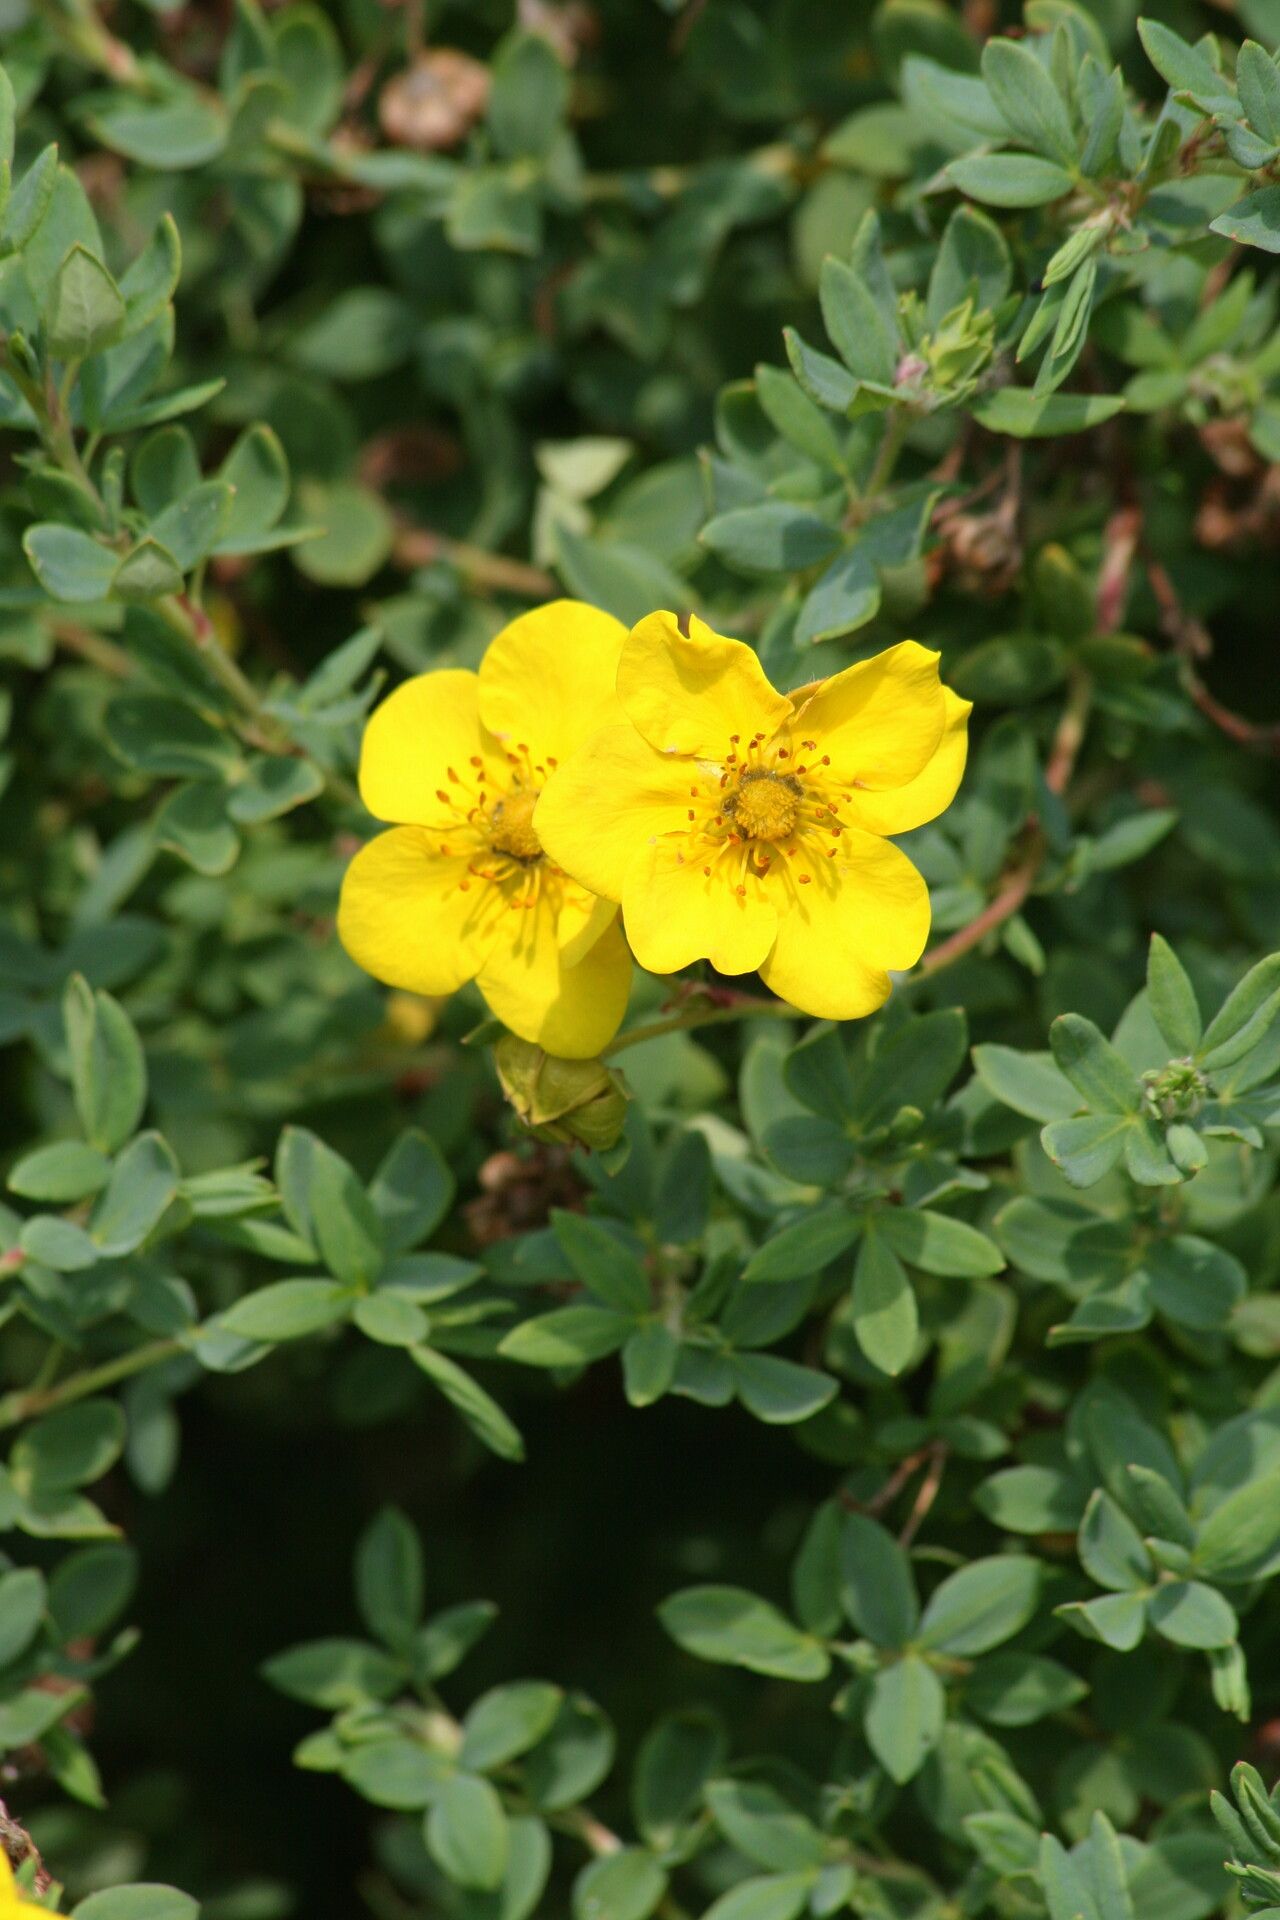
Dasiphora arbuscula, more commonly known as shrubby cinquefoil or golden hardhack, with its cheerful yellow blooms and hardy nature, is a welcome addition to any garden. But have you ever thought about multiplying your sunny delight and spreading the joy? Propagating Dasiphora arbuscula is a rewarding endeavor, even for beginner gardeners. Let’s explore the two main methods that will have you growing new plants like a seasoned pro.
Method 1: Cuttings – A Step towards Green Thumb Greatness
Taking cuttings is the most popular method for propagating Dasiphora arbuscula. It’s relatively simple, boasts high success rates, and allows you to create exact replicas of your cherished plant. Here’s a step-by-step guide:
Timing is Key: The ideal time to take cuttings is late spring or early summer when the plant is actively growing.
Selecting the Perfect Cuttings: Look for healthy, non-flowering stems that are about 4-6 inches long. Using a clean, sharp knife or gardening shears, make a cut just below a leaf node (the bump where leaves grow).
Preparing the Cuttings: Remove the leaves from the bottom third of the cutting. Dip the cut end in rooting hormone (this encourages root development but is optional).
Planting the Cuttings: Fill a small pot with a well-draining potting mix. Make a hole in the mix with a pencil and gently insert the cutting, ensuring the bottom node is buried.
Creating a Humid Environment: Cover the pot with a plastic bag or use a propagation dome to maintain humidity. Place the pot in a bright location out of direct sunlight.
- Patience is a Virtue: Keep the potting mix consistently moist but not soggy. In a few weeks, you should see new growth, indicating successful rooting. Once roots develop, you can transplant your new Dasiphora arbuscula plantlets into larger pots or directly into your garden.
Method 2: Seed Starting – Embracing a Touch of the Unexpected
Propagating Dasiphora arbuscula from seeds is a bit more adventurous. While it might require a touch more patience, it offers the potential for exciting variations in the offspring. Here’s what you need to do:
Harvesting the Seeds: In late summer or early fall, collect the small, dry seed heads from the Dasiphora arbuscula. Store them in a cool, dry place until you’re ready to sow.
Cold Stratification – Nature’s Head Start: Dasiphora arbuscula seeds benefit from a period of cold stratification to simulate natural winter conditions. Mix the seeds with a bit of damp sand or vermiculite, place them in a sealed bag, and store them in the refrigerator for about 4-6 weeks.
Sowing the Seeds: Once stratified, sow the seeds in seed trays or pots filled with a seed-starting mix. Press them lightly into the surface and cover them with a thin layer of vermiculite or soil.
Providing the Right Conditions: Keep the seed trays in a bright location with indirect light. Maintain a temperature of around 65-70°F (18-21°C). Mist the soil regularly to keep it consistently moist.
- Germination Time: Germination can take anywhere from a few weeks to a couple of months. Once the seedlings have developed a couple of true leaves, you can transplant them into individual pots.
Reaping the Rewards of Your Propagation Journey
Whether you choose the relative simplicity of cuttings or the element of surprise with seed starting, propagating Dasiphora arbuscula is a rewarding experience. You not only get to expand your garden with these vibrant beauties but also connect with the plant on a deeper level. So, grab your gardening gloves, choose your adventure, and let the propagation begin!