Unlocking the Secrets of Cyrtopodium macrobulbon Propagation: A Guide to Multiplying Your Orchid Beauty
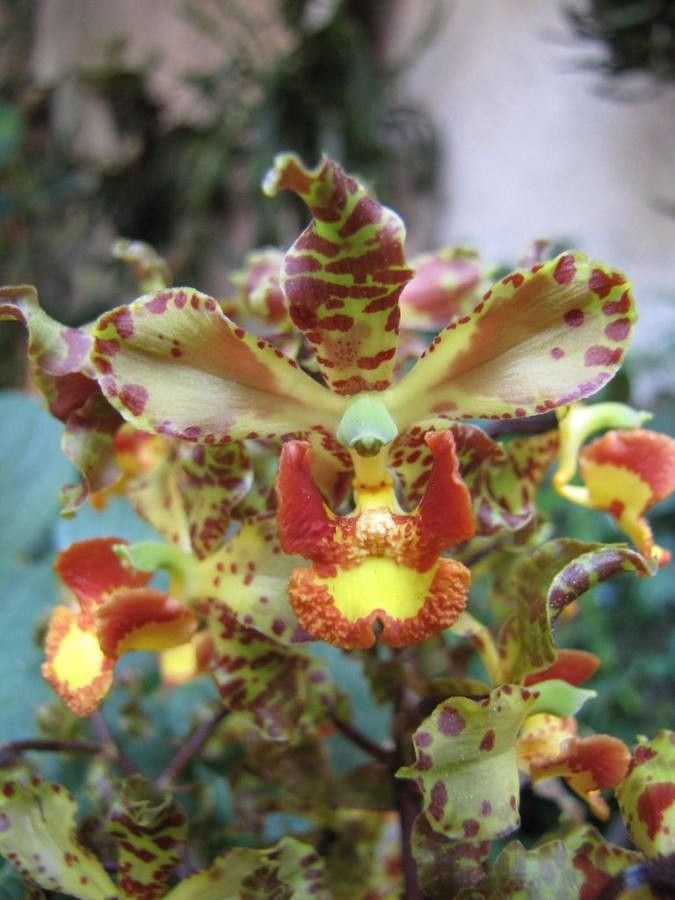
The Cyrtopodium macrobulbon, with its towering inflorescences of vibrant yellow blooms, is a sight to behold. This impressive orchid, native to South America, isn’t just a feast for the eyes; it’s also surprisingly manageable to propagate, even for orchid enthusiasts with slightly less-than-green thumbs.
If you’re eager to multiply your Cyrtopodium macrobulbon and share its beauty, you’re in the right place. Let’s explore the two most effective methods: division and backbulb propagation.
Method 1: Division – The Art of Separation
Division is the most common and arguably the easiest method for propagating Cyrtopodium macrobulbon. This technique takes advantage of the plant’s natural growth habit of forming clusters. Here’s how it works:
- Timing is Key: The best time to divide your
Cyrtopodium macrobulbonis during spring, just before the new growth cycle begins. - Careful Extraction: Gently remove the orchid from its pot. Loosen the potting medium and try to untangle the roots as much as possible without causing damage.
- Identify Division Points: Look for natural breaks in the rhizome, the horizontal stem that connects the pseudobulbs (the orchid’s water and nutrient storage organs). Each division should have at least 3-4 healthy pseudobulbs with a healthy root system.
- Making the Cut: Using a sterilized knife or shears, carefully separate the rhizome at the identified division points.
- Potting the Divisions: Plant each division in a well-draining orchid mix. Ensure the base of the pseudobulbs is at or slightly above the potting mix level. Water sparingly until new growth emerges.
Method 2: Backbulb Propagation – Breathing Life into Old Growth
Backbulb propagation, while slightly more challenging, allows you to utilize older, leafless pseudobulbs to generate new plants. Here’s a step-by-step guide:
- Selecting Backbulbs: Choose plump, healthy backbulbs that show no signs of disease or damage.
- Prepping the Backbulbs: Remove any dry sheaths or debris from the backbulbs. You can optionally dust the base with rooting hormone to encourage root development.
- Creating the Right Environment: Place the backbulbs in a shallow tray filled with moist sphagnum moss or a very fine orchid bark mix. Ensure the base of the backbulb sits on the surface of the medium.
- Warmth, Humidity, and Patience: Cover the tray with a clear plastic lid or wrap to maintain high humidity and place it in a warm, bright location. Avoid direct sunlight. New growth can take several weeks or even months to appear.
- Potting the New Shoots: Once new shoots with roots emerge, carefully detach them from the backbulb and pot them in a well-draining orchid mix as you would with divisions.
Post-Propagation Care: Nurturing New Beginnings
Whether you choose division or backbulb propagation, providing the right care for your new Cyrtopodium macrobulbon plants is crucial for their success:
- Bright, Indirect Light: Place your plants in a location with bright, indirect sunlight. Avoid direct sunlight, which can scorch the leaves.
- Warm Temperatures: Maintain a warm temperature range between 65-85°F (18-29°C) for optimal growth.
- High Humidity:
Cyrtopodium macrobulbonprefers moderate to high humidity levels. Misting the plants regularly or using a humidifier can help. - Watering Wisely: Water your orchids thoroughly when the potting mix approaches dryness. Avoid overwatering, which can lead to root rot.
Propagating your Cyrtopodium macrobulbon is a rewarding experience that allows you to expand your orchid collection and share the joy of these magnificent plants. With a bit of patience and the right knowledge, you can successfully multiply these stunning orchids and enjoy their breathtaking beauty for years to come.