
Unlocking the Secrets of Anthurium bakeri Propagation: A Complete Guide
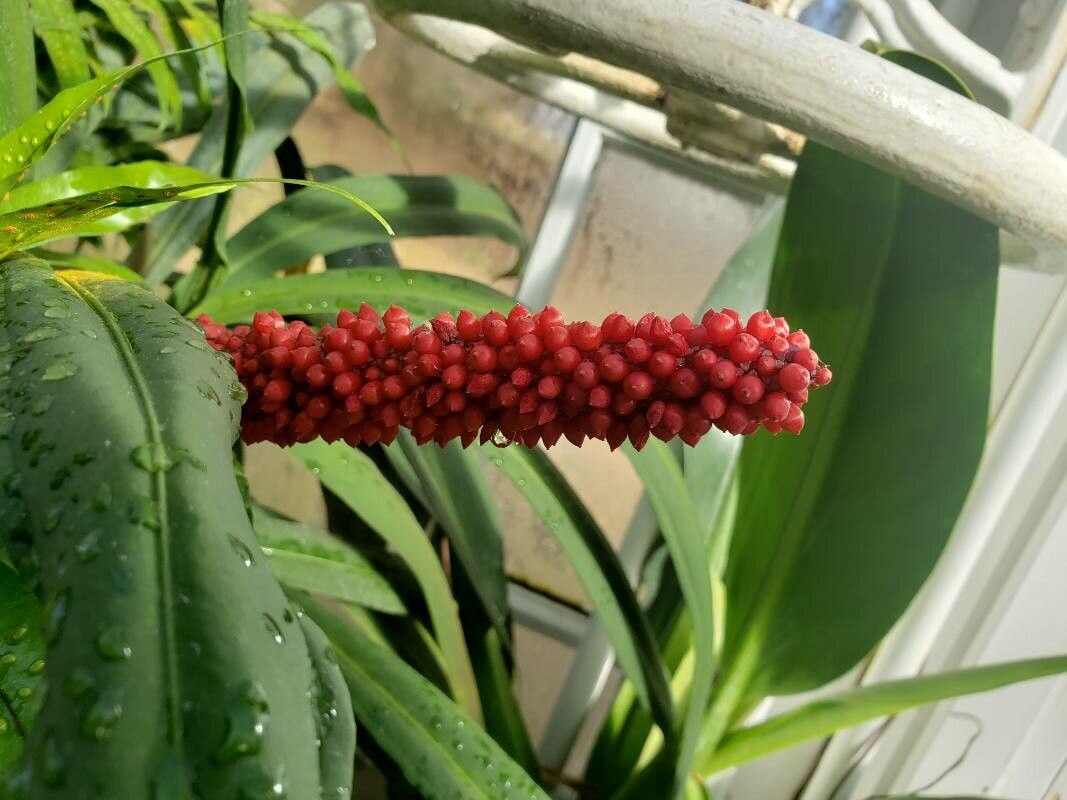
Anthurium bakeri, with its long, elegant leaves and unique inflorescence, brings a touch of the tropics to any plant lover’s home. While finding this beauty in a local nursery can be a treat, wouldn’t it be even more satisfying to propagate your own thriving colony? This guide will demystify the process of Anthurium bakeri propagation, empowering you to expand your plant family with ease.
Understanding the Basics
Before embarking on your propagation journey, familiarize yourself with this unique Anthurium species. Unlike some of its cousins, Anthurium bakeri doesn’t readily produce offshoots or “pups.” This means we need to turn our attention to other methods, specifically:
- Stem Cuttings: This is the most reliable method for propagating Anthurium bakeri.
- Seed Propagation: While possible, this method is less common, more time-consuming, and requires a bit of luck.
Mastering the Art of Stem Cuttings
- Timing is Key: Spring and early summer are ideal periods for taking cuttings, coinciding with the plant’s active growing season.
- Tools of the Trade: Gather clean, sharp pruning shears or a knife, a well-draining potting mix (ideally a blend formulated for Aroids), small pots, and rooting hormone (optional but recommended).
- Making the Cut:
- Select a healthy stem with at least two nodes (small bumps on the stem where roots will emerge).
- Using your sterilized cutting tool, make a clean cut just below a node.
- Remove any leaves from the lower node, as these will be submerged in the potting mix.
- Rooting Hormone Boost (Optional): Dipping the cut end in rooting hormone can significantly increase your success rate by promoting faster root development.
- Planting and Patience:
- Plant the cutting in your prepared pot, ensuring the lower node is buried.
- Water well, and place the pot in a warm, humid environment with bright, indirect light.
- Avoid direct sunlight, which can scorch the developing roots.
- Monitoring Progress:
- Maintain consistent moisture without overwatering.
- Rooting can take several weeks to a couple of months. You’ll know it’s successful when you see new growth emerging from the cutting.
The Challenge of Seed Propagation
If you feel adventurous and patient, you can try propagating Anthurium bakeri from seeds. However, this method is more challenging for several reasons:
- Seed Availability: Finding viable seeds can be difficult, as Anthurium bakeri doesn’t readily produce them in cultivation.
- Pollination: These plants need a helping hand with pollination. You’ll need to hand-pollinate the flowers to encourage seed production.
- Lengthy Process: Seed germination can be unreliable and may take months.
Nurturing Your New Anthurium Bakeri
Successfully propagating your Anthurium bakeri is a rewarding experience. Once your new plants are established, provide them with the same care as their parent plant:
- Bright, Indirect Light: Mimic their natural rainforest habitat by providing ample indirect sunlight.
- Well-Draining Soil: Use a chunky, airy mix formulated for Aroids or epiphytes.
- Consistent Moisture: Water thoroughly when the top inch of soil is dry. Avoid overwatering, which can lead to root rot.
- Warm Temperatures: Keep them happy in a warm environment (65-85°F).
By following these steps and exercising a little patience, you’ll soon be surrounded by a flourishing collection of Anthurium bakeri, a testament to your plant propagation prowess!