Unlocking the Secrets of Erythrococca bongensis: A Guide to Propagation
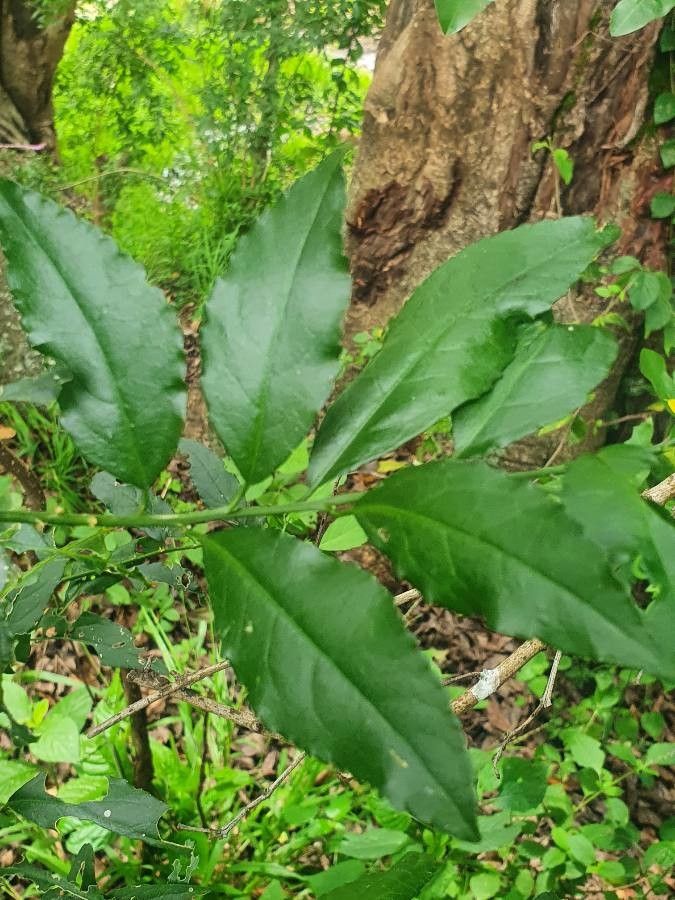
Erythrococca bongensis, a name that might sound like a mouthful, belongs to a captivating plant with a unique charm. Native to the tropical rainforests of Africa, this evergreen shrub, with its glossy leaves and clusters of bright red berries, can be a showstopper in any plant lover’s collection. But how do you go about adding this exotic beauty to your own indoor jungle? That’s where propagation comes in.
While information on Erythrococca bongensis is relatively scarce, propagation from seeds is believed to be the most common and successful method. So, let’s dive into the step-by-step process:
1. Sourcing Your Seeds:
Finding Erythrococca bongensis seeds might be the trickiest part. Online marketplaces specializing in rare seeds are your best bet. When purchasing, ensure the seller is reputable and provides fresh, viable seeds.
2. Preparing for Sowing:
- The Right Mix: These seeds perform best in a well-draining, slightly acidic soil. A mixture of peat moss, perlite, and vermiculite in equal parts should do the trick.
- Container Selection: Choose a shallow tray or small pots with good drainage holes.
- Pre-Sowing Treatment: While not mandatory, soaking the seeds in lukewarm water for 24 hours before sowing can encourage faster germination.
3. Sowing the Seeds:
- Gentle Placement: Place the seeds on the surface of the prepared soil mix, leaving a little space between each one.
- Light Covering: Since these seeds require light to germinate, only lightly press them into the soil or sprinkle a thin layer of vermiculite on top.
- Mist and Warmth: Mist the soil surface with water, ensuring it’s damp but not waterlogged. Place the container in a warm, well-lit location, but out of direct sunlight. A heat mat can be beneficial to maintain a consistent temperature of around 70-75°F (21-24°C).
4. Patience is Key:
Germination can be a waiting game, potentially taking several weeks to a few months for Erythrococca bongensis. During this time:
- Maintain Moisture: Keep the soil consistently moist by misting regularly. Avoid overwatering, as it can lead to damping off (a fungal disease that affects seedlings).
- Monitor Growth: Once the seedlings emerge and have a couple of sets of true leaves, you can start thinning them out if they’re crowded.
5. Transplanting to Individual Pots:
When the seedlings are a few inches tall and have well-developed roots, they’re ready for their own pots. Choose a pot slightly larger than the root ball and use the same well-draining soil mix as before.
6. Nurturing Your Erythrococca bongensis:
- Light Requirements: This plant thrives in bright, indirect light. Avoid direct sunlight, especially during the hottest hours.
- Watering Needs: Water thoroughly when the top inch of soil feels dry. Don’t let the soil completely dry out, but be wary of overwatering.
- Humidity Preference: As a tropical plant, Erythrococca bongensis enjoys humidity. Placing a humidifier nearby, grouping plants together, or placing the pot on a tray with pebbles and water can all raise the humidity levels.
- Feeding Schedule: Fertilize your plant during the growing season (spring and summer) with a balanced, diluted liquid fertilizer every 4-6 weeks.
Propagating Erythrococca bongensis might require some patience and dedication, but the reward of witnessing these unique plants flourish from seed is well worth the effort. With the right care, you can enjoy the beauty of this exceptional species in your own home for years to come.