From Seed to Success: Propagating Your Very Own Acerola Cherry (Malpighia linearis)
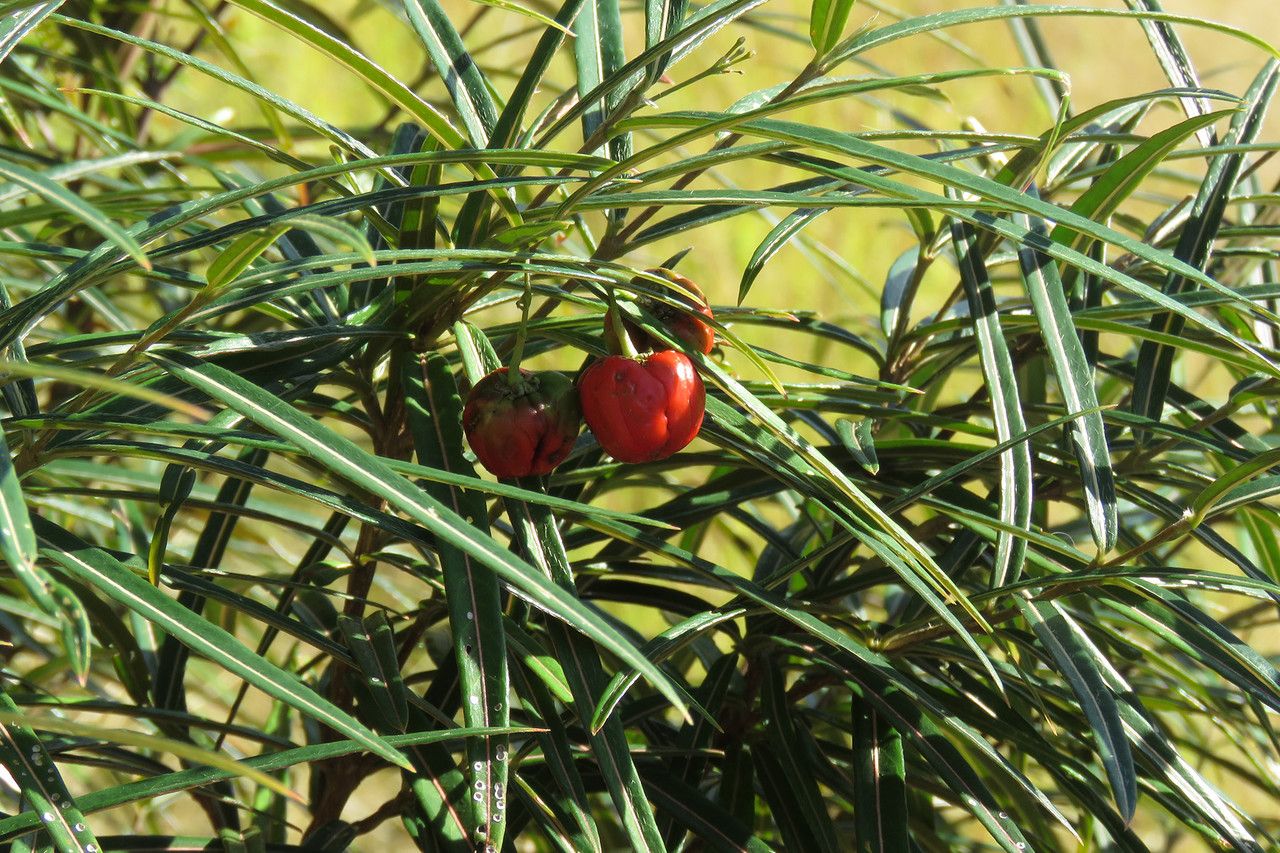
The Acerola cherry, scientifically known as Malpighia linearis, is more than just a pretty name. This vibrant shrub, native to South America and the Caribbean, boasts tart and tangy fruit bursting with Vitamin C. While readily available for purchase, wouldn’t it be rewarding to grow your own Acerola cherry from scratch? Let’s dive into the fascinating world of Malpighia linearis propagation, exploring both seed and cutting methods.
Method 1: The Seed Route – A Test of Patience
Propagating Acerola cherries from seed is an adventure for those who enjoy a little challenge and anticipation. Here’s a step-by-step guide:
- Seed Extraction: Your journey begins with fresh, ripe Acerola cherries. Extract the seeds, ensuring they are clean and free from any fruit pulp.
- Breaking Dormancy: Acerola seeds have a tough outer shell that requires a little nudge to encourage germination. You can achieve this by gently nicking the seed coat with a file or soaking the seeds in warm water for 24 hours.
- Sowing the Seeds: Use a well-draining seed starting mix. Sow the seeds about half an inch deep and mist the soil with water.
- Warmth and Humidity are Key: Acerola seeds thrive in warm, humid conditions. Consider using a heat mat set to around 75-80°F (24-27°C) and covering the seed tray with a humidity dome or plastic wrap to create a mini-greenhouse effect.
- Patience is a Virtue: Germination can be erratic, ranging from a few weeks to a few months. Be patient, keep the soil consistently moist, and provide bright, indirect sunlight.
Method 2: Cuttings – A Quicker Route to Fruition
If you desire faster results and a genetically identical plant, propagating through cuttings is the way to go. Follow these steps:
- Choosing the Right Cuttings: Select healthy, semi-hardwood cuttings from new growth. Ideally, the cuttings should be 4-6 inches long and have at least 2-3 nodes (the bumps where leaves emerge).
- Preparing the Cutting: Remove the leaves from the lower half of the cutting.
- Rooting Hormone – Your Secret Weapon: While not essential, dipping the cut end of the cutting in a rooting hormone powder can significantly increase your success rate.
- Planting the Cutting: Choose a well-draining potting mix and insert the bottom node of the cutting into the soil.
- Humidity is Crucial: Create a humid environment by placing a clear plastic bag over the pot or using a humidity dome. This helps retain moisture and encourages root development.
- Light and Warmth: Place the pot in a well-lit area but avoid direct sunlight. Maintain a warm temperature similar to seed propagation.
- Root Development: In about 4-6 weeks, you should notice new growth, indicating successful rooting. You can gently tug on the cutting to check for resistance.
Nurturing Your Acerola Cherry
Once your Acerola cherry has rooted, whether from seed or cutting, it’s time to provide the ideal growing conditions:
- Sunlight: Acerola cherries thrive in full sun but can tolerate partial shade.
- Soil: Well-drained soil is crucial. A slightly acidic to neutral pH is preferred.
- Water: Water regularly, especially during the growing season, but avoid overwatering.
- Fertilizer: Feed your plant with a balanced fertilizer every 4-6 weeks during the growing season.
Propagating Malpighia linearis may take a little time and effort, but the reward of harvesting your own vitamin-rich Acerola cherries is well worth it. So, roll up your sleeves, choose your preferred method, and embark on this exciting journey of plant propagation!