Unleashing the Fiery Beauty of Heliconia Marginata: A Propagation Guide
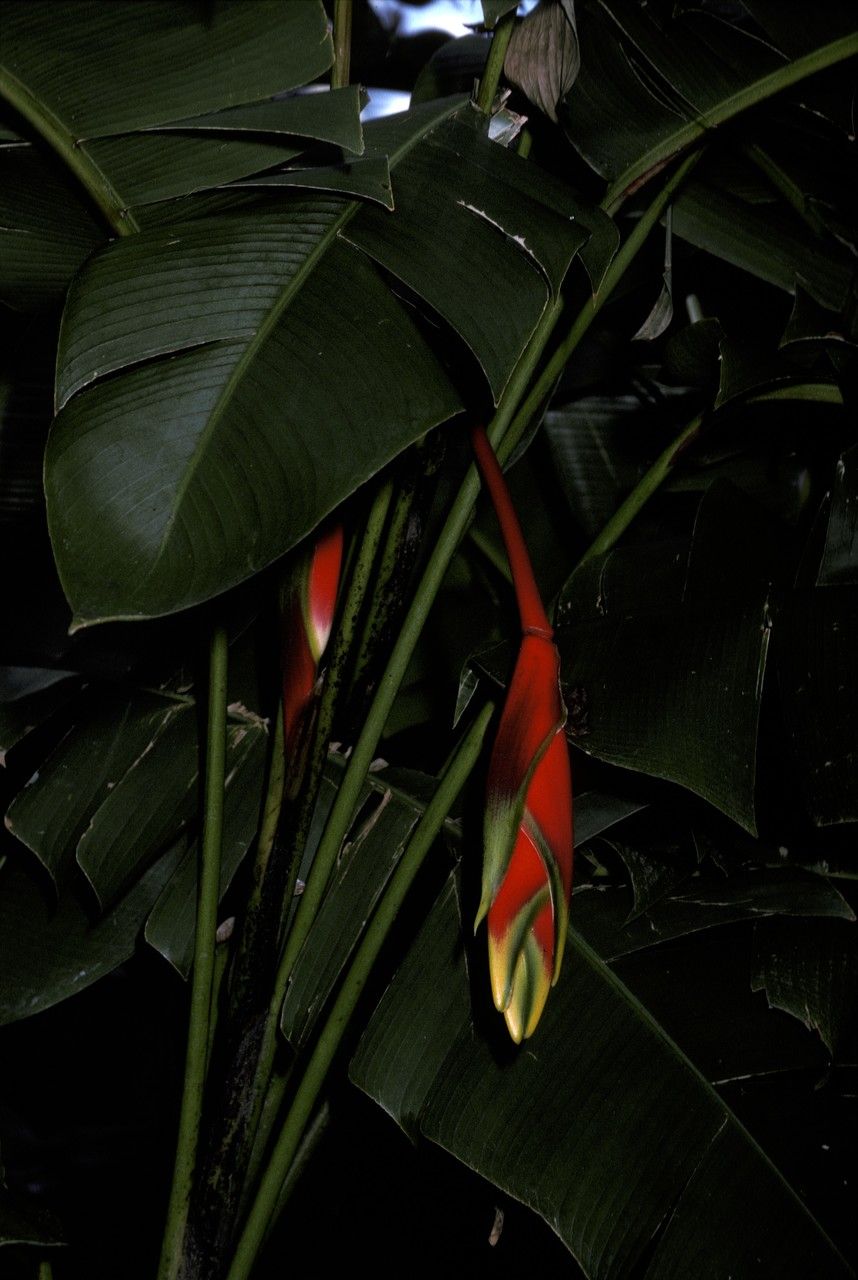
Heliconia marginata, with its vibrant, fiery-red bracts that resemble lobster claws, is a showstopper in any tropical garden. This striking plant, native to Central and South America, instantly adds a touch of exotic drama and lush greenery to landscapes. But did you know that propagating your own Heliconia Marginata is easier than you think? Let’s dive into the world of multiplying this tropical beauty!
Two Paths to Propagation Paradise
There are two primary methods for propagating Heliconia Marginata: division and rhizome cuttings. Both are relatively straightforward and offer high success rates when done correctly.
1. Division: Separating for Success
Heliconia Marginata grows in clumps, arising from underground rhizomes (modified stems). Division capitalizes on this natural growth habit. Here’s how it’s done:
- Timing is Key: The best time for division is during the spring, just as new growth begins to emerge.
- Unearth Gently: Carefully dig around the base of the clump, ensuring you don’t damage the rhizomes.
- Divide and Conquer: Look for natural separation points within the clump. Each division should have a healthy amount of roots and at least two to three shoots. A sharp, clean knife or garden shears will come in handy here.
- Replant and Thrive: Plant the divisions in well-draining soil, enriched with compost, at the same depth they were originally growing. Water thoroughly and keep the soil consistently moist as the new plants establish themselves.
2. Rhizome Cuttings: Slice, Plant, and Watch Them Grow!
Rhizome cuttings offer another effective way to multiply your Heliconia Marginata. This method involves taking sections of the rhizome and encouraging them to sprout new growth.
- The Hunt for Healthy Rhizomes: Gently unearth a section of rhizome from a mature, healthy plant. Choose sections that are firm with at least one visible node (a bump or slight swelling on the rhizome).
- Cut with Precision: Using a sterilized knife or shears, cut the rhizome into sections, ensuring each section has at least one node.
- Preparation is Key: Allow the cut sections to air dry for a few hours to discourage fungal problems. You can also dust the cut ends with a fungicide powder.
- Planting Time: Plant the sections horizontally in a shallow tray filled with a well-draining starting mix, ensuring the node is facing upwards.
- Patience is a Virtue: Keep the starting mix consistently moist and position the tray in a warm, bright location out of direct sunlight. It might take several weeks for new shoots to emerge.
- Transplanting Triumph: Once the new plants have developed a good root system and several leaves, they’re ready to be transplanted into individual pots or your garden.
Tips for Propagation Success:
- Well-draining Soil is a Must: Heliconia Marginata thrives in soil that drains well. Amend heavy clay soils with compost or sand to improve drainage.
- Light is Life: These tropical beauties prefer bright, indirect sunlight.
- Warmth is Essential: Heliconia Marginata thrives in warm temperatures above 65°F (18°C).
- Keep it Moist, Not Soggy: Water regularly, allowing the top inch of soil to dry out between waterings.
Propagating your own Heliconia Marginata is a rewarding experience. It’s a chance to expand your tropical garden, share this stunning plant with friends, and enjoy the satisfaction of growing something truly spectacular from scratch!