Unlocking the Secrets of Asplenium dareoides Propagation: A Guide to Multiplying Your Fern’s Majesty
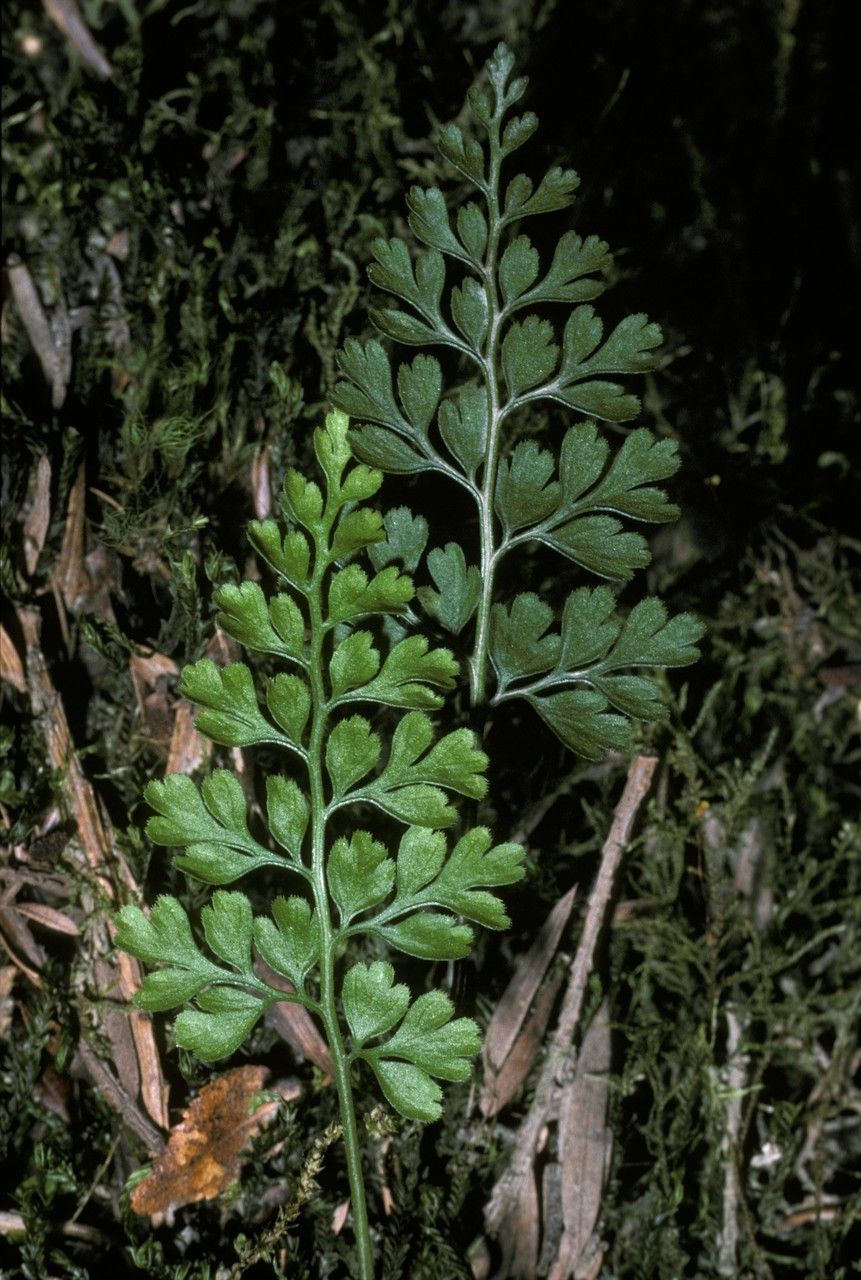
The Asplenium dareoides, with its delicate fronds resembling miniature bird’s nests, is a sight to behold. This epiphytic fern, often called the “Dareoides Bird’s Nest Fern”, adds a touch of verdant elegance to any space it graces. If you’re lucky enough to have one, you might be wondering how to propagate it and share its beauty. Fear not, fern enthusiasts! While propagating Asplenium dareoides might seem daunting, this guide will equip you with the knowledge to successfully multiply your leafy companion.
Understanding the Basics
Unlike many plants that propagate easily from cuttings or seeds, Asplenium dareoides presents a unique challenge. This fern reproduces through spores, tiny dust-like particles found on the undersides of its fronds. While a touch finicky, spore propagation is a rewarding process that allows you to witness the fern’s life cycle from its very beginning.
Spore Collection: Timing is Key
The first step is to identify mature spores. Look for dark brown, almost black, raised lines on the underside of the fronds. This indicates that the spore cases are ripe and ready to release their precious cargo. Gently scrape the spores onto a clean piece of white paper using a sharp knife or a credit card.
Creating the Ideal Spore Nursery
Asplenium dareoides spores require a sterile and humid environment to germinate. A simple and effective method is to use a clear plastic container with a lid. Fill it with a mixture of peat moss and perlite, moisten thoroughly, and sterilize the mix by microwaving it for a few minutes.
Sowing the Spores: Patience is a Virtue
Once the medium has cooled, sprinkle the spores thinly on the surface. Avoid burying them, as they need light to germinate. Mist the surface with distilled water and seal the container to maintain humidity. Place it in a brightly lit area, but out of direct sunlight, and maintain a temperature of 70-75°F (21-24°C).
Germination and Beyond
The waiting game begins! Spore germination can take anywhere from a few weeks to a couple of months. Resist the urge to open the container frequently, as this can introduce contaminants. Once you see a green film—a sign of germination—open the lid gradually to acclimate the young ferns to the outside air.
Transplanting: Handle with Care
When the ferns have developed a few sets of leaves (about the size of a dime), you can carefully transplant them into individual pots. Use a well-draining potting mix and maintain humidity until they become established.
Alternative Propagation Method: Division
Though not as common, mature Asplenium dareoides can sometimes be divided. Carefully separate the plant into sections, ensuring each division has healthy roots and fronds. Pot them individually, maintaining moisture and humidity until they establish themselves.
Propagation: A Labor of Love
Propagating Asplenium dareoides is a journey that requires patience and a gentle touch. However, the reward of witnessing the birth of new ferns and sharing their beauty is truly fulfilling. So, embrace the challenge, and let these enchanting ferns grace your home and the homes of your loved ones.