Taming the Rock Dweller: Propagating Cunonia rupicola
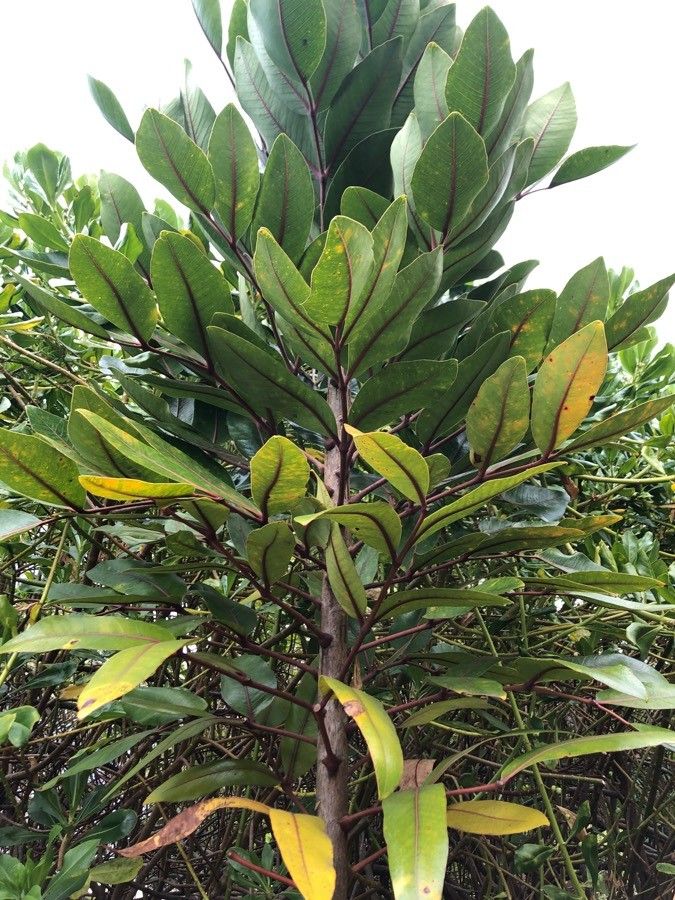
The Cunonia rupicola, also known as the Native Holly or Mountain Water Gum, is an Australian native boasting lush foliage and a charming, slightly unruly habit. This evergreen beauty, with its serrated, glossy leaves and clusters of creamy-white flowers, can truly elevate a garden’s appeal. While finding one at your local nursery might present a challenge, propagating your own Cunonia rupicola is an achievable feat for gardeners of all levels.
There are two primary methods for propagating Cunonia rupicola:
1. Seed Propagation:
- Source: Obtain fresh seeds from a mature plant’s capsules, ideally after they’ve turned brown and begun to open.
- Timing: Sow seeds in late spring or early summer when the soil is warm.
- Method:
- Use a well-draining seed raising mix, and sprinkle the seeds lightly on the surface.
- Lightly press the seeds into the mix but avoid burying them deeply.
- Mist the surface gently and enclose the container in a plastic bag or propagator to maintain humidity.
- Place the container in a warm, brightly lit location out of direct sunlight.
Germination can be erratic and may take anywhere from a few weeks to a couple of months. Be patient, and ensure the soil remains consistently moist but not waterlogged throughout this period.
2. Cutting Propagation:
- Source: Take semi-hardwood cuttings, ideally from new growth, in late spring or early summer.
- Preparation:
- Select healthy, non-flowering stems that are around 10-15cm long.
- Using a sharp, sterilized knife or pair of secateurs, make a clean cut just below a leaf node.
- Remove the leaves from the bottom third of the cutting.
- Rooting Hormone: While not strictly necessary, using a rooting hormone powder can significantly improve the success rate.
- Planting:
- Fill small pots with a well-draining cutting mix or a mixture of peat moss and perlite.
- Make a hole in the center of the mix with a pencil or your finger.
- Dip the cut end of the stem in rooting hormone (if using) and gently place it into the prepared hole.
- Firmly press the mix around the base of the cutting.
- Care:
- Water the cuttings thoroughly and place them in a warm, brightly lit location out of direct sunlight.
- Cover the pots with a plastic bag or place them in a propagator to maintain humidity.
Cuttings generally take 6-8 weeks to develop roots. You can test for root development by gently tugging on the cutting; resistance indicates roots are forming.
General Care for Young Cunonia rupicola:
Once your seeds have sprouted or your cuttings have developed roots, it’s crucial to provide the right environment for healthy growth:
- Light: They thrive in dappled shade to partial sun, but avoid intense, direct sunlight, especially during the hottest part of the day.
- Watering: Maintain consistent moisture, but avoid overwatering, which can lead to root rot. Allow the top inch of soil to dry out between watering.
- Soil: Use a well-draining, slightly acidic soil mix.
- Fertilizing: Feed your young plants with a balanced liquid fertilizer every 4-6 weeks during the growing season.
With patience and proper care, you can successfully propagate your own Cunonia rupicola and enjoy the unique beauty of this Australian native in your garden.