Taming the Forest Oak: A Guide to Propagating Allocasuarina torulosa
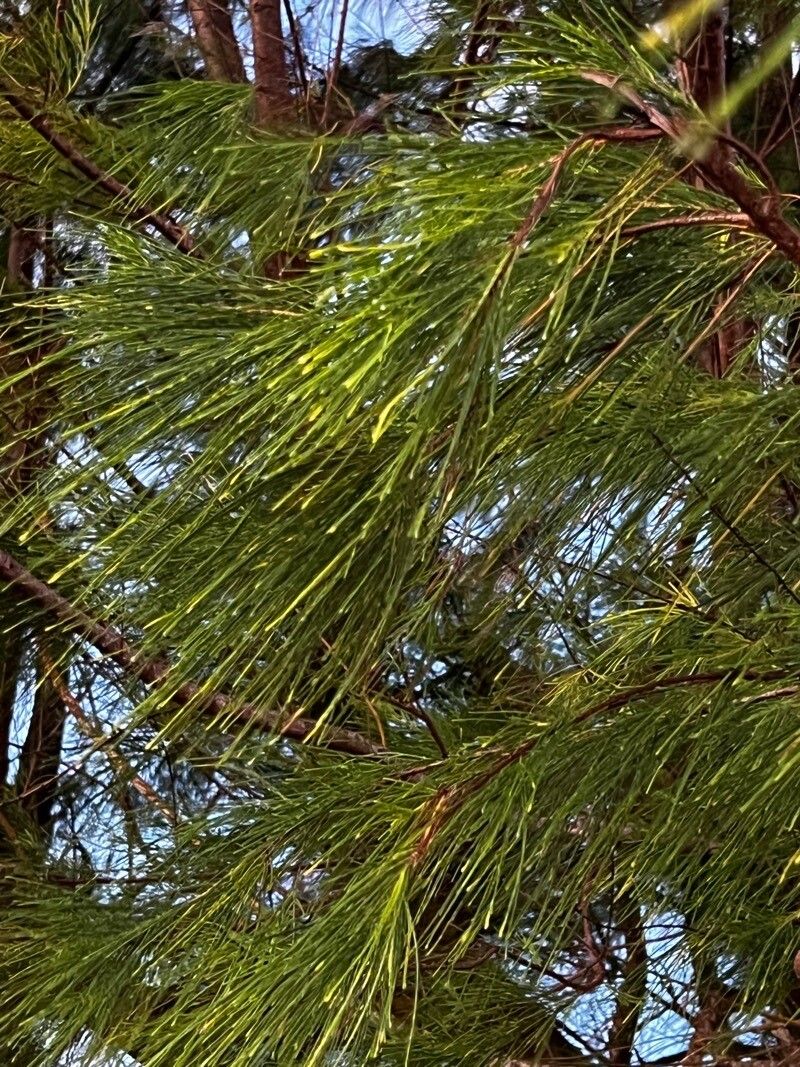
The Allocasuarina torulosa, more affectionately known as the Forest Oak or Rose Sheoak, is a striking evergreen native to Australia. Beloved for its unique, pine-like foliage and attractive corky bark, this tree adds a touch of dramatic beauty and textural interest to any landscape. While readily available in nurseries, propagating your own Forest Oak is a rewarding experience for any plant enthusiast.
Before we dive in, it’s important to note that the Forest Oak can be propagated through two primary methods: seeds and cuttings.
Seeding Success: A Labor of Patience
Step 1: Gathering Seeds:
The Forest Oak produces small, cone-like fruits that contain the seeds. Collect mature cones from a healthy tree, allowing them to dry fully. Once dry, gently crush the cones to release the seeds.
Step 2: Preparing for Sowing:
Use a well-draining seed-raising mix and fill small pots or seed trays. Moisten the mix before sowing.
Step 3: Sowing:
Sprinkle the seeds sparsely over the surface of the mix, covering them lightly with a thin layer of mix.
Step 4: Nurturing Germination:
Water gently and place the pots in a warm, bright location out of direct sunlight. Be patient; germination can take several weeks to a few months.
Step 5: Transplanting:
Once the seedlings have developed a strong root system and several sets of true leaves, they can be transplanted into larger pots or directly into the ground.
Cutting to the Chase: A Faster Approach
Step 1: Timing is Key:
Take cuttings in late spring or early summer when the new growth is semi-hardwood.
Step 2: Selecting the Perfect Cuttings:
Choose healthy, vigorous shoots that are around 10-15cm long. The best cuttings are taken from the current season’s growth.
Step 3: Preparing the Cuttings:
Remove the lower leaves from the cutting, leaving only a few at the top. Dip the cut end in rooting hormone powder to encourage root development.
Step 4: Potting the Cuttings:
Use a well-draining potting mix and insert the cutting into a pot, ensuring the bottom node (where the leaves were removed) is buried in the mix.
Step 5: Creating a Humid Environment:
Place the pot in a propagator or cover it with a plastic bag to create a warm, humid environment. Keep it in a brightly lit area, out of direct sunlight.
Step 6: Nurturing & Transplanting:
After a few weeks, gently tug on the cutting to check for resistance, signaling root development. Once roots are established, gradually acclimate the cutting to normal conditions before transplanting into a larger pot or garden bed.
Regardless of your chosen method, providing well-drained soil and a sunny location is crucial for your Forest Oak’s success. With patience and proper care, you can enjoy the unique beauty of this remarkable Australian native in your own backyard.