
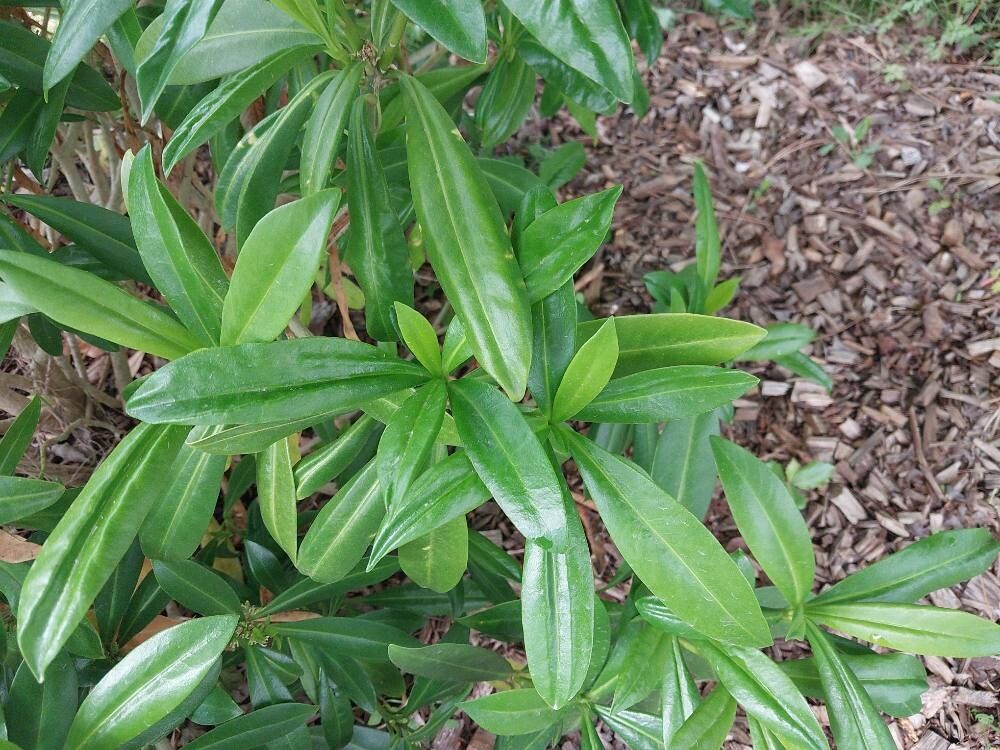
Unlocking the Secrets of Skimmia Anquetilia Propagation: A Guide to Growing More of This Winter Gem
Skimmia anquetilia, with its glossy evergreen foliage and vibrant red berries, is a delight in any winter garden. While readily available at nurseries, wouldn’t it be rewarding to propagate your own vibrant Skimmia anquetilia shrubs? Imagine sharing these beauties with friends or strategically expanding their presence in your landscape.
While it requires a bit of patience, propagating Skimmia anquetilia isn’t as daunting as it might seem. Let’s delve into the two most effective methods:
1. Propagating Skimmia Anquetilia from Seed:
This method, while rewarding, requires a long-term commitment, as it takes around 18 months for seedlings to be ready for transplanting. Here’s a step-by-step guide:
- Harvesting the Seeds: In autumn, collect ripe berries from your Skimmia anquetilia. Inside each berry, you’ll find 2-4 seeds.
- Cleaning and Cold Stratification: Clean the seeds by removing any pulp and then subject them to cold stratification. This simulates winter conditions and is crucial for germination. Mix the seeds with damp vermiculite, seal them in a plastic bag, and store them in the refrigerator for 8-12 weeks.
- Sowing the Seeds: In late winter or early spring, sow the stratified seeds on the surface of a seed tray filled with a well-draining seed compost. Gently press them onto the surface but avoid burying them.
- Providing the Right Environment: Mist the seeds regularly to keep the soil consistently moist but not waterlogged. Cover the seed tray with a clear plastic lid or cling film to create a mini greenhouse effect. Place the tray in a brightly lit location, out of direct sunlight.
- Transplanting the Seedlings: Germination typically takes 4-6 weeks. Once the seedlings develop a couple of true leaves, transplant them into individual pots filled with well-draining potting mix.
2. Propagating Skimmia Anquetilia from Cuttings:
This method offers quicker results compared to propagation from seed. Here’s how:
- Taking Semi-Hardwood Cuttings: The ideal time to take cuttings is in late summer or early autumn. Select healthy, non-flowering shoots and cut them at a length of 4-6 inches, just below a leaf node.
- Preparing the Cuttings: Remove the lower leaves from the cutting, leaving only 2-3 pairs of leaves at the top. Dip the cut end in hormone rooting powder to encourage root development.
- Planting the Cuttings: Plant each cutting in a pot filled with a well-draining mix of equal parts peat moss and perlite or sand. Water thoroughly after planting.
- Creating a Humid Environment: Cover the pot with a clear plastic bag or use a propagator to maintain humidity. Place the pot in a bright location out of direct sunlight.
- Transplanting into Larger Pots: After 6-8 weeks, gently tug on the cuttings to check for root development. If you feel resistance, it means roots have formed. Transplant the rooted cuttings into larger pots filled with good quality potting mix.
A Few Tips for Success:
- Skimmia anquetilia thrives in dappled shade or partial sun conditions.
- Well-draining soil is crucial to prevent root rot.
- These shrubs appreciate slightly acidic soil.
Propagating your own Skimmia anquetilia is a fulfilling endeavor. With a little patience and care, you’ll be rewarded with these beautiful, berry-laden shrubs, adding a touch of winter magic to your garden for years to come.