Unleash Your Inner Gardener: Propagating Wallflowers for a Riot of Color
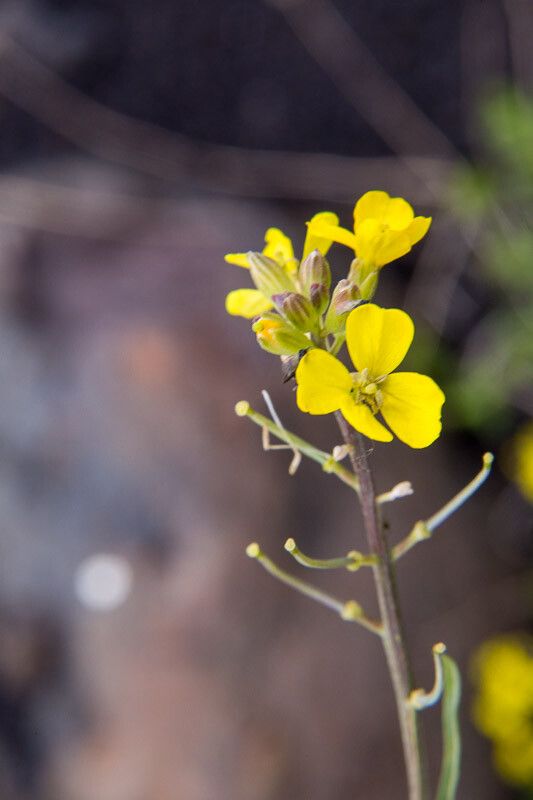
Erysimum bonannianum, more commonly known as the Wallflower, is a charming plant beloved for its vibrant blooms and delightful fragrance. While readily available at garden centers, there’s a special satisfaction to propagating your own – think of it as multiplying your floral joy! So, let’s delve into the world of Wallflower propagation and empower you to grow a stunning display.
Two Paths to Wallflower Abundance: Seeds vs. Cuttings
You have two primary options for propagating Erysimum bonannianum: seeds and cuttings. Each method has its pros and cons, so choosing the one that suits your gardening style and desired outcome is key.
1. Sowing the Seeds of Success:
Starting Wallflowers from seed is a rewarding experience, offering a wider range of varieties compared to what you might find locally. It’s also surprisingly easy:
- Timing is Everything: For best results, start your seeds indoors 6-8 weeks before the last expected frost in your area.
- Sowing the Tiny Treasures: Use seed trays or small pots filled with seed-starting mix. Scatter the seeds on the surface and lightly press them into the soil.
- Light and Warmth are Key: Wallflower seeds need light to germinate, so don’t bury them too deep. Place the trays in a warm, brightly lit location (avoid direct sunlight).
- Patience is a Virtue: Germination typically takes 10-21 days. Once the seedlings have developed a couple of sets of true leaves, pinch off the top growth to encourage bushiness.
- Harden Off and Plant Out: Before planting outdoors, gradually acclimate your seedlings to outdoor conditions (this is called “hardening off”). Choose a sunny spot in your garden with well-drained soil.
2. The Art of Cloning: Propagating from Cuttings:
Propagating from cuttings allows you to create exact replicas of your favorite Wallflower plants.
- When to Take Cuttings: Take cuttings in the spring or early summer from healthy, non-flowering stems.
- Making the Cut: Using clean, sharp shears, take cuttings that are about 3-4 inches long. Remove the leaves from the bottom inch of the cutting.
- Hormone Help (Optional): Dipping the cut end in rooting hormone can encourage faster root development, but it’s not essential.
- Planting Your Cuttings: Stick the cuttings into a pot filled with a well-draining potting mix.
- Creating a Humid Environment: Cover the pot with a clear plastic bag or use a propagator to maintain humidity.
- Rooting and Beyond: Keep the cuttings in a warm, bright location, out of direct sunlight. After about 4-6 weeks, gently tug on the cuttings to see if roots have formed. Once rooted, you can transplant them into individual pots or directly into your garden.
Bonus Tips for Wallflower Propagation Prowess:
- Wallflowers prefer a slightly alkaline soil pH.
- Provide regular watering, especially during dry periods.
- Deadhead spent flowers to encourage more blooms and prevent self-seeding.
Whether you choose the seed-sowing route or the thrill of cloning, propagating your own Wallflowers is a rewarding experience. Not only will you multiply your floral abundance, but you’ll also gain a deeper appreciation for these vibrant and fragrant beauties. So go ahead, get your hands dirty, and let the propagation fun begin!