
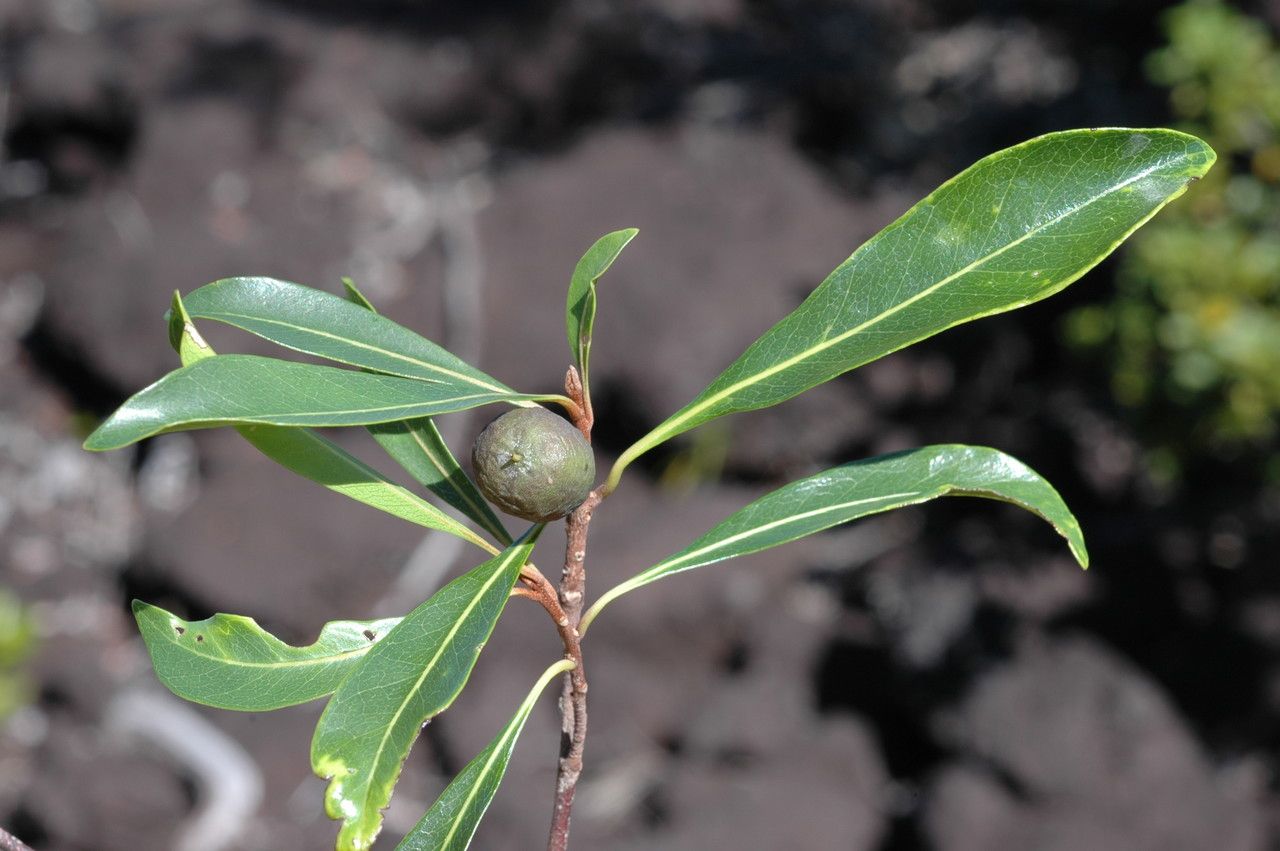
Taming the Tiny Leaves: A Guide to Propagating Planchonella microphylla
The world of plant enthusiasts holds space for species of all shapes and sizes. While showy blooms often steal the spotlight, sometimes it’s the subtle charm of unique foliage that captures our hearts. Enter Planchonella microphylla, also known as the Small-leaved Satinash or Yellow Lemonwood. This Australian native, with its glossy, olive-green leaves and intriguing fluted trunk, makes a captivating addition to gardens, especially for those who appreciate a touch of botanical intrigue.
But for those bitten by the propagation bug, the question arises: how do you multiply this miniature marvel? Planchonella microphylla presents a fascinating, albeit patient, journey for those willing to try their hand. Let’s explore the methods that bring success:
1. Seed Propagation: A Test of Time and Patience
- Source Your Seeds: The first hurdle is obtaining viable seeds. Planchonella microphylla fruits sporadically, and the seeds within its small, black berries are notorious for their short viability. Your best bet is connecting with local nurseries specializing in native plants or joining online plant communities for seed exchanges.
- Preparation is Key: Once you’ve secured your seeds, act quickly. Remove the fleshy fruit and soak the seeds in warm water for 24 hours to improve germination rates.
- Sowing with Care: Plant the seeds in a well-draining seed raising mix, keeping them moist but not waterlogged. Patience is paramount, as germination can take several months.
- Optimal Conditions: Provide warmth (around 70-75°F) and indirect sunlight to your seedlings. Be prepared to wait, as it can take several months for them to emerge.
2. Cutting Propagation: A More Controlled Approach
- Timing is Everything: Late spring or early summer, when the plant is actively growing, is the ideal time for taking cuttings.
- Selecting the Right Cuttings: Choose semi-hardwood cuttings, about 4-6 inches long, from healthy, vigorous branches.
- Preparing the Cuttings: Remove the leaves from the bottom third of the cutting and wound the base slightly to encourage root formation. Dipping the base in rooting hormone can further enhance the process.
- Potting and Care: Plant the prepared cuttings in a well-draining potting mix, ensuring the bottom node is buried. Maintain a warm, humid environment by covering the pot with a plastic bag or using a propagation chamber.
- Rooting Time: Cuttings can take several weeks to root. You can test for root development by gently tugging on the cutting. Once rooted, gradually acclimatize the new plant to its surroundings before transplanting.
Challenges and Rewards
Propagating Planchonella microphylla isn’t always a walk in the park. Seed germination can be frustratingly slow, and cuttings might require multiple attempts. However, the rewards are well worth the effort. Successfully cultivating a new plant from seed or cutting brings a sense of accomplishment and a deeper connection to this fascinating species.
Growing Your Own Tiny Forest
With a little patience and the right technique, you can expand your collection of Planchonella microphylla and enjoy the understated elegance of its foliage. Whether you’re drawn to its delicate leaves, the intriguing fluted trunk, or simply the joy of propagating, this unique plant offers a rewarding journey for the patient gardener.