
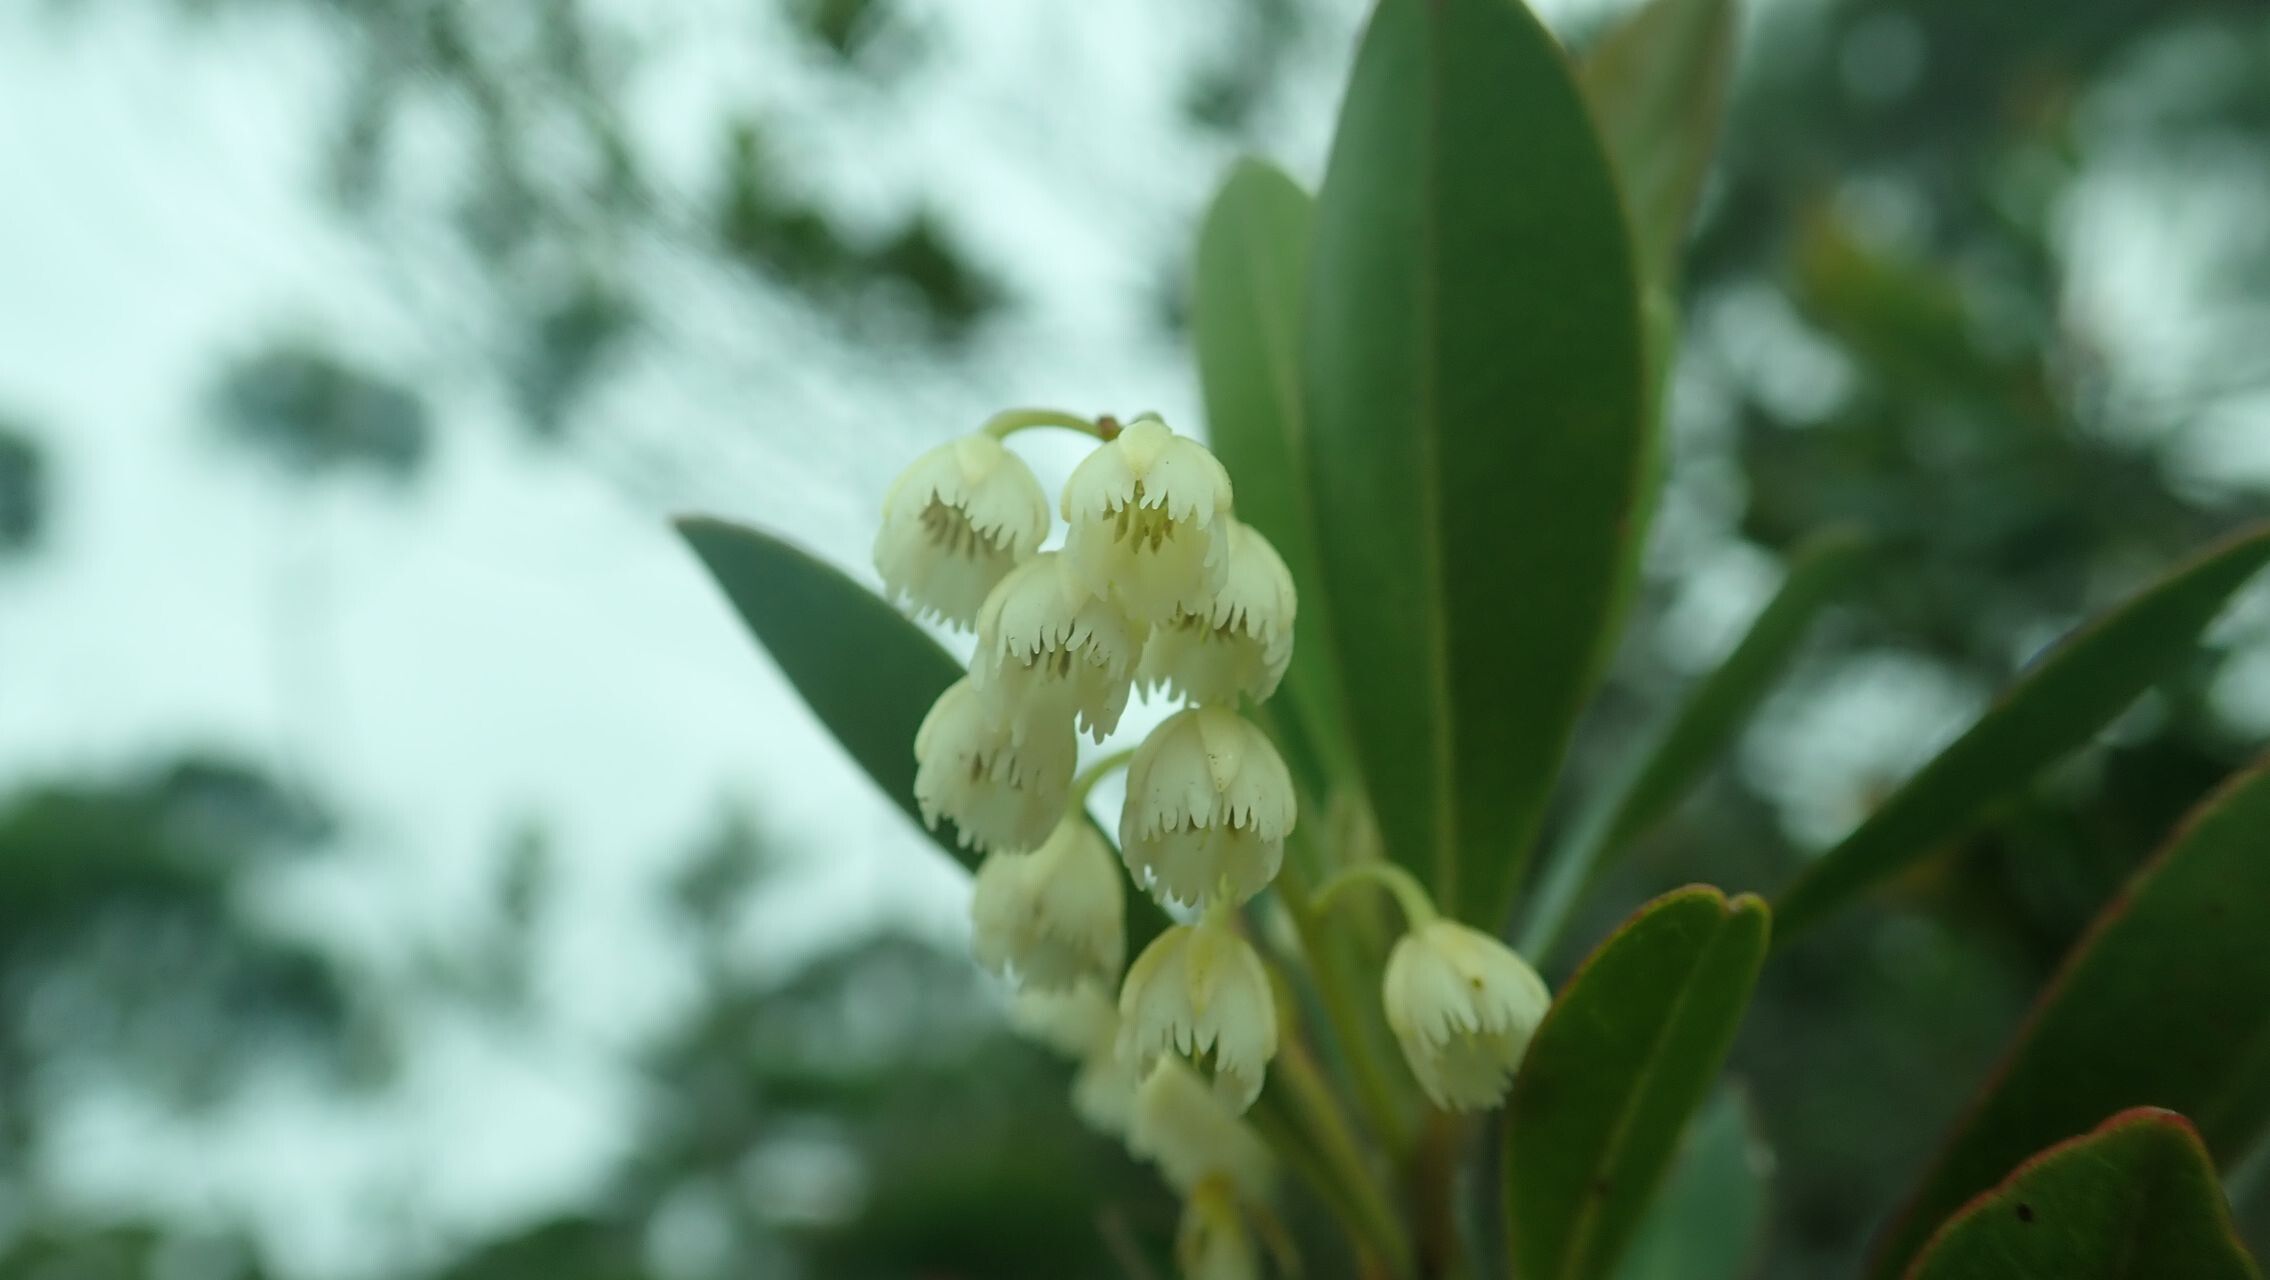
Unlocking the Secrets of the Blueberry Ash: A Guide to Propagating Elaeocarpus alaternoides
The Blueberry Ash (Elaeocarpus alaternoides), with its glossy evergreen leaves and vibrant blue berries, is a truly striking addition to any garden. But unlike its name suggests, it’s not closely related to the common blueberry and acquiring one can sometimes be a challenge. Why not grow your own? While propagating Elaeocarpus alaternoides might seem daunting, it’s a rewarding process that’s achievable for green thumbs of all levels. Let’s delve into the world of Blueberry Ash propagation and learn how to successfully grow new plants.
Method 1: Seed Propagation – A Test of Patience
Propagating Blueberry Ash from seed requires a dash of patience, but it’s an economical way to produce multiple plants:
- Collecting Seeds: Harvest ripe berries in the fall or winter. Remove the fleshy outer layer and clean the seeds thoroughly.
- Stratification: Blueberry Ash seeds benefit from cold stratification, mimicking natural winter conditions. Store cleaned seeds in moist vermiculite or sand within a sealed bag in the refrigerator for 6-8 weeks.
- Sowing: In spring, sow stratified seeds in a well-draining seed raising mix, barely covering them with soil.
- Patience is Key: Germination can be slow and erratic, taking anywhere from a few weeks to several months. Ensure consistent moisture and warmth during this time.
Method 2: Cuttings – A Quicker Route to Success
For a faster and often more successful approach, cuttings are the way to go:
- Timing is Everything: Take semi-hardwood cuttings in late spring or early summer when new growth is maturing.
- Cut with Care: Select healthy, vigorous stems and make a clean cut just below a leaf node using a sharp, sterilized knife or pruning shears. Cuttings should be 4-6 inches long.
- Preparation is Key: Remove the lower leaves from the cutting, leaving a few at the top. Wound the base of the cutting slightly to encourage root development.
- Hormonal Help: Dip the cut end in rooting hormone powder to boost success rates.
- Planting the Cutting: Insert the prepared cutting into a pot filled with a well-draining rooting medium, such as a mixture of peat moss and perlite.
- Creating a Humid Environment: Place the cutting under a humidity dome or cover the pot with a plastic bag to maintain moisture. Keep the soil consistently moist but not waterlogged.
- Signs of Success: Roots should form within 6-8 weeks. Once new growth appears, you can gradually acclimate the cutting to outdoor conditions before transplanting.
Nurturing Your New Blueberry Ash
Regardless of the propagation method you choose, providing optimal conditions is essential for healthy growth:
- Sun and Soil: Blueberry Ash prefers a location with partial shade to full sun and well-drained, slightly acidic soil.
- Water Wisely: While young plants need regular watering, established plants are relatively drought-tolerant once established.
- Feeding for Growth: Fertilize your Blueberry Ash in spring with a slow-release fertilizer to support its growth.
Propagating your own Blueberry Ash is a rewarding experience that allows you to expand your garden with this stunning native tree. Whether you choose the patient route of seed propagation or the quicker method of cuttings, following these tips ensures a higher chance of success. So, roll up your sleeves, get your hands dirty, and enjoy the journey of bringing new life to your garden with the beautiful Blueberry Ash!