Unlocking the Secrets: How to Propagate Paspalum humboldtianum
Paspalum humboldtianum, commonly known as Humboldt’s paspalum, might not roll off the tongue as easily as “daisy” or “rose,” but this versatile, low-maintenance grass deserves a place in your garden. Whether you’re a seasoned green thumb or just starting your plant-parenting journey, propagating Paspalum humboldtianum is easier than you might think. Let’s delve into the secrets of multiplying this wonderful grass and enhancing your garden’s lushness.
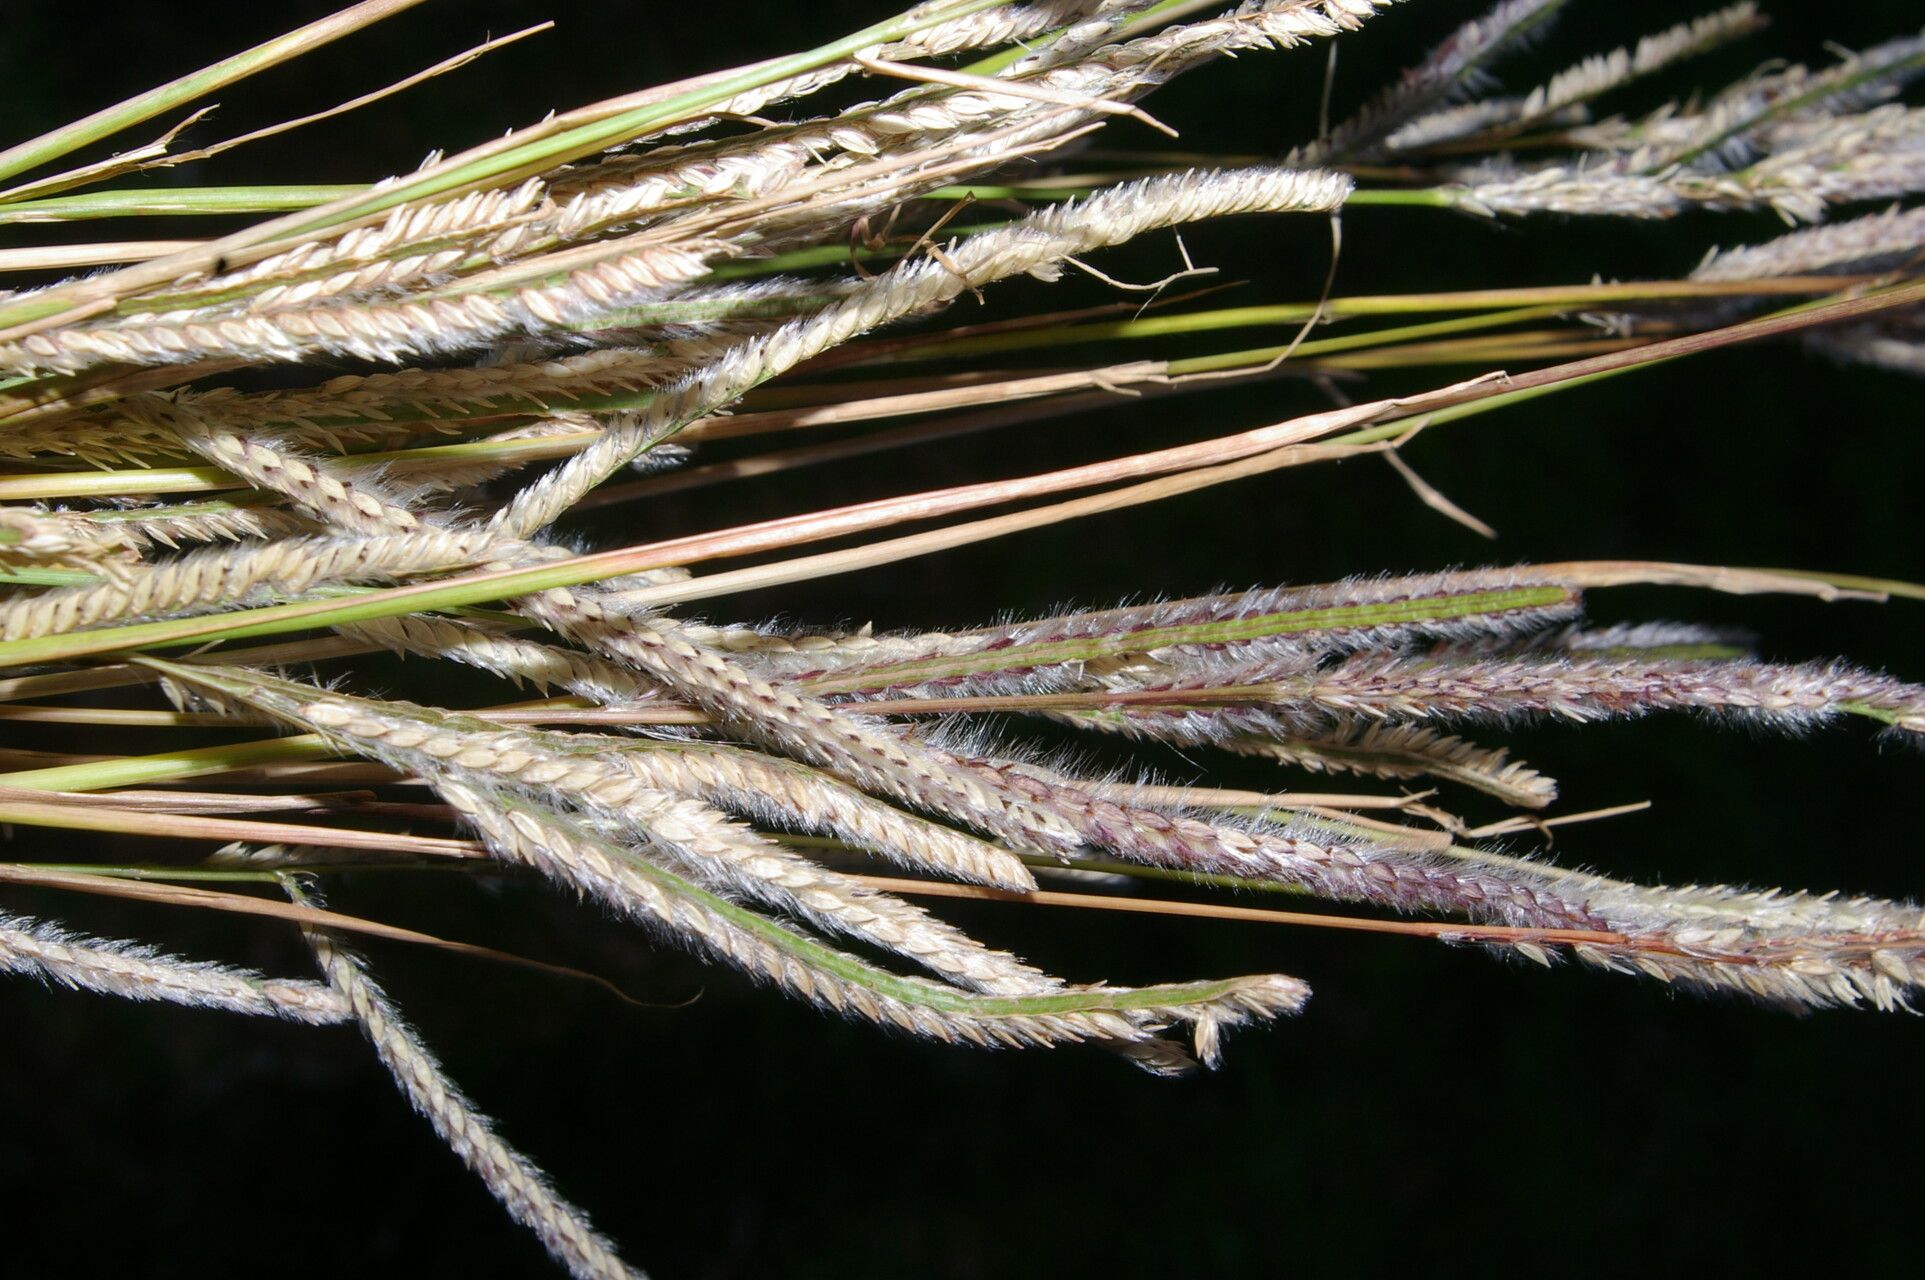
Understanding Paspalum humboldtianum
Before we jump into propagation, let’s get acquainted with our star plant. Paspalum humboldtianum is a warm-season perennial grass known for its attractive blue-green foliage and ability to thrive in various conditions. It’s drought-tolerant, handles moderate foot traffic well, and requires minimal maintenance – perfect for busy gardeners!
Two Paths to Propagation
There are two primary methods to propagate Paspalum humboldtianum:
Division: This method involves digging up an established plant and dividing it into smaller sections, each with its own roots and shoots.
- Seed: Starting from seed provides a rewarding experience. While it takes longer than division, it offers a chance to witness the entire life cycle of this remarkable grass.
Propagation through Division: A Step-by-Step Guide
- When to divide: The ideal time is early spring when the plant is actively growing.
- Tools for the task: You’ll need a sharp spade or shovel, gardening gloves, and a watering can or hose.
- Dividing the plant:
- Water the parent plant thoroughly a day before dividing.
- Carefully dig around the plant, ensuring you don’t damage the root system.
- Gently lift the plant, shake off excess soil, and identify natural division points.
- Using the spade, separate the plant into smaller clumps, ensuring each has a healthy root system and several shoots.
- Replanting the divisions:
- Prepare planting holes with loose, well-draining soil, spacing them according to the mature size of your Paspalum humboldtianum.
- Place the divisions in the holes at the same depth they were originally growing.
- Backfill the holes, gently firming the soil around the base of each plant.
- Post-division care:
- Water deeply and regularly until the divisions are well-established.
- Fertilize lightly with a balanced fertilizer.
- Keep an eye out for pests or diseases, addressing them promptly.
Propagation through Seed: Patience is Key
- Sourcing seeds: Purchase seeds from a reputable supplier or collect them from existing plants once the seed heads have turned brown and dry.
- Starting seeds:
- Fill seed trays or small pots with a seed-starting mix.
- Sow seeds shallowly, about ¼-inch deep.
- Mist the soil surface gently and cover the trays with a propagator lid or plastic wrap to maintain humidity.
- Germination period: Be patient! Germination can take 2-4 weeks, depending on the conditions.
- Transplanting seedlings: Once seedlings have developed a few sets of true leaves, transplant them into larger pots or directly into the garden after hardening them off.
Reaping the Rewards
No matter your chosen method, successfully propagating Paspalum humboldtianum rewards you with more than just beautiful, thriving plants. It contributes to sustainability, allowing you to expand your garden without purchasing new plants. So, roll up your sleeves, choose your propagation path, and watch your Paspalum humboldtianum flourish!