
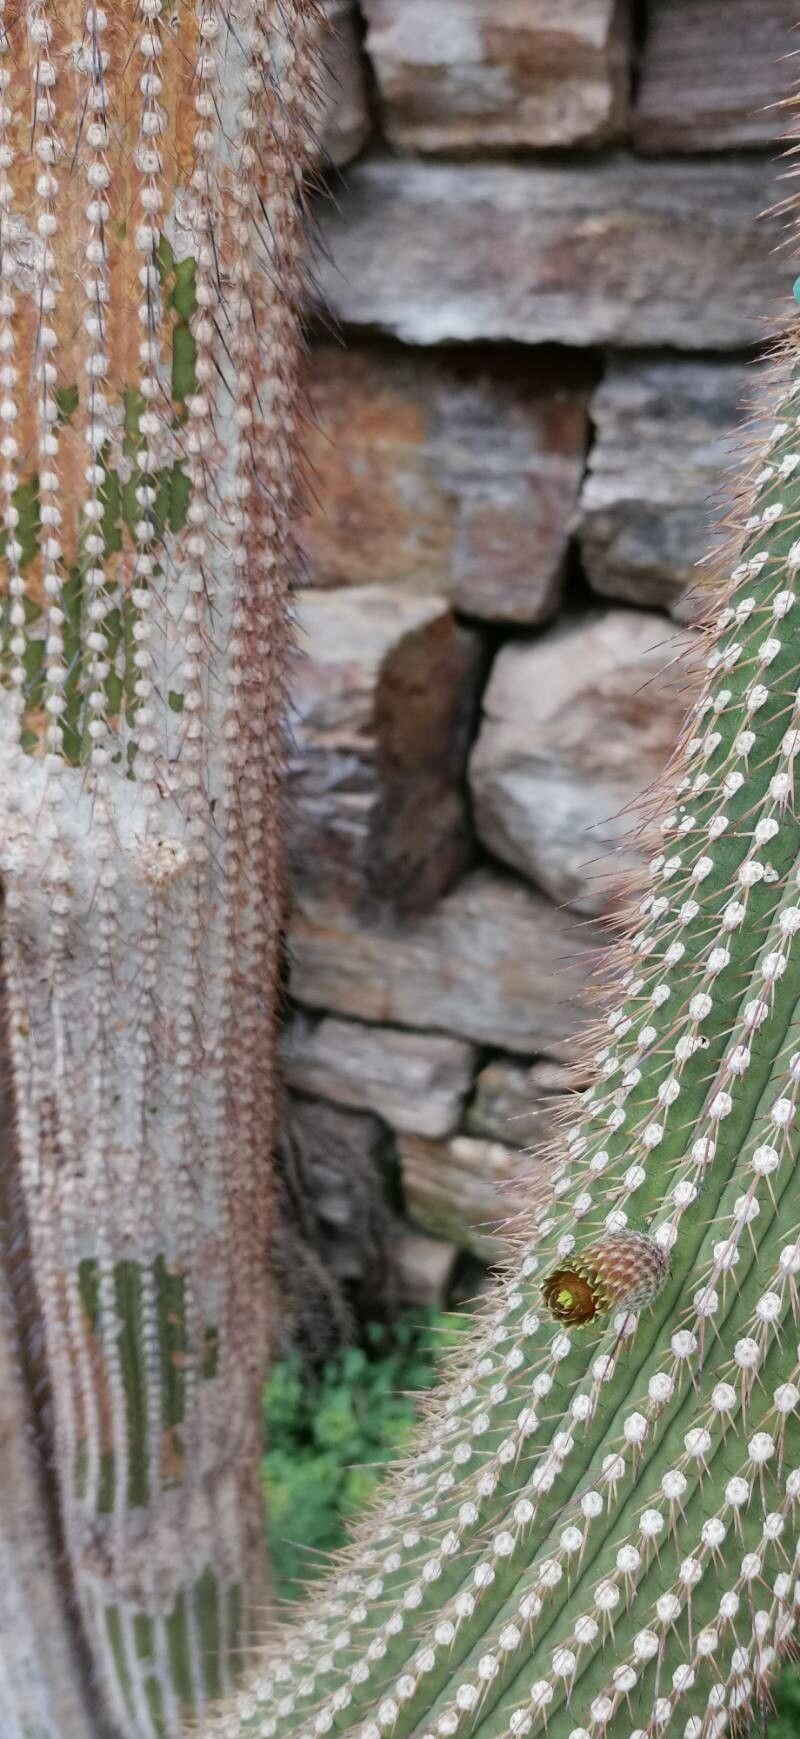
Unlocking the Secrets of the Golden Rat Tail: Propagating Cleistocactus Micropetalus
The Cleistocactus micropetalus, more affectionately known as the Golden Rat Tail cactus, is a captivating plant with cascading, golden spines that bring a touch of desert charm to any home. While admiring their unique beauty is a joy, wouldn’t it be even better to multiply your collection? This guide will delve into the world of propagating Cleistocactus micropetalus, empowering you to share this stunning species with friends or simply expand your own cacti family.
Two Paths to Propagation: Seeds vs. Cuttings
Like many cacti, Cleistocactus micropetalus can be propagated through two main methods: seeds and cuttings. Each offers its own set of advantages and challenges:
1. Seeds: A Test of Patience and Care
- Pros: Inexpensive and readily available online or sometimes from mature plants.
- Cons: Requires more time and meticulous care, with no guaranteed success rate.
2. Cuttings: The Faster and More Reliable Approach
- Pros: Quicker results, higher success rate, and produces an exact clone of the parent plant.
- Cons: Requires a healthy parent plant and might be limited by the number of viable cuttings.
Let’s Get Practical: A Step-by-Step Guide
Propagation by Cuttings:
- Gather your tools: Clean, sharp pruning shears or a sterile knife, rooting hormone (optional but recommended), well-draining cactus potting mix, and a small pot with drainage holes.
- Take the cutting: Choose a healthy stem segment, ideally around 4-6 inches long. Make a clean cut at a slight angle to maximize the surface area for rooting.
- Let it callus: Place the cutting in a dry, shaded location for 7-10 days, allowing the cut end to form a callus. This is crucial to prevent rotting when planted.
- Prepare the pot: Fill your pot with the cactus mix, moistening it slightly.
- (Optional) Dip in rooting hormone: For a higher success rate, dip the callused end of the cutting into rooting hormone powder.
- Plant the cutting: Carefully insert the cutting into the prepared mix, burying about an inch of the stem. Ensure the cutting is stable and upright.
- Patience is key: Place the pot in a brightly lit area, but avoid direct sunlight. Water sparingly when the soil feels dry to the touch.
- Root formation: In about 4-6 weeks, your cutting should start developing roots. You can test this gently by tugging on the base of the cutting – resistance indicates successful rooting.
Propagation by Seeds:
- Source your seeds: Purchase seeds from a reputable supplier or carefully collect them from dried seed pods on a mature plant.
- Prepare the seedbed: Use a seed starting mix or create your own with equal parts peat moss, perlite, and sand. Spread the seeds evenly across the surface.
- Create a humid environment: Mist the seed tray with water and cover it with plastic wrap or a humidity dome.
- Warmth and light: Place the tray in a warm location (around 70-75°F) with bright, indirect light.
- Germination: Be patient, as germination can take anywhere from a few weeks to a few months. Keep the soil consistently moist but not soggy.
- Transplanting: Once seedlings are about an inch tall, you can carefully transplant them into individual pots with well-draining cactus mix.
Nurturing Your Golden Success
Whether you choose the rewarding challenge of seeds or the faster gratification of cuttings, propagating your Cleistocactus micropetalus is a fulfilling experience. With the right knowledge and a little TLC, you’ll soon have an army of these beautiful cacti, adding a touch of desert elegance to your home and sharing the joy with fellow plant enthusiasts.