Spreading the Wild Violet Love: How to Propagate Viola Canina
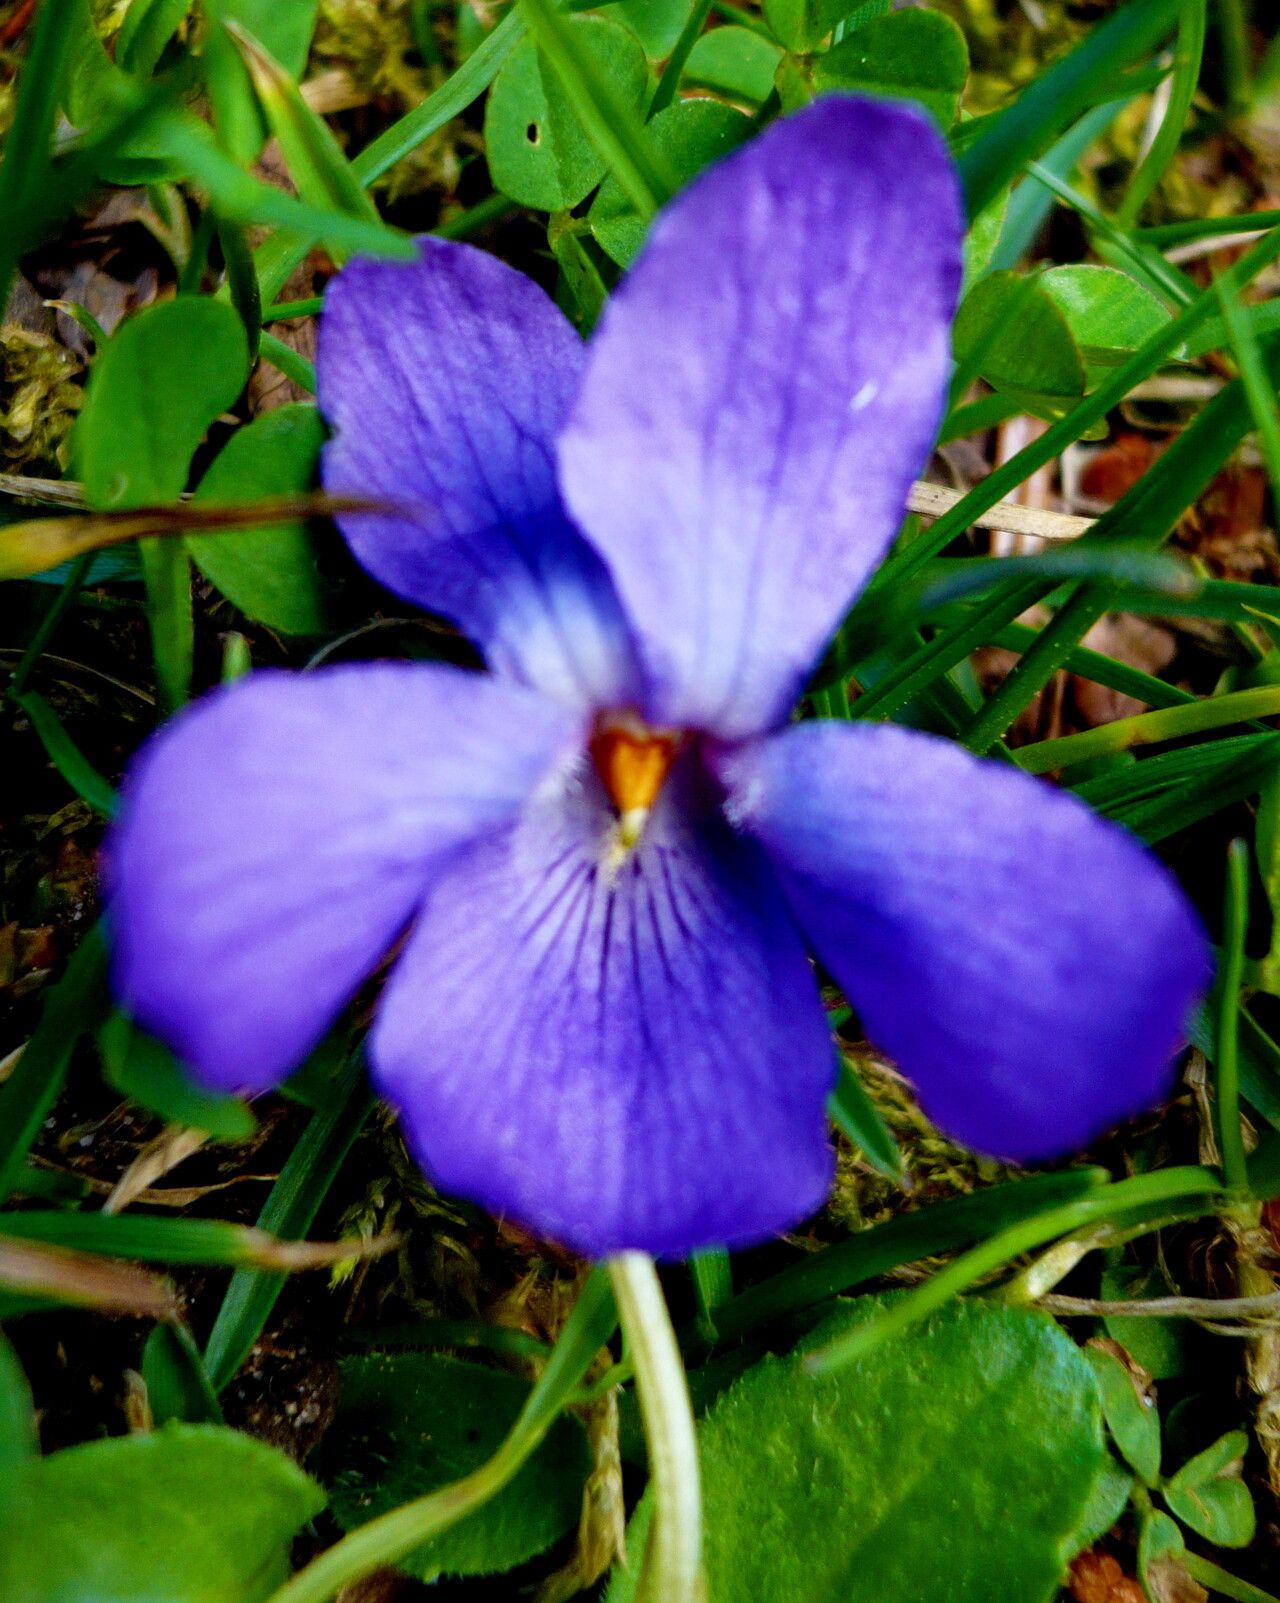
The delicate charm of the Viola canina, also known as the Heath Dog Violet, brings a touch of wildness and elegance to any garden. These European natives, with their charming purple-blue blooms and heart-shaped leaves, are a welcome sight in spring. While you can certainly purchase established plants, propagating your own Viola canina is a rewarding endeavor that allows you to expand your violet patch for free and connect more deeply with these lovely wildflowers.
There are two primary methods for propagating Viola canina: by seed or by cuttings. Let’s explore both:
1. Propagation from Seed:
- Collecting Seeds: Viola canina produces small seed pods after flowering. Wait until the pods turn brown and start to split open naturally – this indicates the seeds are ripe. Collect the pods carefully, as they can burst open suddenly, scattering seeds.
- Preparing for Sowing: Once collected, allow the pods to dry further in a cool, dry location. Once dry, gently break open the pods to release the seeds.
- Sowing: You can sow Viola canina seeds directly into the garden in autumn or early spring. Choose a spot with well-drained soil and partial shade. Scatter the seeds on the surface and lightly rake them in. Alternatively, you can start seeds indoors 6-8 weeks before the last frost. Use seed trays filled with a well-draining seed starting mix. Sow seeds on the surface and lightly press them down.
- Germination: Viola canina seeds need light to germinate, so avoid burying them deeply. Keep the soil consistently moist but not waterlogged. Seedlings should appear in a few weeks.
- Transplanting: Once the seedlings develop a few sets of true leaves, you can transplant them to their permanent location in the garden. Space them about 10-12 inches apart.
2. Propagation from Cuttings:
- Best Time: Take cuttings in spring or early summer when the plant is actively growing.
- Taking the Cutting: Choose a healthy, non-flowering stem. Using a clean, sharp knife or pruners, take a cutting about 3-4 inches long, cutting just below a leaf node.
- Preparing the Cutting: Remove the lower leaves from the cutting, leaving only 2-3 leaves at the top. Dip the cut end in rooting hormone (optional but recommended).
- Planting: Fill a small pot with a well-draining potting mix. Create a hole in the center and insert the cutting, burying the node where you removed the leaves. Gently firm the soil around the cutting.
- Creating a Humid Environment: Place the pot in a propagator or cover it with a clear plastic bag to create a warm, humid environment. Ensure good air circulation to prevent fungal issues.
- Rooting: The cutting should develop roots in a few weeks. Gently tug on the cutting – resistance indicates successful rooting.
- Transplanting: Once the cutting shows significant growth, you can transplant it into a larger pot or your garden.
Caring for your Viola Canina:
Viola canina prefers well-drained soil and partial shade, although it can tolerate full sun in cooler climates. Water regularly, especially during dry spells, and apply a balanced fertilizer a few times during the growing season. Deadhead spent blooms to encourage more flowering.
Propagating Viola canina is a fun and rewarding way to expand your own wildflower haven. With a bit of patience and care, you can enjoy the simple beauty of these violets for years to come.