Tiny Treasures: Mastering the Art of Propagating Bird’s Foot
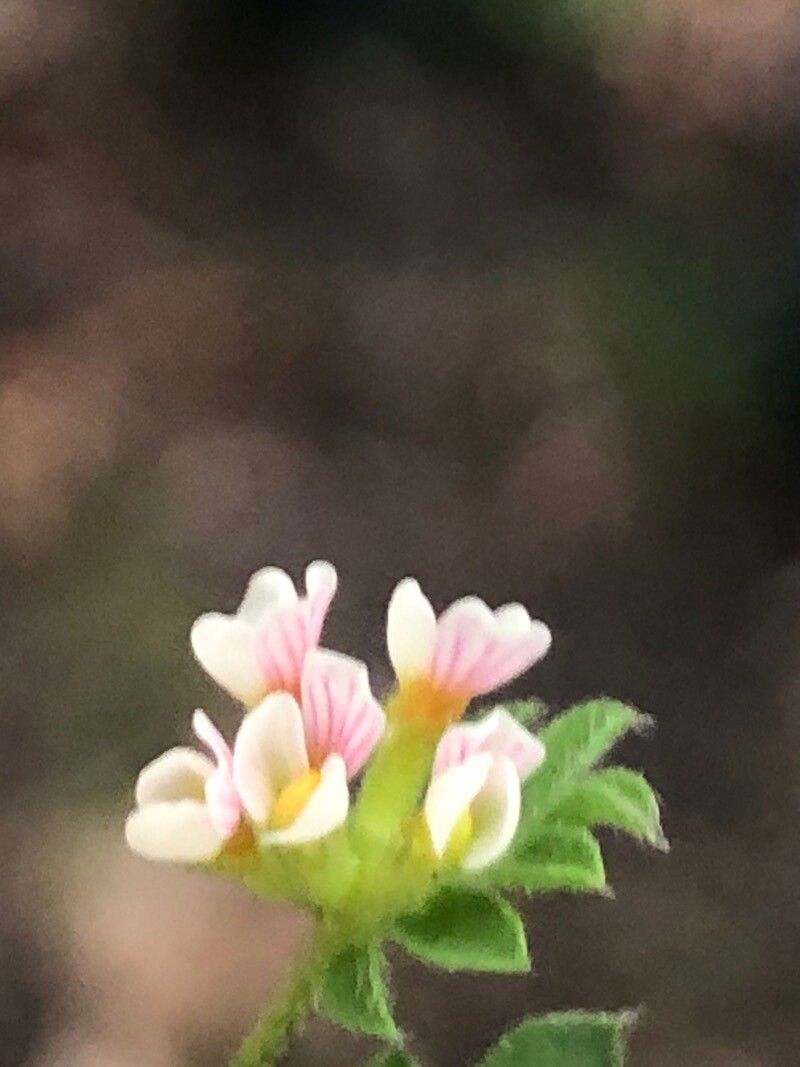
Bird’s Foot (Ornithopus perpusillus) may not be the showiest plant in the garden, but its delicate, fern-like foliage and charming, claw-shaped seed pods add a unique touch to any landscape. This small, spreading legume is a favorite among those seeking low-maintenance ground cover or a touch of whimsical charm. Intrigued? Let’s delve into the rewarding world of propagating Bird’s Foot.
Understanding the Life Cycle:
Before we get our hands dirty (figuratively speaking!), it’s important to understand the life cycle of this fascinating plant. Bird’s Foot is an annual legume, meaning it completes its life cycle from seed to seed within a single growing season. This characteristic makes seed propagation the most common and straightforward method for starting this charming plant.
Seeds of Success: The Ins and Outs of Seed Propagation:
Timing is Key: While Bird’s Foot seeds can be sown directly into the ground after the last frost, starting them indoors 4-6 weeks before the last frost gives them a head start and ensures a longer blooming season.
Sowing the Seeds: Bird’s Foot seeds are small but mighty! Sow them about 1/4 inch deep in well-draining seed starting mix. Keep the soil consistently moist but not waterlogged.
Light and Warmth: Place the seed tray in a warm, sunny location. A south-facing window or under grow lights will provide ample warmth and light for germination.
Germination Patience: Patience is vital, as Bird’s Foot seeds can take anywhere from 1 to 3 weeks to germinate. Don’t lose hope if they don’t sprout immediately!
- Transplanting Time: Once the seedlings have developed a couple of sets of true leaves, they are ready to be transplanted outdoors. Choose a sunny to partially shaded location with well-drained soil.
Beyond Seedlings: Exploring Other Propagation Methods:
While seed propagation reigns supreme for Bird’s Foot, adventurous gardeners can experiment with other methods:
Cuttings: Take softwood cuttings in late spring or early summer. Dip the cut ends in rooting hormone and plant them in a well-draining potting mix.
- Division: Mature Bird’s Foot plants can be divided in early spring or fall. Carefully separate the clumps, ensuring each division has a healthy root system.
Essential Tips for Propagation Success:
Well-Drained Soil: Bird’s Foot thrives in well-drained soil. Amend heavy clay soils with compost or sand to improve drainage.
Sun or Shade?: While Bird’s Foot prefers sunny locations, it can also tolerate partial shade, making it a versatile choice for various gardens.
Watering Wisdom: Water regularly during the first growing season to establish a strong root system. Once established, Bird’s Foot is relatively drought-tolerant.
- Natural Fertilizers: Being a legume, Bird’s Foot has the remarkable ability to fix nitrogen from the air. Avoid excessive nitrogen fertilizers, as they can lead to lush foliage but reduced flowering.
Reaping the Rewards:
Successfully propagating Bird’s Foot brings a sense of accomplishment and the delight of witnessing nature’s magic unfold in your garden. Soon, you’ll be enjoying the delicate beauty of this charming plant and its unique seed pods, a testament to your gardening prowess!