Unlocking the Secrets of Dusty Miller Propagation: Grow Your Own Silver Sparkle
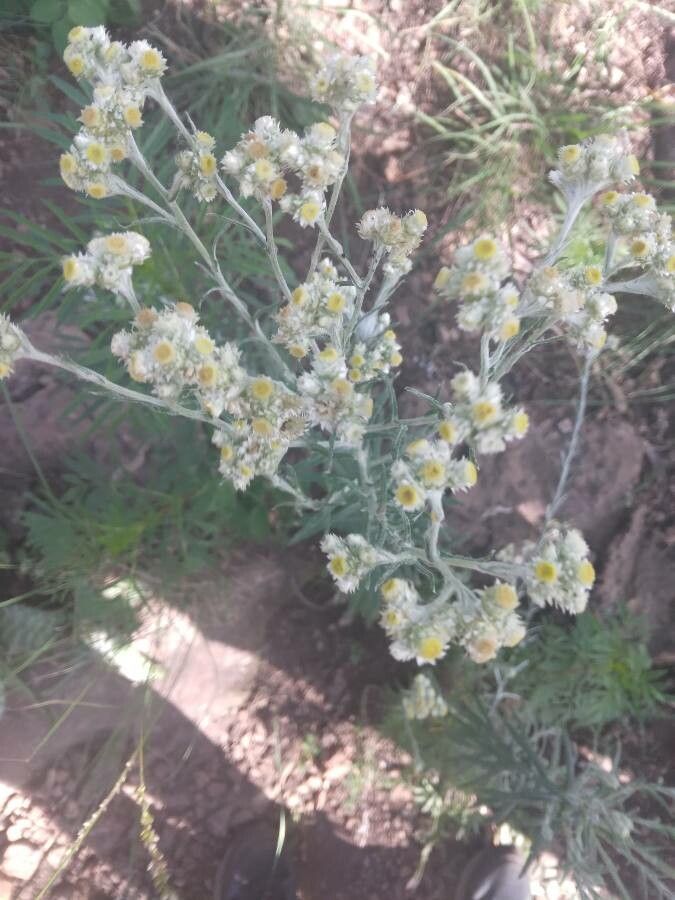
Dusty miller (Pseudognaphalium canescens), with its captivating silvery foliage, is a favorite among gardeners looking to add texture and a touch of magic to their landscapes. This hardy plant, tolerant of drought and poor soil conditions, is remarkably easy to propagate. This means that once you have one plant, you have the potential to fill your garden with its ethereal beauty!
Today, we’ll explore the two most common methods of propagating dusty miller:
1. Growing from Seed:
For those who love starting plants from scratch, seeds offer a rewarding experience. Here’s a step-by-step guide:
- Timing is Key: Start seeds indoors 6-8 weeks before the last expected frost in your region.
- Sowing the Seeds: Use a seed starting mix and sprinkle the tiny seeds on the surface, pressing them in lightly.
- Light and Warmth: Dusty miller seeds need light to germinate, so don’t bury them. Place the tray in a warm location (around 70°F or 21°C) and keep the soil consistently moist.
- Transplant Time: After the seedlings develop a couple of sets of true leaves and all danger of frost has passed, harden them off gradually. Then transplant them outdoors in a sunny location with well-drained soil.
2. Taking Cuttings:
Propagating dusty miller from cuttings is incredibly easy and offers nearly guaranteed success. Here’s how:
- When to Take Cuttings: Take cuttings in spring or early summer when the plant is actively growing.
- Selecting the Perfect Cuttings: Choose healthy, non-flowering stems that are about 4-6 inches long.
- Preparing the Cuttings: Remove the lower leaves from the bottom inch or two of the stem. You can dip the cut end in rooting hormone powder (although not strictly necessary).
- Planting the Cuttings: Make a hole in a pot filled with a well-draining potting mix and insert the cutting, burying the node where the leaves were removed.
- Keep it Cozy: Water the cutting well and place the pot in a warm, bright location but out of direct sunlight.
- Root Development: Keep the soil consistently moist. In a few weeks, you’ll notice new growth, indicating that roots have formed.
- Transplanting Time: Once the cutting is well-rooted, you can transplant it to a larger pot or directly into the garden.
Tips for Success:
- Don’t Overwater: Dusty miller is drought-tolerant and prefers drier conditions. Allow the soil to dry out slightly between watering.
- Provide Plenty of Sunlight: Dusty miller thrives in full sun, so choose a location that receives at least 6 hours of direct sunlight daily.
- Pinch Back for Bushiness: Pinching back the tips of the stems encourages fuller, bushier growth.
Conclusion:
Propagating dusty miller is a simple and rewarding way to expand your garden with this stunning silver-leaved beauty. Whether you choose to sow seeds or take cuttings, the process is surprisingly straightforward. With a little patience and care, you’ll soon have an abundance of these eye-catching plants to grace your borders, rock gardens, or containers. So, go ahead and unlock the secrets of dusty miller propagation – your garden will thank you for it!