Unearthing Red Gold: Propagating Your Own Rubia tinctorum
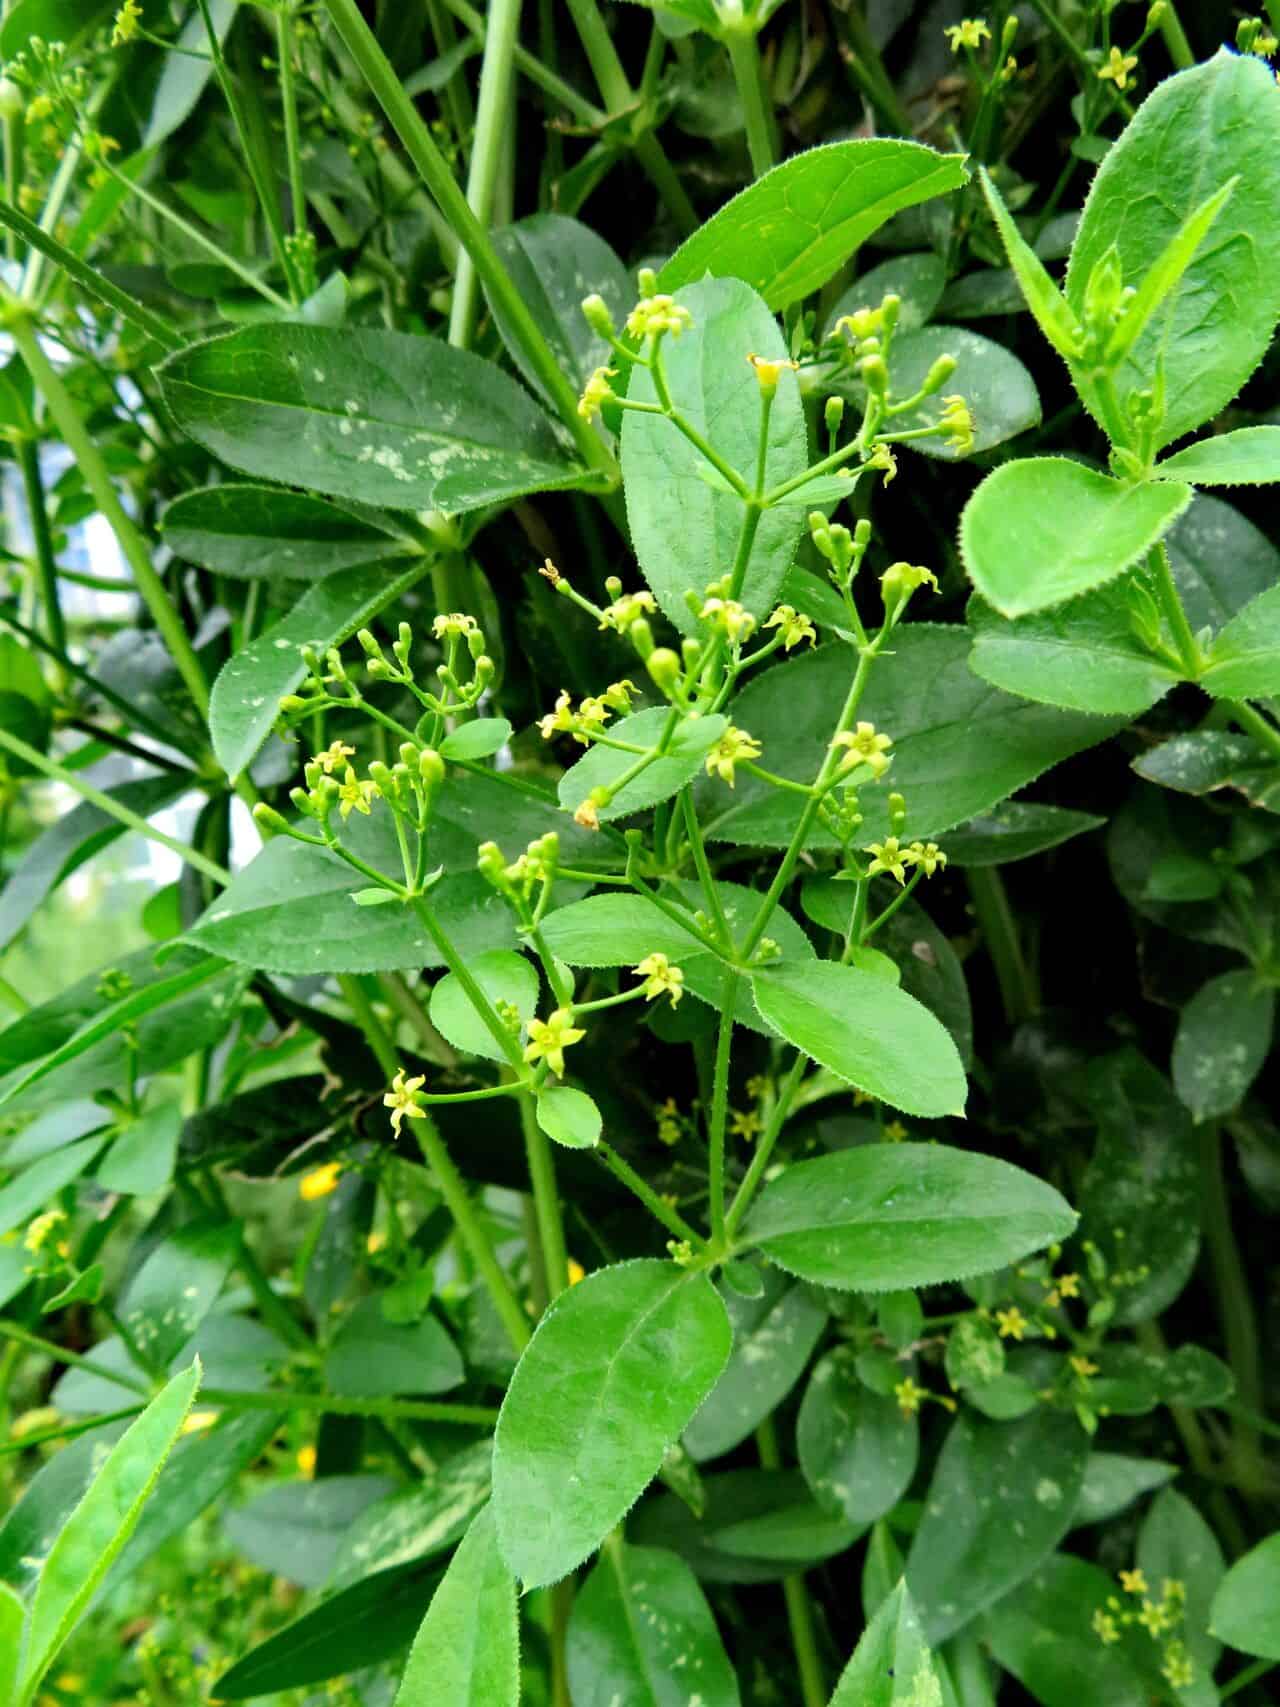
For centuries, the unassuming Rubia tinctorum, also known as madder, has quietly held a vibrant secret. This seemingly ordinary plant, with its delicate green leaves and tiny star-shaped flowers, conceals within its roots a powerful dye: a rich, fiery red that has colored the world’s textiles and art for millennia. Today, cultivating your own madder isn’t just a doorway to natural dyeing; it’s a fascinating journey into botanical history and a rewarding gardening experience.
So, how do you unlock the colorful potential of Rubia tinctorum and invite this ancient dye plant into your garden? Let’s dig into the world of madder propagation!
Two Routes to Root: Seeds vs. Divisions
Madder offers two primary methods of propagation, each with its pros and cons:
Seeds: Starting from seed requires a bit more patience, but it’s an economical way to establish a sizable madder patch. Sow seeds in late fall or early spring, lightly covering them with soil. Keep the seedbed consistently moist. Germination can be slow and somewhat erratic, taking anywhere from a few weeks to a couple of months.
- Divisions: This method offers a faster track to mature plants. In spring or fall, carefully dig up an established madder plant, ensuring you get a good portion of the root system. Use a sharp, clean knife to divide the roots, making sure each section has several healthy growth points. Replant divisions immediately and water them well.
Creating an Ideal Madder Haven
Regardless of your chosen propagation method, providing the right environment for your madder is crucial for successful growth:
- Sunlight: Madder thrives in full sun to partial shade. Aim for at least 4-6 hours of direct sunlight per day.
- Soil: Well-drained soil is crucial. Amend heavy clay soils with sand or compost to improve drainage.
- Watering: While madder is relatively drought-tolerant once established, consistent moisture is essential, especially during the first growing season. Water deeply when the soil is dry to the touch, avoiding waterlogging.
- Support: Madder is a scrambling plant and can benefit from some structural support. A trellis or stakes can encourage upward growth and make harvesting easier.
Reaping the Red Reward
Patience is key when cultivating madder. It takes about two to three years for the roots to develop their full dyeing potential. Once established, you can harvest roots in the fall after the foliage has died back.
Remember, harvesting madder roots disrupts the plant. For continuous growth, it’s best to practice partial harvesting, taking only sections of roots from different plants each year.
More Than Just a Pretty Color
Growing your own Rubia tinctorum is a journey of discovery. It’s a chance to connect with a plant that has woven itself into human history through its vibrant hue, reminding us of the enduring relationship between nature’s bounty and our creative spirit. So, roll up your sleeves, dig in, and unearth the red gold hidden within the roots of this extraordinary plant!