From Snipping to Thriving: Propagating Your Own Ironwort (Sideritis hyssopifolia)
The allure of a healthy, vibrant garden often lies in the thrill of nurturing new life. And what better way to do so than by propagating your own plants? For those seeking to expand their collection or simply admire the magic of growth, “Ironwort” (Sideritis hyssopifolia) offers a rewarding journey.
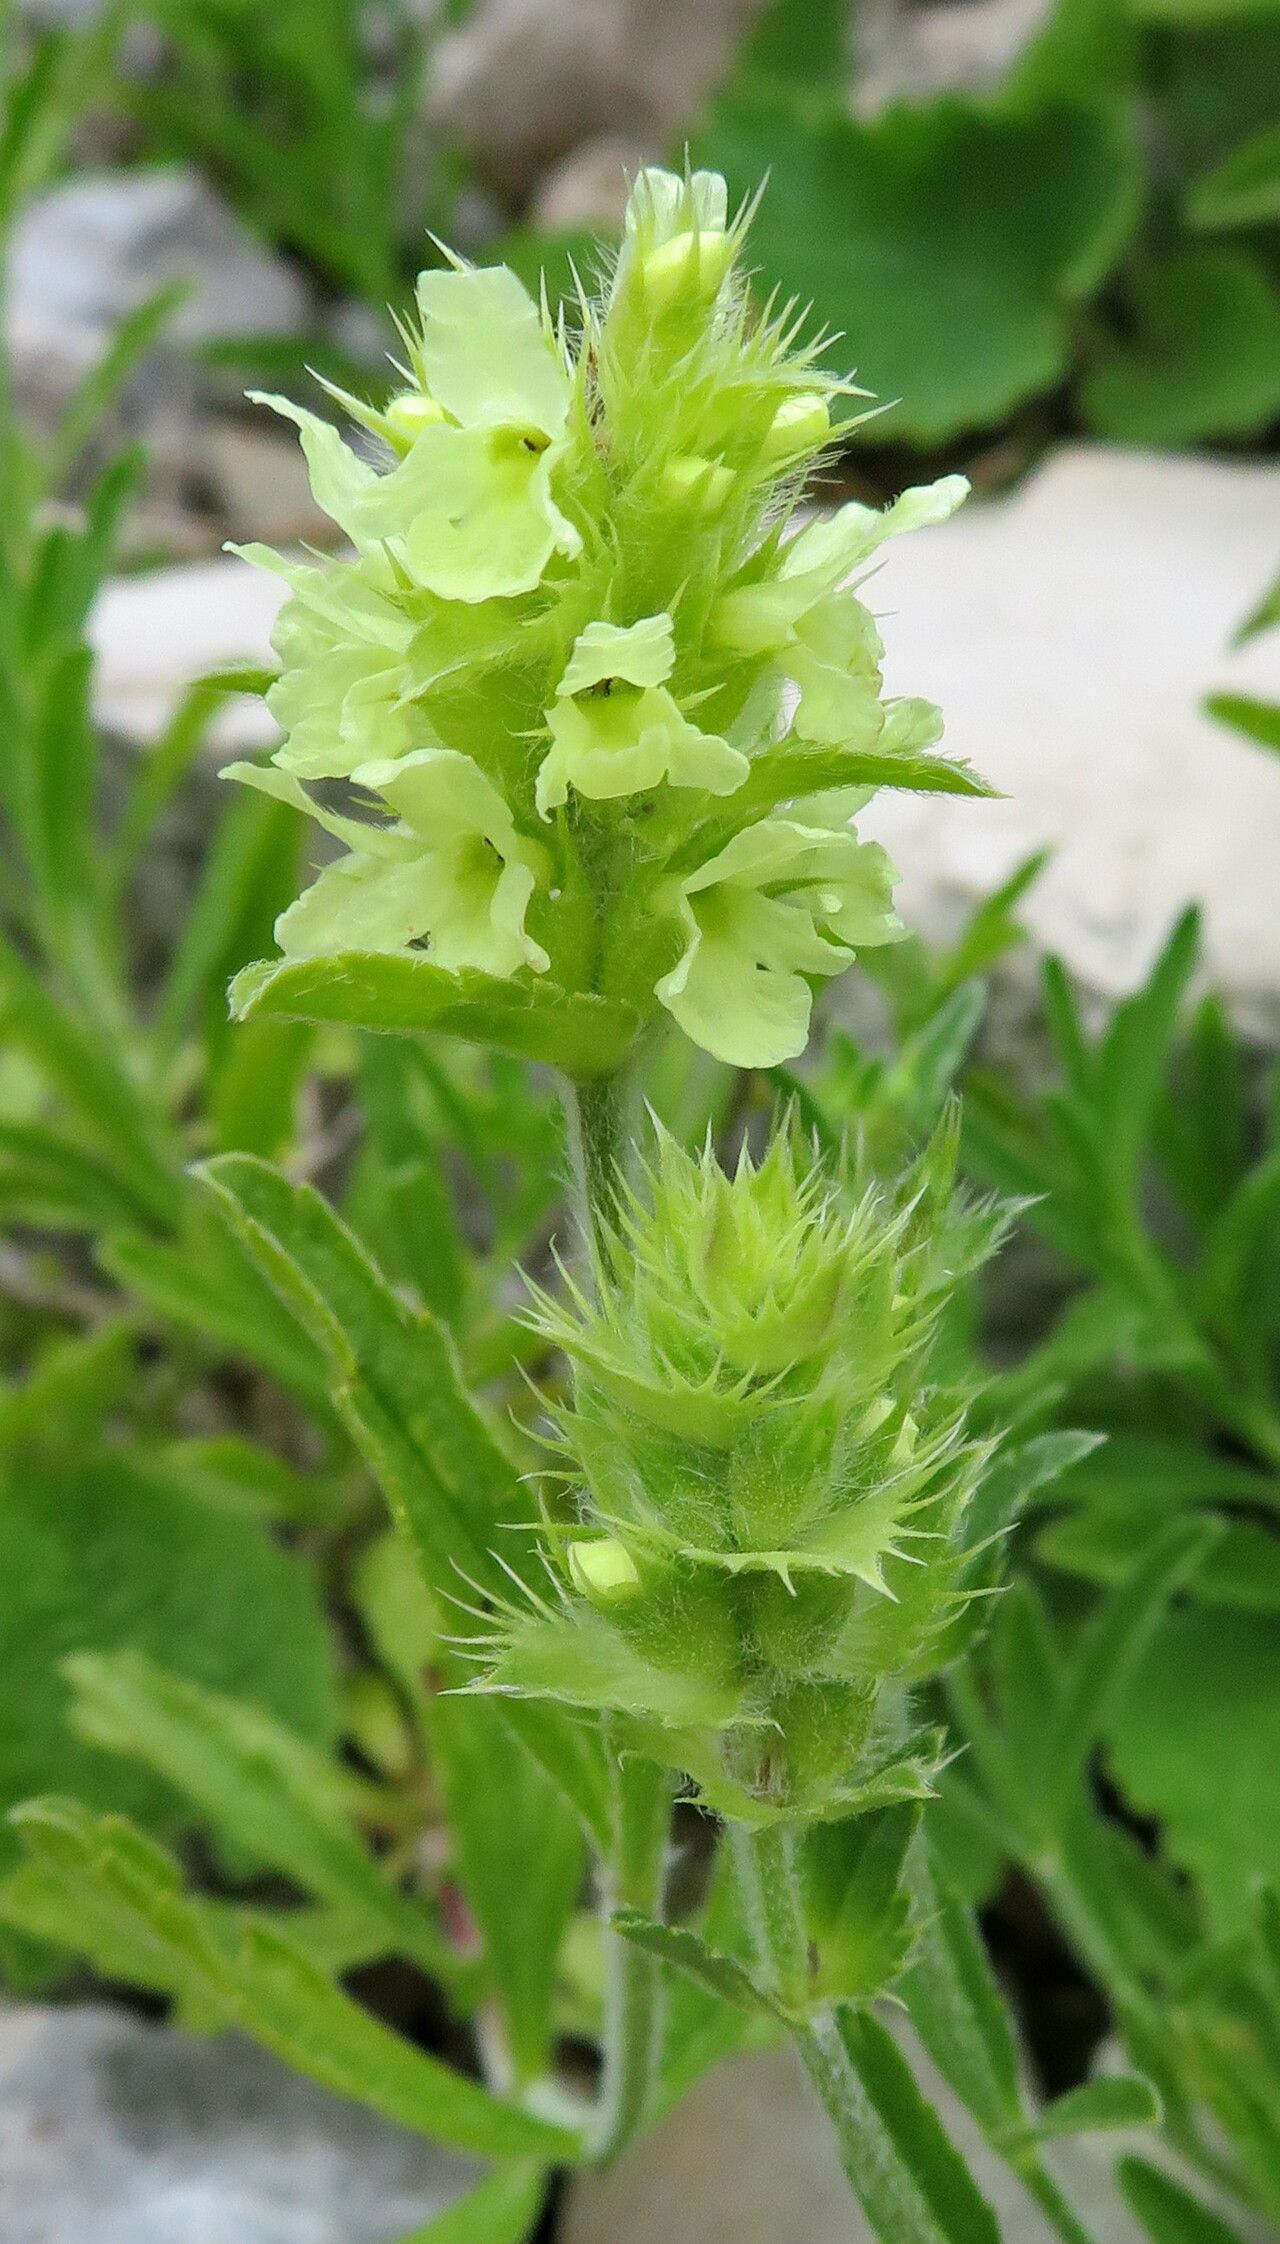
This Mediterranean native, with its captivating silvery-green foliage and charming yellow blossoms, is known for its medicinal properties and resilience. But did you know that you can easily propagate it yourself, ensuring a flourishing abundance of this alluring herb? Let’s explore the methods of propagation that bring Ironwort from a single cutting to a thriving patch in your garden.
1. Seed Starting: The Foundation of New Life
The most common and straightforward way to propagate Ironwort is through seeds.
- Time is Key: Spring is the ideal season for sowing Ironwort seeds. These tiny treasures germinate best in warm temperatures, thriving in the gentle warmth of the spring sun.
- The Right Medium: Prepare a seed tray or small pots filled with a well-draining seed-starting mix. Ironwort seeds appreciate a loose, airy soil that allows for optimal root development.
- Planting Procedure: Gently press the seeds into the soil, covering them with a thin layer of vermiculite or fine soil. Moisten the soil consistently, maintaining a moist but not soggy environment.
- Germination Magic: Patience is key, as Ironwort seeds can take a few weeks to germinate. Ensure the tray or pots are kept in a warm, sunny location, with temperatures around 65-75°F (18-24°C).
2. Cuttings: A Quick and Efficient Approach
For those seeking instant gratification, the cutting method offers a faster route to a flourishing Ironwort patch.
- Timing is Everything: The ideal time for taking cuttings is during the spring or early summer when the plant is actively growing.
- Choosing the Right Stem: Select healthy, non-flowering stems that are about 4-6 inches long. The stem should be firm and have at least two sets of leaves.
- The Cutting Process: Make a clean cut just below a node (where leaves emerge from the stem). Remove the lower leaves, leaving only the top two sets.
- Propagation Magic: Place the cuttings in a pot filled with a moist, well-draining potting mix. Create a mini greenhouse effect by covering the pot with a plastic bag or dome.
- Root Formation: In a few weeks, the cuttings will develop roots. Keep the soil consistently moist and maintain a warm, bright environment.
3. Division: Sharing the Joy of Growth
Once your Ironwort plant has established itself, division can be an effective way to increase its numbers.
- Timing is Key: The best time to divide Ironwort is in the spring or fall when the plant is dormant.
- The Division Process: Gently dig up the plant and carefully separate the root ball into smaller divisions. Ensure each division has a healthy root system and some foliage.
- Repotting and Care: Repot the divisions in fresh potting mix, keeping the soil moist and providing adequate drainage.
- Growth and Expansion: With proper care, the divided plants will quickly establish themselves and thrive in their new homes.
Important Considerations for Ironwort Propagation
- Light: Ironwort thrives in well-lit conditions, but avoid direct afternoon sun, especially in hot climates.
- Watering: Keep the soil consistently moist, but avoid overwatering, as this can lead to root rot. Allow the soil to dry slightly between waterings.
- Fertilizing: A balanced liquid fertilizer can be applied every few weeks during the growing season.
By employing any of these propagation methods, you can unlock the potential of your Ironwort plants. This captivating herb, with its unique charm and versatile medicinal uses, will add beauty and benefit to your garden for years to come. So, get your hands dirty, embrace the joy of propagation, and watch as your Ironwort collection flourishes!