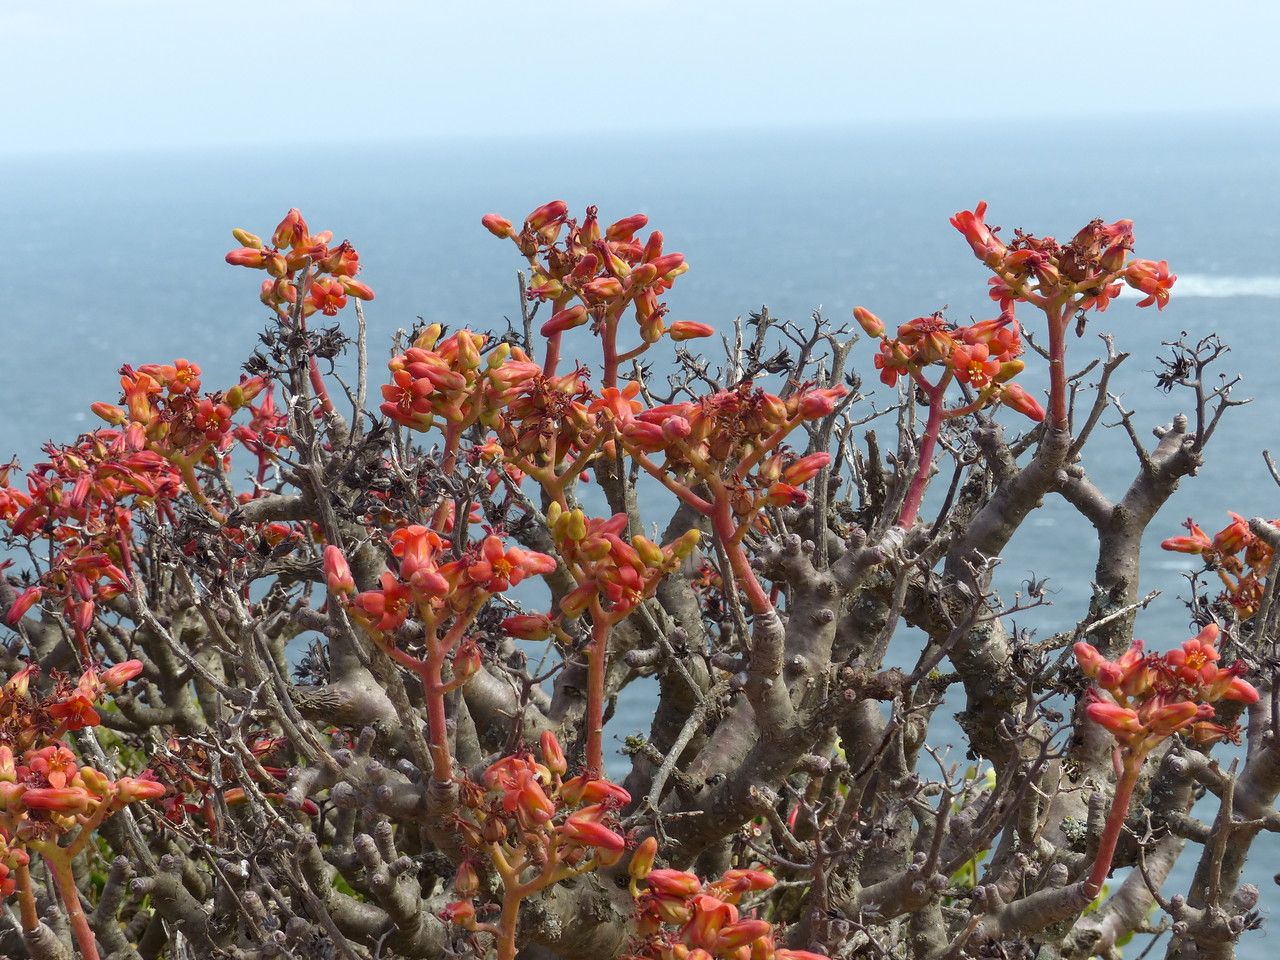
Tylecodon Paniculatus: Unlocking the Secrets to Propagation
Tylecodon paniculatus, also known as the “Hottentot Fig,” is a captivating succulent with unique plump, fleshy leaves and a captivating flowering period. The plant’s popularity stems not only from its striking appearance but also from its relatively easy propagation methods. Whether you’re a seasoned plant enthusiast or just starting your succulent journey, propagating Tylecodon paniculatus is an exciting and rewarding experience. Let’s dive into the different methods and get you growing your very own “Hottentot Figs”!
The Power of Leaf Cuttings:
Leaf cuttings are a popular and highly successful method for Tylecodon paniculatus. Here’s how to do it:
- Select Healthy Leaves: Choose healthy, plump leaves from a mature plant. Avoid any leaves that show signs of stress, disease, or damage.
- Prepare the Cuttings: Carefully twist or snip the leaf at its base, ensuring a clean cut. Allow the cut surface to dry for a few days to form a callous.
- Planting Time: Prepare your planting medium. A well-draining mix of succulent potting soil and perlite is ideal. Gently press the leaf cuttings into the medium, ensuring that the base of the leaf is in contact with the soil.
- Patience is Key: Place the pot in a bright, indirect location. Water sparingly, allowing the soil to dry out completely between waterings. With regular care, your leaf cuttings will produce roots and eventually sprout new plants.
Stem Cuttings: Another Effective Option
Stem cuttings offer another reliable way to propagate your Tylecodon paniculatus. Follow these steps:
- Choose Your Cuttings: Select a healthy stem with at least two leaf nodes (the points where leaves grow).
- Make the Cut: Using sterilized scissors or a sharp knife, make a clean cut just below a leaf node.
- Prepare the Cuttings: Place the stem cuttings in a dry, well-ventilated area for a few days to allow the cut ends to callous over.
- Planting and Care: Plant the stem cuttings in a well-draining potting mix, ensuring that at least one node is buried. Water lightly and maintain a bright, indirect location. New roots will develop, and you’ll soon witness the emergence of new growth.
The Magic of Seeds:
While leaf and stem cuttings are quicker methods, propagating Tylecodon paniculatus from seeds offers its own charm.
- Sowing Seeds: Sow the seeds in well-draining seed starting mix, barely covering them with soil. Water lightly and maintain a consistently moist environment.
- Germination: Maintain a warm, bright location, and your seeds will start to germinate within a few weeks.
- Repotting: Once the seedlings have developed a few true leaves, carefully transplant them into individual pots with well-draining potting mix.
- Careful Care: Continue to provide ample light and regular watering, allowing the soil to dry out between waterings.
Tips for Success:
- Choose the right potting mix: Well-draining mixes are crucial for succulents like Tylecodon paniculatus.
- Provide ample light: These plants thrive in bright, indirect locations.
- Water sparingly: Allow the soil to dry out completely between waterings to prevent root rot.
- Be patient: Propagation can take time, so be patient and persistent.
Enjoy Your New Plants:
Propagating Tylecodon paniculatus is a rewarding experience that allows you to multiply your collection and share the beauty of these fantastic plants with others. Whether you choose leaf cuttings, stem cuttings, or seeds, remember to be patient and keep your excitement levels high, and you’ll soon have your own thriving “Hottentot Figs” to admire.