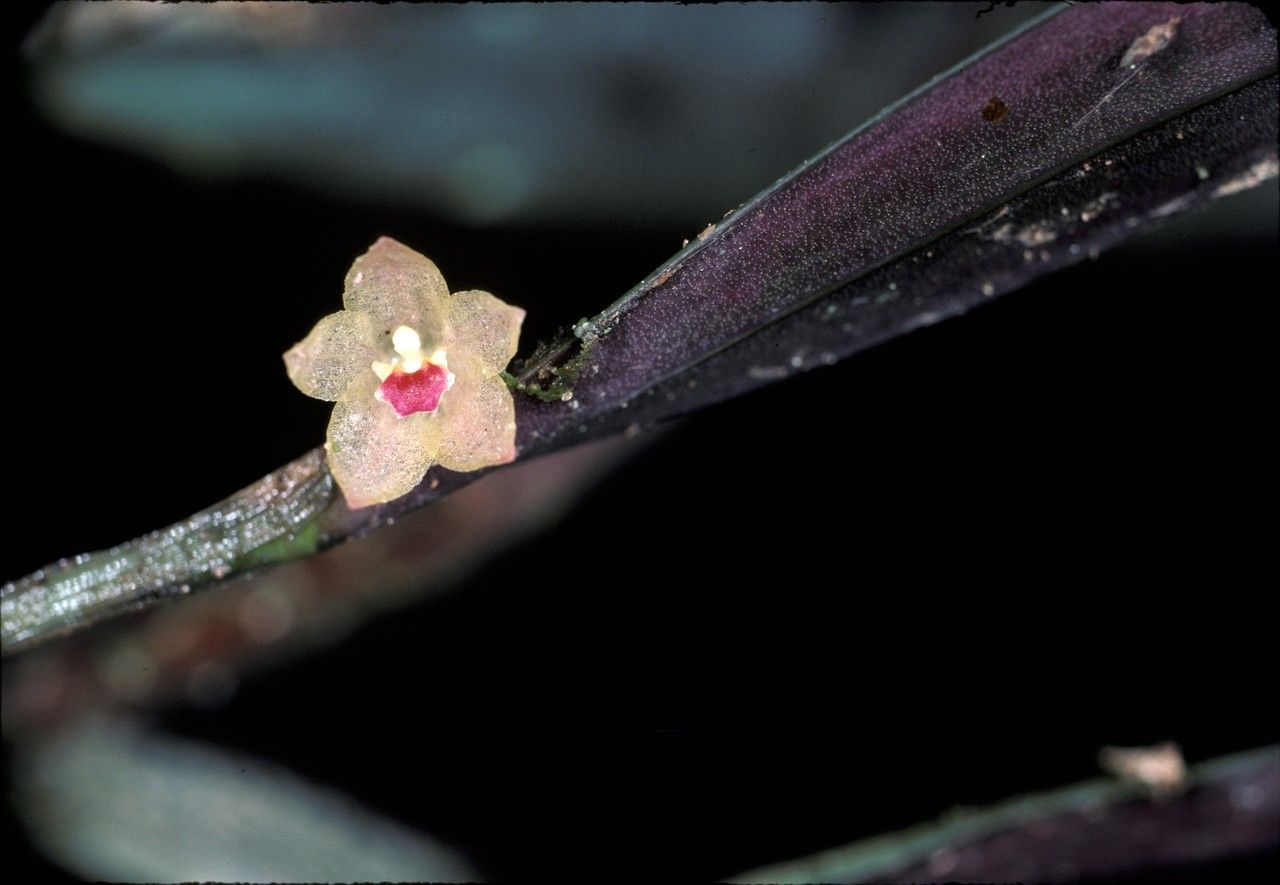
Tiny but Mighty: Propagating Your Octomeria Minor Orchid
The Octomeria minor, with its delicate, star-shaped blooms and compact growth habit, is a true gem for any orchid enthusiast. But what if you want to share this beauty with others or simply grow more of these enchanting orchids? The good news is, propagating Octomeria minor isn’t as daunting as you might think!
This blog post will delve into the various methods of propagation, helping you unlock the secrets of multiplying your Octomeria minor collection and sharing its exquisite charm.
1. Division: The Simple and Effective Method
Division is the most straightforward way to propagate Octomeria minor. Here’s how:
- Choose the right time: Spring or early summer is ideal when the plant is actively growing.
- Prepare the plant: Carefully lift the plant from its pot and gently disentangle the roots. Look for distinct, healthy growth points with roots attached. These divisions should be as large as possible.
- Divide the plant: Carefully separate the plant into individual divisions, making sure each has at least a few healthy roots and a growth point.
- Repotting: Pot each division in a well-draining orchid mix and water thoroughly. Place them in a warm, humid environment with bright, indirect light.
Tip: Always use sharp, clean tools for division to prevent fungal infections.
2. Keiki: Clones with a Spark of Life
Keikis are miniature plantlets that grow on the flower stalk of the orchid. These little babies can be divided and potted to create new plants.
- Wait for keiki development: Keep an eye out for small, new growth on the flower stalk. Once they develop a few roots, they’re ready for propagation.
- Carefully detach: Use a sharp, clean knife or scissors to cut below the keiki, ensuring you leave a healthy root system intact.
- Ready to plant: Pot the keiki in a small container with sphagnum moss or a well-draining orchid mix, keeping the roots moist but not soggy. Provide bright, indirect light and wait for it to settle in its new home.
3. Seed Propagation: A Challenge for the Dedicated
Seed propagation is a more complicated and time-consuming method but offers a thrilling experience for the dedicated orchid grower.
- Collect ripe seed pods: When the seed pods turn a light brown and start to split, carefully collect them.
- Sterilize and prepare: Sterilize the seeds and the growing medium (usually agar or a specialized orchid seed-starting mix) to avoid fungal growth.
- Sow the seeds: Sow the seeds in a sterile container with the chosen medium and maintain a warm, humid environment.
- Be patient: Germination can take several weeks or months, and seedlings require meticulous care until they are mature enough to transplant.
The Importance of Care and Patience
No matter which propagation method you choose, the key is to provide the right conditions for success.
- Bright, indirect light: Provide sufficient light without direct sunlight, which can scorch the delicate leaves.
- Warm, humid environment: Octomeria minor thrives in warm, humid conditions similar to its natural habitat. You can achieve this with a greenhouse, humidifier, or by grouping your plants together to create a microclimate.
- Water sparingly: Allow the potting mix to dry slightly between waterings, and avoid overwatering, which can lead to root rot.
- Fertilize regularly: Use a balanced fertilizer specifically designed for orchids, applying it in diluted form every few weeks during the growing season.
Sharing the Beauty
Propagating Octomeria minor is not only a way to expand your collection but also a wonderful opportunity to share its beauty with friends, family, and fellow enthusiasts. With a little knowledge, patience, and consistent care, you can easily create new generations of this charming miniature orchid. So why not embark on this exciting journey and share the magic of the Octomeria minor?