Multiply Your Heather Joys: Propagating Erica canaliculata at Home
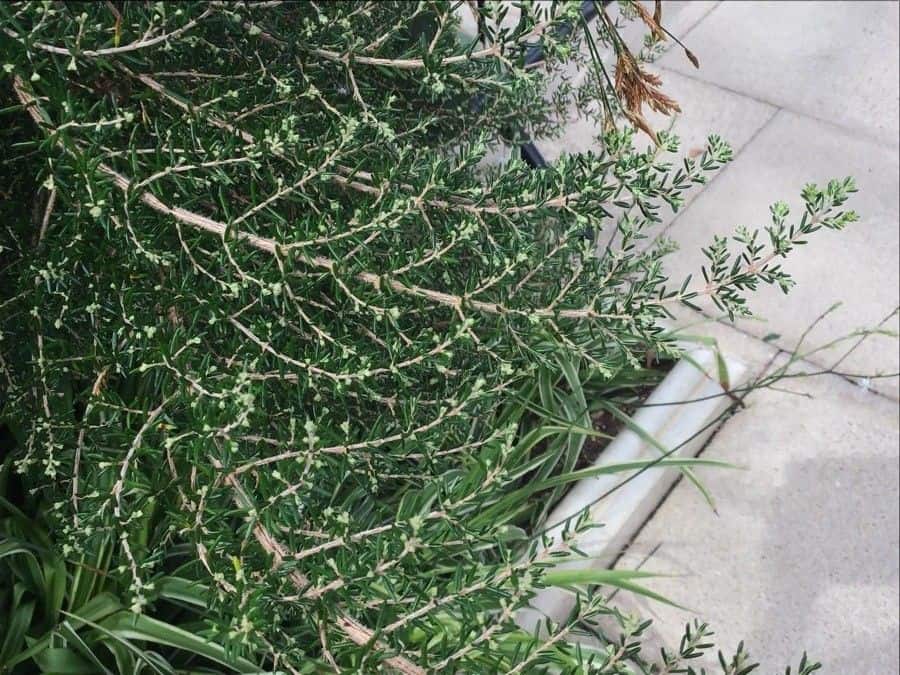
Erica canaliculata, the charming "Channelled Heath" with its cheery pink bells and year-round foliage, is a garden favorite for a reason. And while acquiring new plants is always an option, wouldn’t it be satisfying to multiply your existing beauties yourself? Luckily, propagating Erica canaliculata is an achievable feat for even novice gardeners. This guide will delve into two effective methods: taking cuttings and growing from seed.
Method 1: Cuttings – A Path to Clones
Taking cuttings is the most common and efficient way to propagate Erica canaliculata. This method produces plants genetically identical to the parent, ensuring you retain those desirable traits.
When to Propagate: Late spring to early summer is ideal, when the plant is actively growing.
What You’ll Need:
- Sharp, sterilized pruning shears or a knife
- Seed starting mix or a 50/50 blend of peat moss and perlite
- Small pots (around 3 inches in diameter)
- Rooting hormone (optional but helpful)
- Water
- Plastic bag or propagation dome (optional)
Steps:
Take Your Cuttings: Select healthy, non-flowering stems. Using your sterilized shears, take cuttings about 3-4 inches long, making a clean cut just below a leaf node. Remove leaves from the bottom inch of the cutting.
Prepare the Cuttings (Optional): Dip the cut end in rooting hormone to encourage faster root development.
Planting: Fill your pots with the moistened seed starting mix. Make a small hole in the center of each pot and gently insert the cutting, burying at least one leaf node. Lightly firm the mix around the base.
Creating a Humid Environment: To prevent the cuttings from drying out, you can cover the pot with a clear plastic bag or use a propagation dome. This helps maintain humidity and promotes root development.
Care and Location: Place the pots in a bright location, out of direct sunlight. Keep the soil consistently moist, but avoid overwatering.
- Rooting and Transplanting: In about 6-8 weeks, the cuttings should develop roots. Gently tug on a cutting—resistance signifies root development. Once roots are established, transplant to larger pots or directly into the garden.
Method 2: From Seed – A Touch of Unpredictability
While slightly less predictable, growing Erica canaliculata from seed can be a rewarding experience. Keep in mind that seedlings might not inherit all the characteristics of the parent plant.
When to Sow: Sow seeds in late winter or early spring.
What You’ll Need:
- Erica canaliculata seeds
- Seed starting mix
- Seed tray or small pots
- Water
- Plastic wrap or humidity dome (optional)
Steps:
Sowing: Fill your seed tray or pots with the seed starting mix. Sprinkle seeds evenly over the surface, pressing them lightly into the soil. Do not bury the seeds, as they require light to germinate.
Creating Humidity: Mist the surface with water and cover the tray with plastic wrap or a humidity dome to maintain moisture and warmth.
Light and Warmth: Place the tray in a bright location, out of direct sunlight. Maintain a consistent temperature of around 65-75°F (18-24°C).
Germination: Be patient! Germination can take anywhere from a few weeks to a couple of months. Keep the soil consistently moist but not waterlogged.
- Transplanting: Once seedlings have developed a couple of true leaves, you can carefully transplant them into individual pots or into the garden after the last frost.
Patience is Key
Whichever propagation method you choose, remember that patience is vital. Erica canaliculata propagation requires time and care. By following these steps and providing the right conditions, you’ll be rewarded with an abundance of these beautiful heaths to grace your garden for years to come.