From One to Many: Unveiling the Secrets of Tassadia Cordata Propagation
Have you ever fallen in love with a plant, only to wish you could have more of its beauty in your home? For the owner of a Tassadia cordata, a lovely succulent with captivating heart-shaped leaves, that desire is easily realized. This plant is a champion of propagation, readily sharing its abundance through a variety of easy methods.
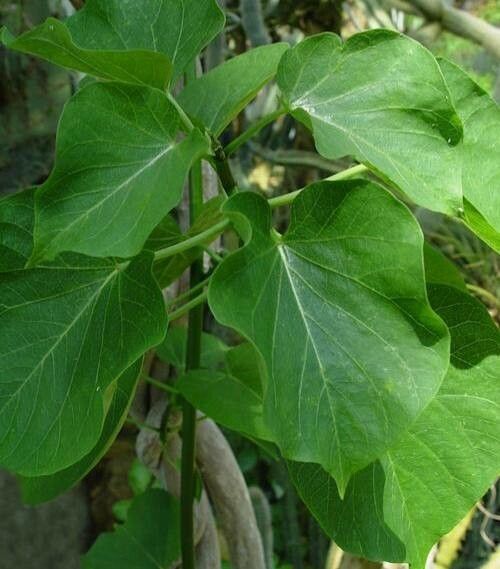
Tassadia cordata, also known as “heartleaf” or “milk bush” (due to its milky sap), is a stunning addition to any indoor collection. Its vibrant green leaves, often adorned with delicate variegation, create an undeniably charming aesthetic. But beyond its beauty, Tassadia cordata is known for its impressive resilience and ability to thrive in a variety of environments. This includes its propagation methods, making it a favorite among plant enthusiasts.
Stem Cuttings: A Simple and Effective Method
Perhaps the most popular and accessible method of propagation for the Tassadia cordata is through stem cuttings. Here’s how to do it:
- Select a healthy stem: Choose a stem that is about 4-6 inches long and has at least two nodes (the points where leaves grow).
- Make a clean cut: Using a sharp knife or pruning shears, make a clean cut just below a node.
- Allow to callous: Leave the cutting in a dry, cool place for a few days to allow the cut end to callous over. This helps prevent rot during the rooting process.
- Plant in rooting medium: Select a well-draining potting mix, such as a cactus and succulent soil, and plant the cutting about 1-2 inches deep. Ensure you bury the node in the soil.
- Provide indirect light: Place the potted cutting in a bright spot with indirect light. Avoid direct sunlight, which can quickly dry out the cutting.
- Keep soil slightly moist: Water the cutting regularly, but avoid overwatering. Allow the top layer of soil to dry slightly between waterings.
- Patience is key: With consistent care, the Tassadia cordata cutting should start to sprout roots within a few weeks.
Leaf Propagation: A Fun Experiment
For a rewarding and slightly more challenging propagation method, consider leaf cuttings.
- Choose healthy leaves: Select plump and healthy leaves from the plant.
- Prepare the leaves: Detach the leaves at the base, making a clean cut.
- Allow to callous: Let the leaves dry for a few days in a cool, dry place. This will help them callus over and prevent rot.
- Layering for success: Place the leaves on a well-draining potting mix, ensuring they are in light contact with the soil.
- Light and moisture: Provide indirect light and keep the soil slightly moist.
- New plant emergence: Over time, you may start to see tiny plantlets developing from the base of the leaf. Once these plantlets have a couple of leaves, gently separate them from the parent leaf and pot them individually in well-draining soil.
Tips for Successful Propagation
- Clean tools: Always sterilize your cutting tools with rubbing alcohol before use to prevent the spread of disease.
- Use rooting hormone: Applying rooting hormone powder to the cut end can encourage root growth and increase the chances of success.
- Avoid overwatering: Overwatering is a common culprit in propagation failures. Allow the soil to dry slightly between waterings.
- Observe the cuttings: Monitor the cuttings closely for signs of root growth or other changes. If they start to wilt, adjust watering or lighting as needed.
Multiplying Your Green Treasures
Propagation is a rewarding experience that allows you to multiply your beloved plants and share their beauty with others. With the right techniques and a little patience, you can easily create a whole new generation of Tassadia cordata plants, adding a vibrant touch to your home and filling your heart with the joy of gardening.