“Amplifying” Your Green Thumb: Propagating Peperomia Amplexicaulis
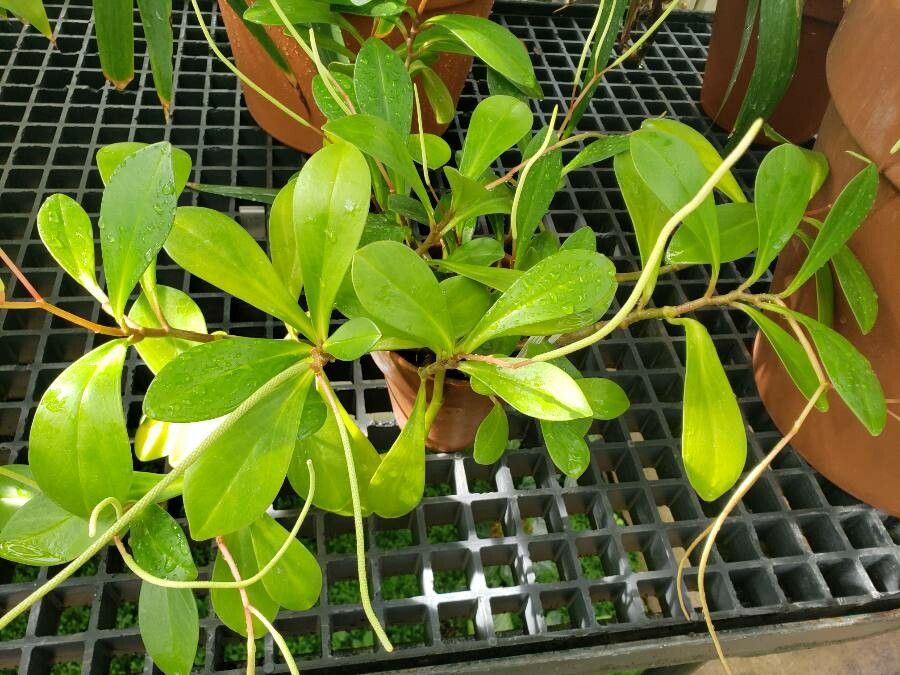
Peperomia amplexicaulis, with its vibrant green foliage and unique, almost sculptural shape, is a popular choice for indoor plant enthusiasts. But what if you could create even more of these beauties? Enter the world of propagation! This method allows you to create new plants from existing ones, expanding your green haven with little effort.
Why Propagate Peperomia Amplexicaulis?
Aside from adding to your plant collection, propagation offers several advantages:
- Affordability: It’s a cost-effective way to increase your plant inventory without shelling out for new ones.
- Preservation: Propagating your existing plants ensures you have backups in case something happens to the original.
- Sharing: It’s a fantastic way to share your love for plants with friends and family.
Methods for Propagating Peperomia Amplexicaulis:
There are two primary methods for propagating your Peperomia amplexicaulis:
1. Leaf Cuttings: This is the most common and arguably the easiest method.
- What you need: A sharp, clean knife or scissors, a small pot with well-draining potting mix, and water.
- Steps:
- Choose a healthy leaf from the plant, ideally one that’s fully grown.
- Cut the leaf just below the node (the point where the leaf attaches to the stem).
- Option A: Place the leaf cutting in a jar of water, ensuring the base is submerged. Make sure to change the water regularly.
- Option B: Plant the cutting directly into the potting mix, burying the base of the leaf. Keep the soil moist.
- Patience is key: It may take a few weeks for roots to develop. You’ll notice new growth emerging from the base of the leaf – a sure sign of successful propagation!
2. Stem Cuttings: This method is slightly more intricate but allows you to propagate multiple plants from a single stem.
- What you need: A sharp, clean knife or scissors, a small pot with well-draining potting mix, and rooting hormone (optional).
- Steps:
- Cut a section of the stem, ensuring it contains at least two nodes.
- Option A (Air layering): Make a shallow incision between the nodes and surround it with damp sphagnum moss. Secure the moss with plastic wrap. Once roots develop, cut below the roots and plant the cutting.
- Option B (Water propagation): Place the cutting in a jar of water, ensuring the bottom node is submerged. After roots form, plant the cutting in the potting mix.
- Option C (Direct planting): Dip the base of the stem cutting in rooting hormone (optional) and plant it directly into the potting mix.
- Wait and watch: New growth usually emerges from the nodes, indicating successful propagation.
Tips for Success:
- Sterility: Maintaining clean tools and a sterile environment will help prevent infections.
- Light: Provide bright, indirect light during the propagation process.
- Humidity: Maintaining a humid environment can help optimize root development. You can achieve this by covering the container with a plastic bag or using a plant dome.
- Patience: Propagation takes time, so be patient and persistent.
Embrace the Wonder of Propagation!
Propagating Peperomia amplexicaulis is a rewarding experience that allows you to create new life and expand your plant collection. So, grab your tools, gather your supplies, and enjoy the journey of nurturing these fascinating plants. You’ll be amazed at the sheer joy of witnessing new life emerge from seemingly simple cuttings!