
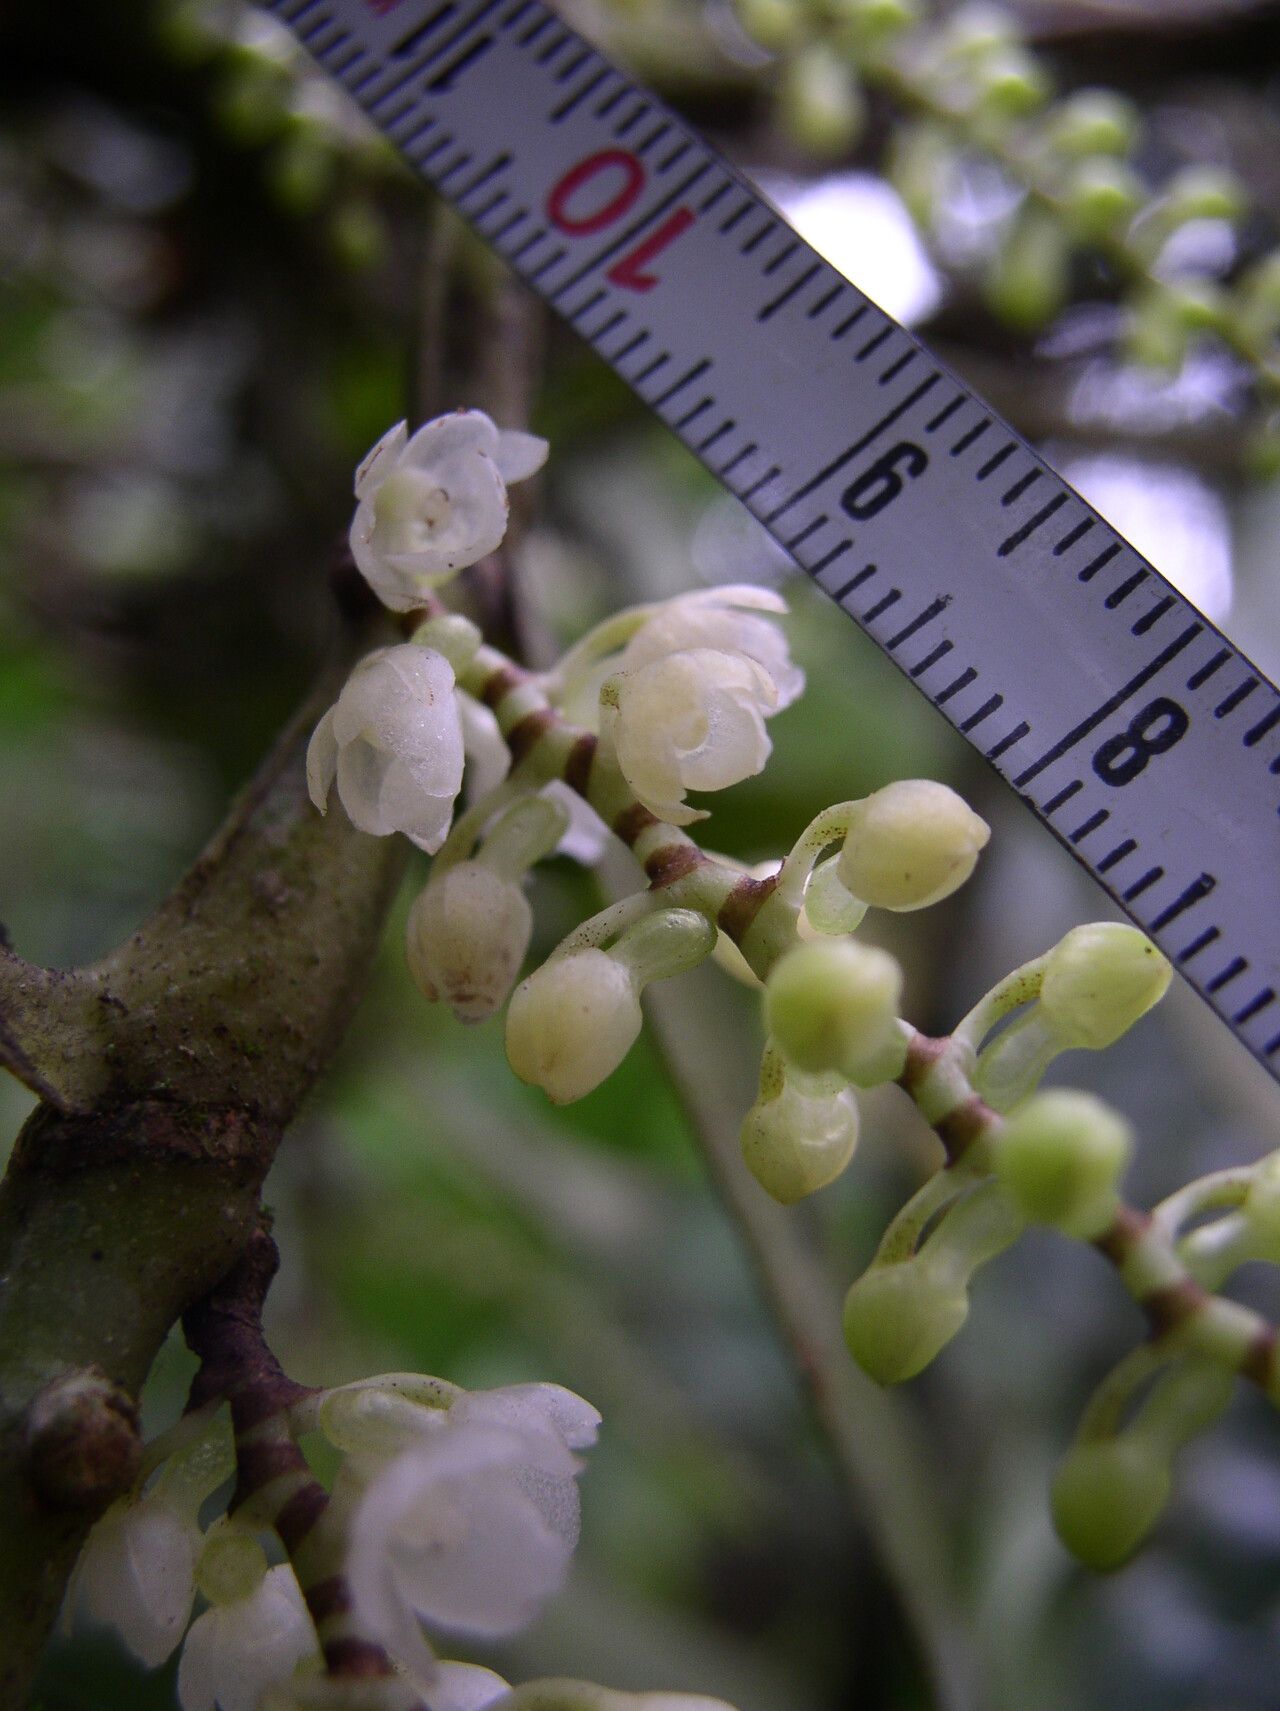
Unveiling the Secrets of Rhipidoglossum densiflorum Propagation: A Journey from Seed to Bloom
The Rhipidoglossum densiflorum, with its captivating clusters of vibrant flowers, is a true gem of the orchid world. But how do you bring this beauty into your home garden? The answer lies in the art of propagation, the process of creating new plants from existing ones. While it might sound complex, propagating Rhipidoglossum densiflorum is achievable with the right knowledge and a touch of patience.
Seeds: The Tiny Beginnings of a Magnificent Orchid
The most common method of Rhipidoglossum densiflorum propagation involves using its tiny, dust-like seeds. These seeds lack the nutritional reserves found in larger seeds, making them dependent on a symbiotic relationship with a specific fungus for germination.
The Symbiotic Dance of Fungus and Seed
The fungal partner provides nutrients to the young orchid seedling, assisting in its growth and development. However, creating this symbiotic environment in a home setting is quite challenging. Specialized labs with expertise in orchid propagation are typically needed for successful seed germination.
A Simpler Alternative: Division
If you’re new to orchid propagation, a more practical and rewarding method is division. This technique separates a mature plant into multiple divisions, each containing its own roots and leaves. It offers a higher success rate for hobbyists.
Dividing Your Rhipidoglossum densiflorum
Here’s what you’ll need:
- A healthy, mature Rhipidoglossum densiflorum plant – Choose a plant with multiple growths to ensure each division has enough roots and foliage.
- Sharp, sterilized knife or gardening shears – Tools should be sterilized with rubbing alcohol to prevent infection.
- Well-draining potting mix suitable for orchids – Look for mixes containing bark, perlite, and sphagnum moss.
- Clean pots or containers
- Gloves (optional)
Follow these steps:
- Prepare the plant: Carefully remove the Rhipidoglossum densiflorum from its pot and gently brush away any excess potting mix.
- Identify divisions: Look for healthy growths with multiple leaves and a decent root system.
- Divide the plant: Using your sterilized knife or shears, carefully cut the plant into separate divisions, ensuring each section has roots and foliage.
- Prepare divisions: Trim any damaged or decaying roots.
- Repot the divisions: Choose pots that are slightly larger than the roots. Plant each division in the fresh orchid potting mix, ensuring the base of the plant sits slightly above the soil level.
- Watering: Water the divisions well, allowing the excess water to drain away.
- Acclimatize: Place the repotted divisions in a shaded location for a couple of weeks until they establish themselves.
Care and Considerations
- Humidity is key: Rhipidoglossum densiflorum thrives in moderately high humidity. Misting or using a humidifier can help.
- Water sparingly: Allow the potting mix to dry out between waterings.
- Light requirements: Provide bright, indirect light. Avoid direct sunlight, which can scorch the leaves.
- Temperature: Maintain a warm environment, ideally between 65-80°F (18-27°C), with moderate to moderate-high humidity.
Patience and Rewards
Remember, propagation takes time and patience. The newly divided plants may take several months to establish themselves and produce new growth. But with care and attention, your Rhipidoglossum densiflorum divisions will eventually reward you with their captivating blooms, adding a touch of elegance to your home.
Embark on Your Propagation Journey
Propagating your Rhipidoglossum densiflorum can be a rewarding experience, allowing you to share this beautiful orchid with others or expand your own collection. Embrace the journey, from the tiny seeds to the magnificent blooms, and discover the joy of cultivating this unique orchid species.