From Seed to Seed: Unveiling the Secrets of Agrostis pilosula Propagation
For those with a green thumb and a penchant for the finer things in lawn care (or perhaps a touch of botanical curiosity), the name “Agrostis pilosula” may elicit a puzzled frown. But trust us, this unassuming plant deserves a closer look, especially when it comes to understanding its propagation. Agrostis pilosula, commonly known as velvet bentgrass, is a delicate yet resilient species valued for its soft texture, vibrant green color, and adaptability to various climates.
So, how can you unlock the magic of growing your own velvet bentgrass? Let’s dive into the world of propagation, demystifying the process and providing you with the knowledge to cultivate your own lush, velvety patch.
A Two-Pronged Approach: Seeds and Spreads
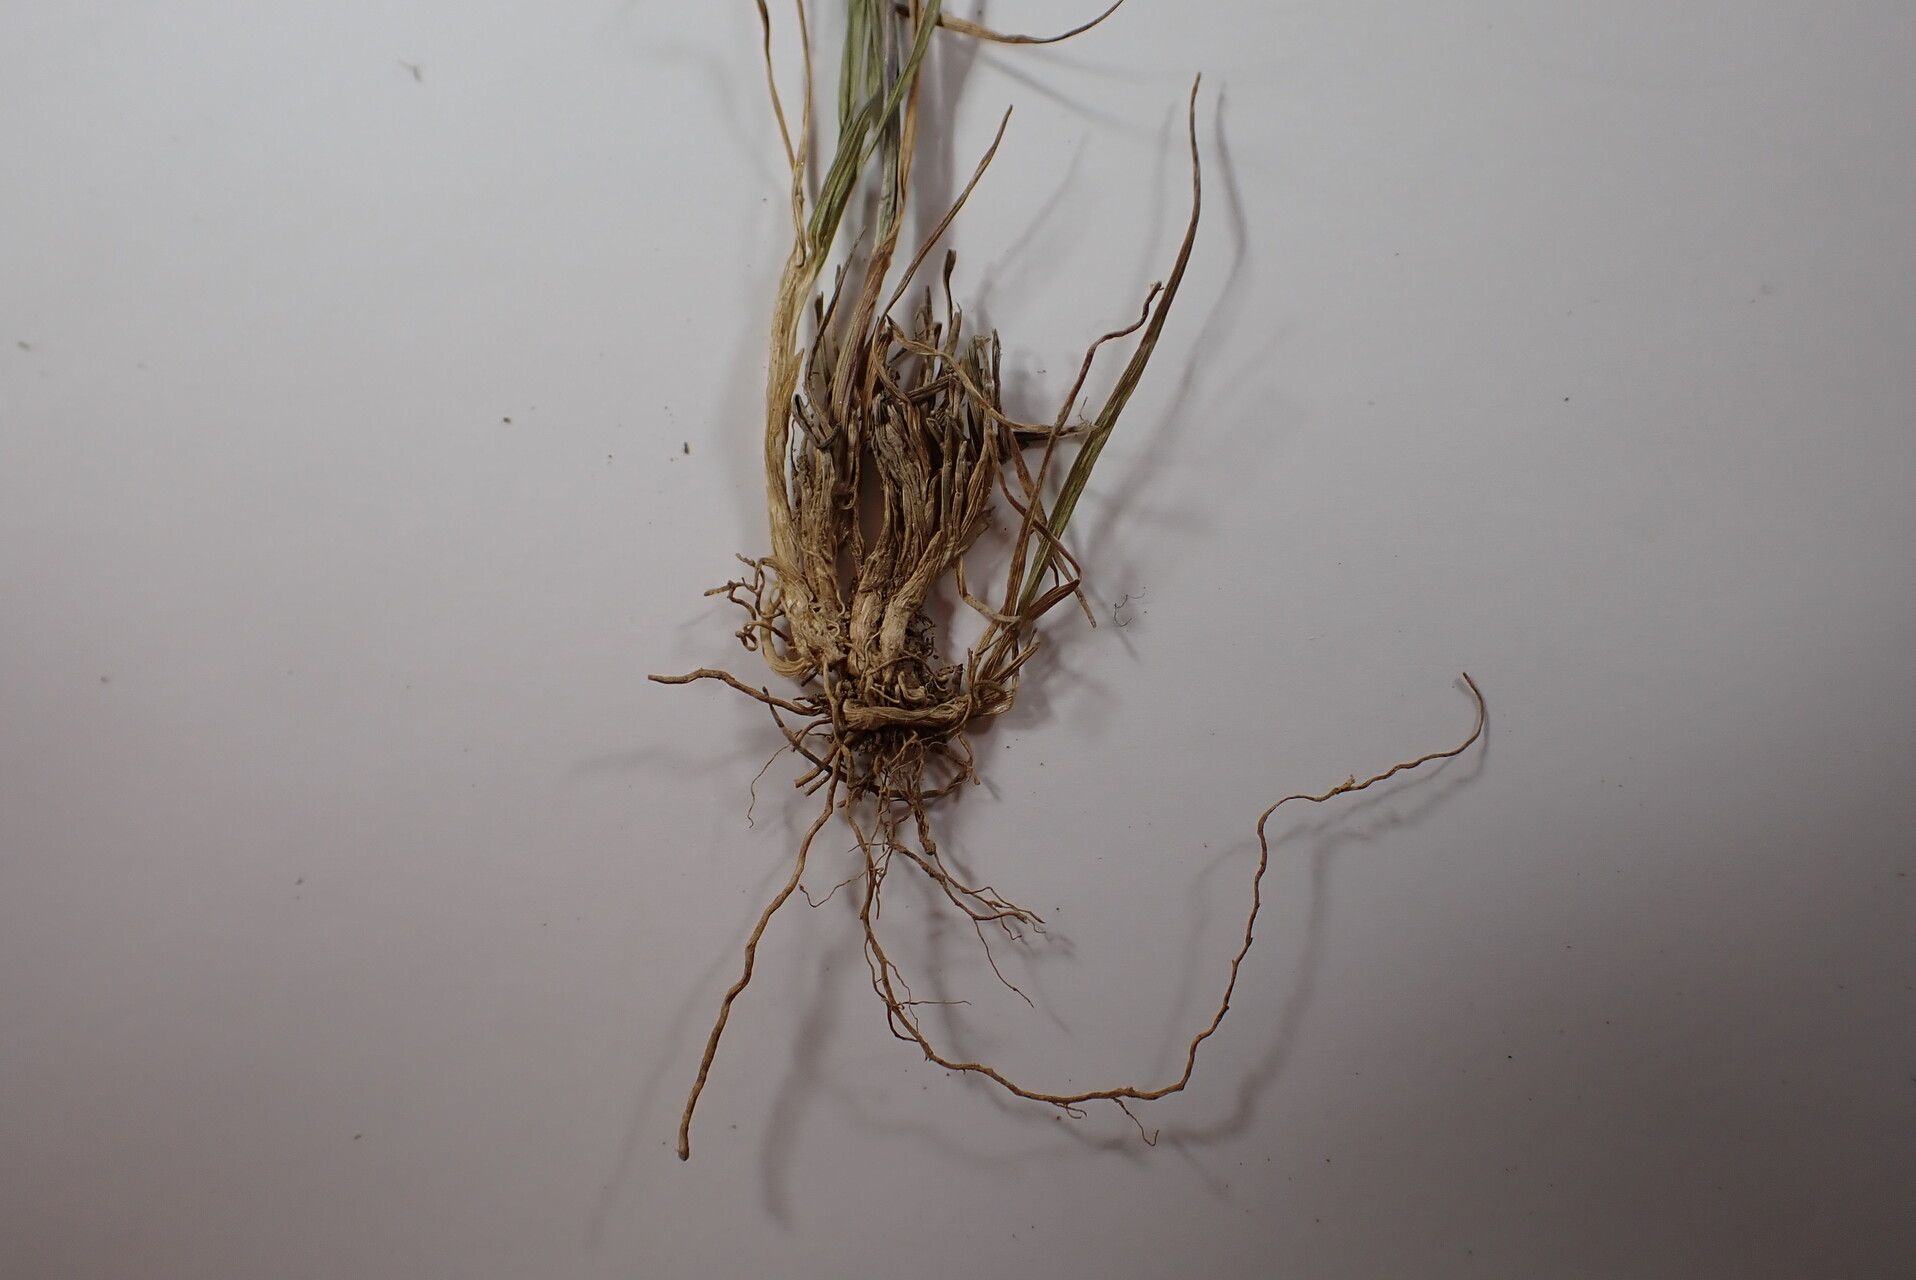
Agrostis pilosula offers two primary methods for propagation: seeds and stolons.
From Seed to Sprout: Seeds are the cornerstone for starting a new patch of velvet bentgrass. This method is ideal for establishing large areas, as seeds are readily available and easy to handle.
- Stolon Success: The alternative path lies in the use of stolons, which are above-ground stems that sprout roots and develop new plants. This method is particularly effective in smaller areas and allows for faster propagation than using seeds. Simply take a healthy stolon from an existing plant, cut it into sections, and plant each section in a suitable location.
Cultivating Success: A Step-by-Step Guide
Whether you choose seeds or stolons, cultivating velvet bentgrass requires a methodical approach. Here’s a breakdown:
Step 1: Soil Preparation: Agrostis pilosula thrives in well-drained, sandy loam soil with a slightly acidic pH. Before planting, amend the soil with compost or well-rotted manure to improve drainage and fertility.
Step 2: Seeding or Stolon Placement: In the case of seeds, sow them evenly at a depth of 1/4 inch. Water gently after planting. For stolons, ensure the nodes (where roots sprout) are in contact with the soil.
Step 3: Water, Water, Water: Consistent moisture is key to successful germination and growth. Keep the soil moist but not waterlogged. Regular watering, especially during hot weather, is essential.
Step 4: Cutting Back the Competition: Remove any weeds that may compete with the developing Agrostis pilosula. This allows for healthy growth and a lush, even carpet.
Step 5: Time for a Trim: Once your velvet bentgrass has established itself, you can begin mowing regularly to maintain its desired height and shape.
A Note of Caution: Agrostis pilosula is a delicate grass. Avoid overwatering, excessive fertilizer use, and harsh chemicals, as these can negatively impact its healthy growth.
Patience and Perseverance: While the initial stages may require some careful attention, the rewards of nurturing your own patch of Agrostis pilosula are plentiful. Enjoy the texture beneath your feet, the vibrant green hue, and the beauty of a truly unique lawn.