Unlocking the Magic of the Tanbark Oak: A Guide to Notholithocarpus densiflorus Propagation
The Tanbark Oak, or Notholithocarpus densiflorus, is a stunning, drought-tolerant tree native to California. Its unique bark, reminiscent of a woven tapestry, and captivating foliage make it a prized addition to any landscape. But did you know the magic of this species extends beyond its beauty?
Propagating Tanbark Oaks is a rewarding journey, allowing you to grow your own piece of the Californian wilderness. And while it might seem intimidating, the process is surprisingly simple and accessible, even for novice gardeners.
From Seed to Sapling: The Journey Begins
The most common method of propagating Tanbark Oaks is through seeds. These seeds are readily available from reputable nurseries and online retailers.
Here’s how to embark on your seed propagation journey:
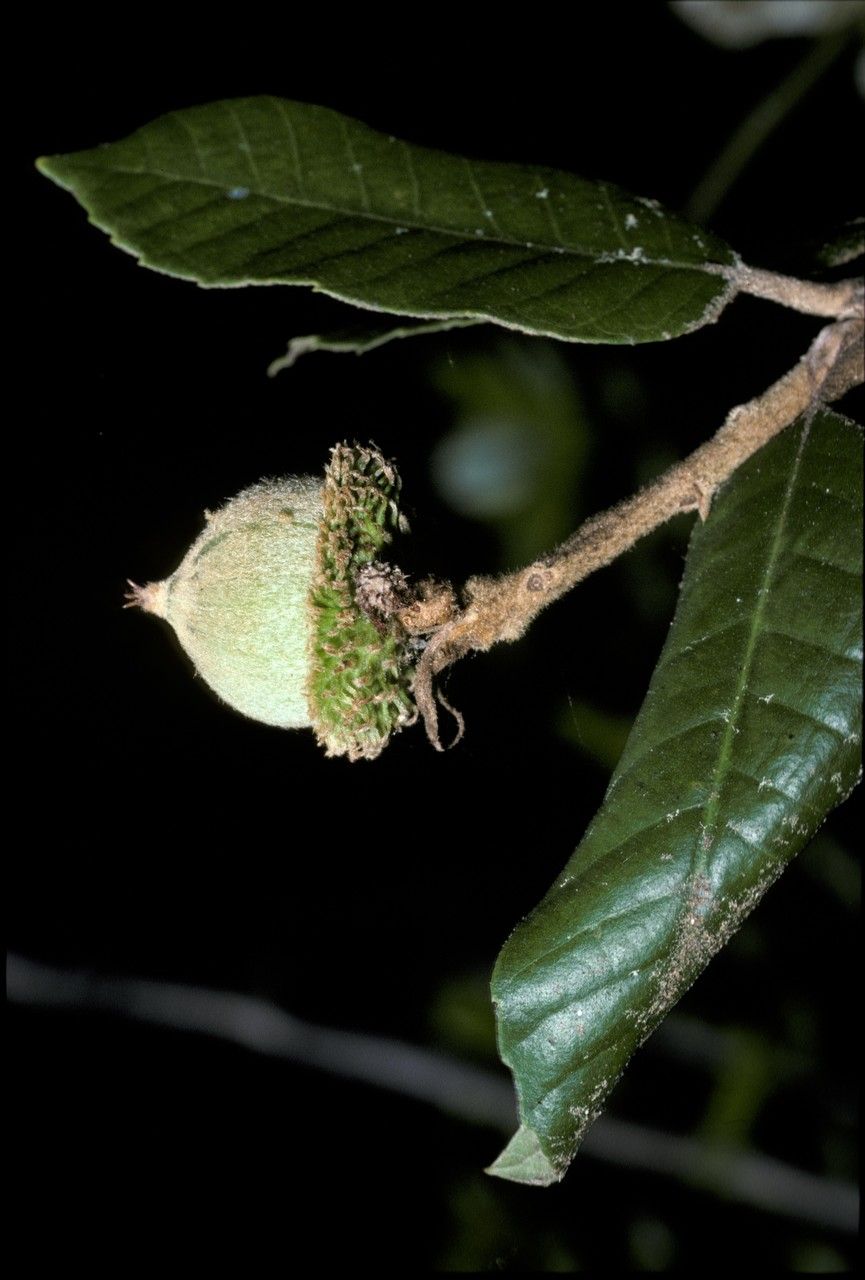
- Collect your seeds: Opt for mature acorns, identified by their brown, smooth exterior.
- Clean and stratify: Remove any debris from the acorns, then soak them in water for 24 hours. After this, place them in a moist medium (like peat moss or vermiculite) in a refrigerator for 60-90 days. This process, called stratification, mimics the natural winter dormancy and encourages germination.
- Plant your seeds: Once the stratification period is over, sow your acorns in seed trays filled with a well-draining potting mix. Ensure the seeds are planted about an inch deep and maintain a consistent moisture level.
- Patience is key: Tanbark Oak seedlings may take months to emerge, so be patient and persistent.
The Art of Cuttings: A Faster Route
While seed propagation offers the thrill of witnessing a tree grow from scratch, it can be a time-consuming process. For those seeking a faster route, try the cutting method:
- Timing is crucial: The ideal time to take cuttings is during the late spring or early summer, when the plant is actively growing.
- Select your cuttings: Choose healthy, young shoots that are about six inches long. Snip them with a clean, sharp knife, leaving a portion of the parent branch with a “heel”.
- Prepare the cuttings: Remove any leaves below the soil line, then dip the cut ends in rooting hormone to encourage root development.
- Plant and nurture: Insert the cuttings into a pot filled with a well-draining potting mix, leaving only the top leaf node exposed. Cover the pot with a clear plastic bag or dome to maintain humidity and warmth.
Tips for Success:
- The right environment: Tanbark Oaks thrive in full sun and well-drained soil. Make sure your chosen location allows for sufficient sunlight exposure.
- Water wisely: While Tanbark Oaks are drought-tolerant, they need regular watering, especially during their early growth stages.
- Patience and persistence: Propagation is a process that requires patience and care. Don’t be discouraged if you experience setbacks.
Beyond the Garden: The Importance of Tanbark Oak Propagation
Propagating Tanbark Oaks isn’t just about beautifying your landscape. It’s about contributing to the conservation of a vital species. Tanbark Oaks are facing habitat loss and are increasingly threatened by disease. By cultivating these trees, you are playing a crucial role in ensuring their future.
So, embark on your Tanbark Oak propagation journey today. With a little time and effort, you can grow a piece of California’s natural beauty right in your own backyard. And remember, every seedling you nurture is a victory for both your garden and the environment.