From Seeds to Success: Propagating the Chilean Bellflower
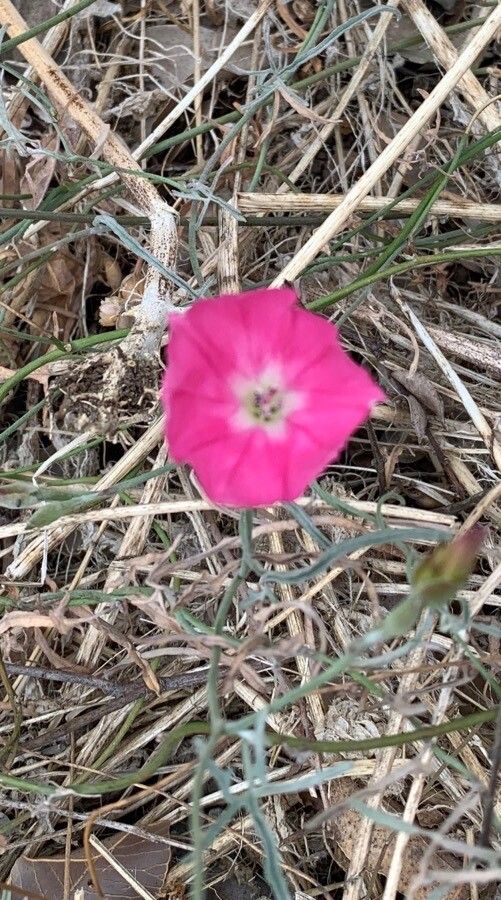
Convolvulus chilensis, also known as the Chilean Bellflower, is a captivating plant, renowned for its vibrant, bell-shaped blooms and trailing habit. If you’re looking to add a touch of Chilean charm to your garden, propagating this beauty is a rewarding experience. But how do you go from tiny seeds to a flourishing cascade of vibrant blooms?
Let’s dive into the world of Convolvulus chilensis propagation, exploring the different methods and sharing tips for success.
From Seed to Sprout:
- Sowing Seeds: The most common method of propagation for C. chilensis is through seeds. Start by sowing your seeds indoors, ideally in early spring, a few weeks before the last frost.
- Preparation: Fill small pots or seed trays with a well-draining seed-starting mix. Lightly press the seeds into the soil, just barely covering them, and mist the soil gently.
- Light & Temperature: Cover the pots with plastic wrap to create a mini greenhouse to retain moisture. Place them in a bright spot, but avoid direct sunlight. Maintaining a temperature around 70°F is crucial for optimal germination.
- Germination: Chilean Bellflowers typically germinate within 14 to 21 days. As soon as seedlings emerge, remove the plastic wrap and provide consistent moisture.
From Cutting to Clone:
- Taking Cuttings: C. chilensis can also be propagated through stem cuttings, though this method is slightly less common.
- Selecting Cuttings: Choose healthy, non-flowering stems with at least two sets of leaves.
- Preparing Cuttings: Cut the stem just below a node (where a leaf grows), making a clean, angled cut to encourage root development.
- Dipping & Planting: Dip the cut end of the stem in rooting hormone to boost the rooting process. Plant the cutting in a pot filled with a moist rooting mix. Place a plastic bag over the pot to create a humid environment.
- Root Development: Root development typically takes about 4 weeks. Keep the rooting medium consistently moist, and ensure the cuttings receive indirect sunlight.
Nurturing Your New Plants:
- Transplanting: Once your Chilean Bellflower seedlings or cuttings are robust, they are ready to be transplanted outdoors.
- Choosing a Location: C. chilensis thrives in well-drained soil and sunny locations.
- Hardening Off: Before transplanting, gradually acclimate your seedlings or cuttings to outdoor conditions by exposing them to increasing amounts of sunlight and wind for a week or two.
- Planting & Care: Plant your Chilean Bellflowers in the garden, spacing them about 12-18 inches apart. Water regularly, especially during dry periods. Pruning them regularly will encourage bushier growth and more blooms.
Tips for Success:
- Good Soil: C. chilensis performs best in well-drained soil. If your soil tends to be heavy, add some compost or sand to improve drainage.
- Water Wisely: While regular watering is important, avoid overwatering, which can lead to root rot.
- Early Bloom: To encourage early blooming, pinch off the first few flower buds. This will force the plant to focus its energy on developing a strong root system, leading to a more prolific bloom later.
With a little patience and care, you can successfully propagate your own Chilean Bellflowers. Whether you’re starting from seed or taking cuttings, you’ll be rewarded with a stunning plant that’s sure to attract admiration and bring a touch of Chilean charm to your garden.