
Unlock the Secrets of Propagation: Growing Your Own Olearia Haastii
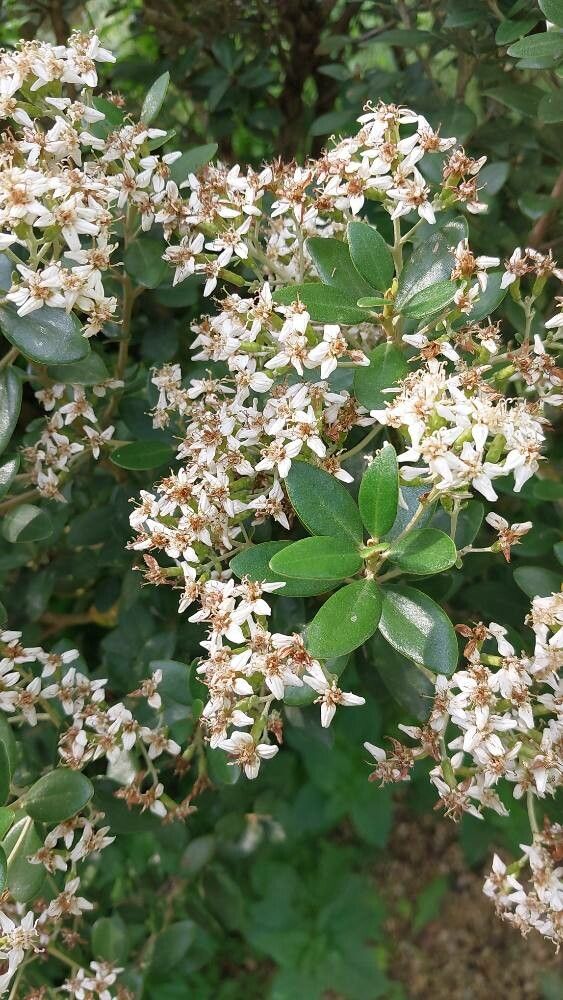
The Olearia haastii, also known as the “mountain daisy bush,” is a stunning evergreen shrub native to New Zealand. With its beautiful silver-grey foliage and charming daisy-like flowers, this plant is a favorite among gardeners. But did you know that propagating this gorgeous shrub is not as daunting as it might seem? Let’s unlock the secrets of growing your own Olearia haastii from cuttings, seeds, and even divisions.
The Art of Propagation: A Comprehensive Guide
1. Propagation by Cuttings:
This method is the most popular for Olearia haastii, offering a reliable way to produce new plants. Here’s what you need to do:
- Timing is Key: The best time to take cuttings is in the late spring or early summer when the plant is actively growing.
- Cutting Selection: Choose healthy, non-flowering stems with firm, new growth. Take cuttings that are about 4-6 inches long.
- Prepare the Cuttings: Use a sharp knife or pruning shears to make a clean cut just below a leaf node. Remove the leaves from the lower 2 inches of the stem, leaving a few leaves at the top.
- Rooting Medium: Use a well-draining potting mix designed for cuttings.
- Dip and Plant: Dip the cut ends of the cuttings in rooting hormone, then plant them into the potting mix, ensuring the leaves are above the soil line.
- Maintain Humidity: Cover the cuttings with a plastic dome or bag to create a humid environment. Place them in a bright, shaded area away from direct sunlight.
- Patience is Virtue: Keep the soil lightly moist and wait for roots to develop, which can take anywhere from 4 to 8 weeks.
2. Propagation from Seed:
While a bit more time-consuming, starting Olearia haastii from seed can be rewarding.
- Harvest Seeds: Collect ripe seeds from the plant in autumn.
- Prepare the Seedling Mix: Choose a seed starting mix designed for fine seeds and fill a seed tray or pots.
- Sowing the Seeds: Sow the seeds on the surface of the mix and lightly press them in.
- Watering and Germination: Water gently from the bottom to avoid disturbing the seeds. Cover the tray or pots with a clear plastic dome or cling film to maintain humidity. Keep the mix moist and place the container in a bright, warm location.
- Patience and Transplanting: Germination can take several weeks. Once the seedlings have a few true leaves, they can be transplanted into individual pots.
3. Division:
This technique works best for established plants and involves separating sections of the plant to create new ones.
- Timing: Spring is the best time to divide Olearia haastii.
- Digging: Carefully dig up the plant and gently separate the root ball into individual sections, ensuring each section has healthy roots and shoots.
- Re-planting: Plant the divisions in their new locations, spacing them appropriately.
Olearia Haastii: A Versatile Plant
Once established, the Olearia haastii thrives with minimal care. They prefer well-drained soil and full sun to partial shade. In colder climates, they may need a bit of winter protection. With its ability to attract beneficial insects, its stunning foliage, and its long-lasting blooms, the Olearia haastii adds a touch of magic to any garden.
By following these simple techniques, you can easily propagate your own Olearia haastii and share the beauty of this stunning plant with others. Whether you choose to propagate by cuttings, seeds, or division, you are embarking on a rewarding journey of plant propagation and bringing the beauty of nature closer to your heart.