
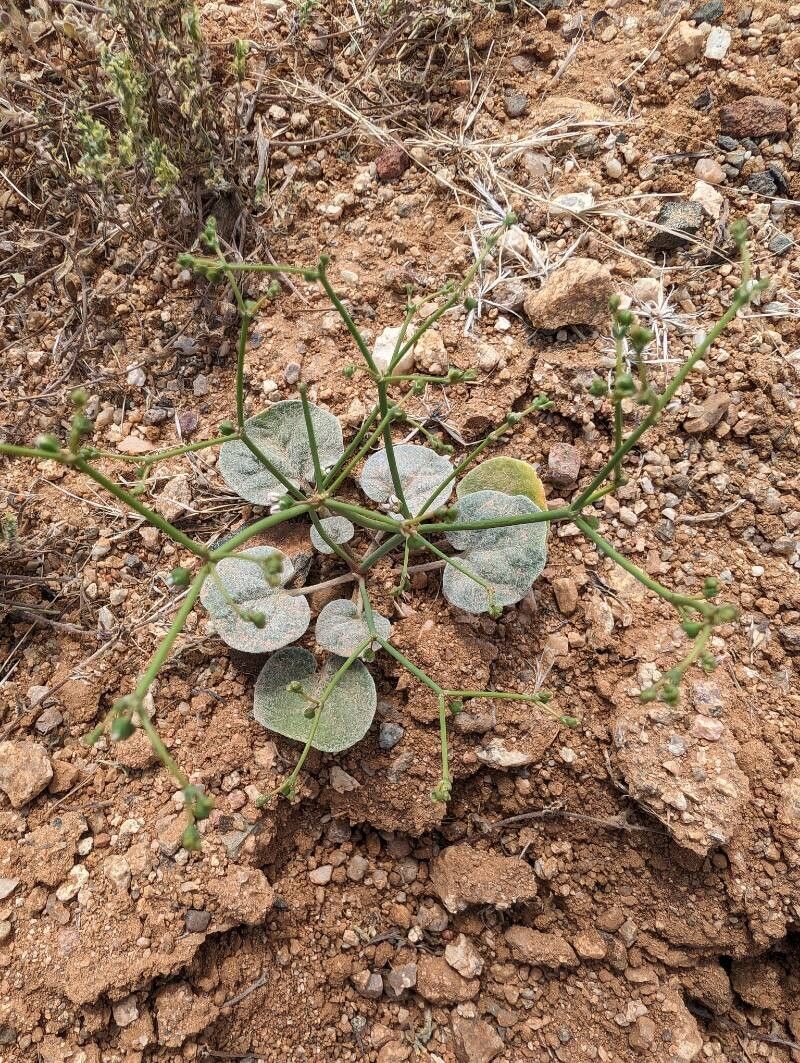
Unlocking the Secrets of Eriogonum deflexum: A Guide to Propagation
Eriogonum deflexum, with its charming, nodding flower clusters and intriguing foliage, is a captivating wildflower that can add a touch of natural beauty to any garden. But what if you could share this beauty with others or expand your own collection? That’s where the exciting world of propagation comes in!
Understanding Eriogonum deflexum’s Propagation Potential
Eriogonum deflexum, like many other wildflowers, can be successfully propagated through both seed and cuttings. Each method has its pros and cons, and choosing the right one depends on your goals and resources.
Seeds: A Journey From Tiny to Towering
- Pros: Seeds are readily available and offer a chance to cultivate a large quantity of plants.
- Cons: Seed germination can be challenging for Eriogonum deflexum, requiring specific conditions like cool stratification (a period of cold exposure). Growth from seed can also be slower than from cuttings.
Getting Started with Seeds:
- Collecting Seeds: If you have mature Eriogonum deflexum plants in your garden, look for the seed heads to turn brown and dry. Carefully collect these heads and store them in a cool, dry place.
- Sowing Seeds: Spring is the ideal time for sowing Eriogonum deflexum seeds outdoors. Prepare your seedbed with well-drained soil, and sow the seeds thinly, covering them lightly with soil.
- Cool Stratification: For best germination success, consider providing a period of cool stratification. This involves chilling the seeds for several weeks before sowing. You can achieve this by placing them in a sealed plastic bag in the refrigerator.
- Patience is Key: Seeds may take several weeks to germinate. Once seedlings emerge, thin them to allow for adequate space for growth.
Cuttings: A Shortcut to Bloom
- Pros: Cuttings offer a faster and more predictable method of propagation, as they bypass the germination phase.
- Cons: Requires a bit more horticultural expertise.
Steps for Successful Cuttings:
- The Perfect Cut: During late spring or early summer, take stem cuttings from healthy, non-flowering stems. Aim for at least 4 inches of stem length, including at least one node (a point where leaves grow).
- Preparation and Planting: Remove the leaves from the bottom inch of the cutting and dip the cut end in rooting hormone. Plant the cuttings in a moist, well-draining medium like perlite or a mix of perlite and vermiculite.
- Environment Matters: Place the cuttings in a warm, humid environment with indirect sunlight. A propagation tray or a covered container can help maintain humidity.
- Rooting Success: With proper care, cuttings should start to develop roots within a few weeks. Once the roots have formed, you can gradually acclimate the cuttings to outdoor conditions and eventually plant them in their permanent location.
Choosing Which Propagation Method is Right for You
Ultimately, the best propagation method for Eriogonum deflexum depends on your needs and experience level. If you’re looking for a challenging but rewarding project, starting from seed can be a great option. For a quicker and more reliable path, cuttings are the way to go.
Remember, with a little effort and patience, you can unlock the secrets of Eriogonum deflexum’s propagation and enjoy the beauty of this wonderful wildflower for years to come.