Sweet Success: Propagating Your Own Stevia maimarensis
The world of plant propagation can seem daunting, but with the right knowledge and a dash of patience, even the most intricate varieties can be successfully multiplied. Today, we’re tackling a plant that’s gaining popularity for its natural sweetness and unique flavor: Stevia maimarensis. Ready to unlock the secrets to propagating this remarkable plant? Let’s dive in!
Why Propagate Stevia maimarensis?
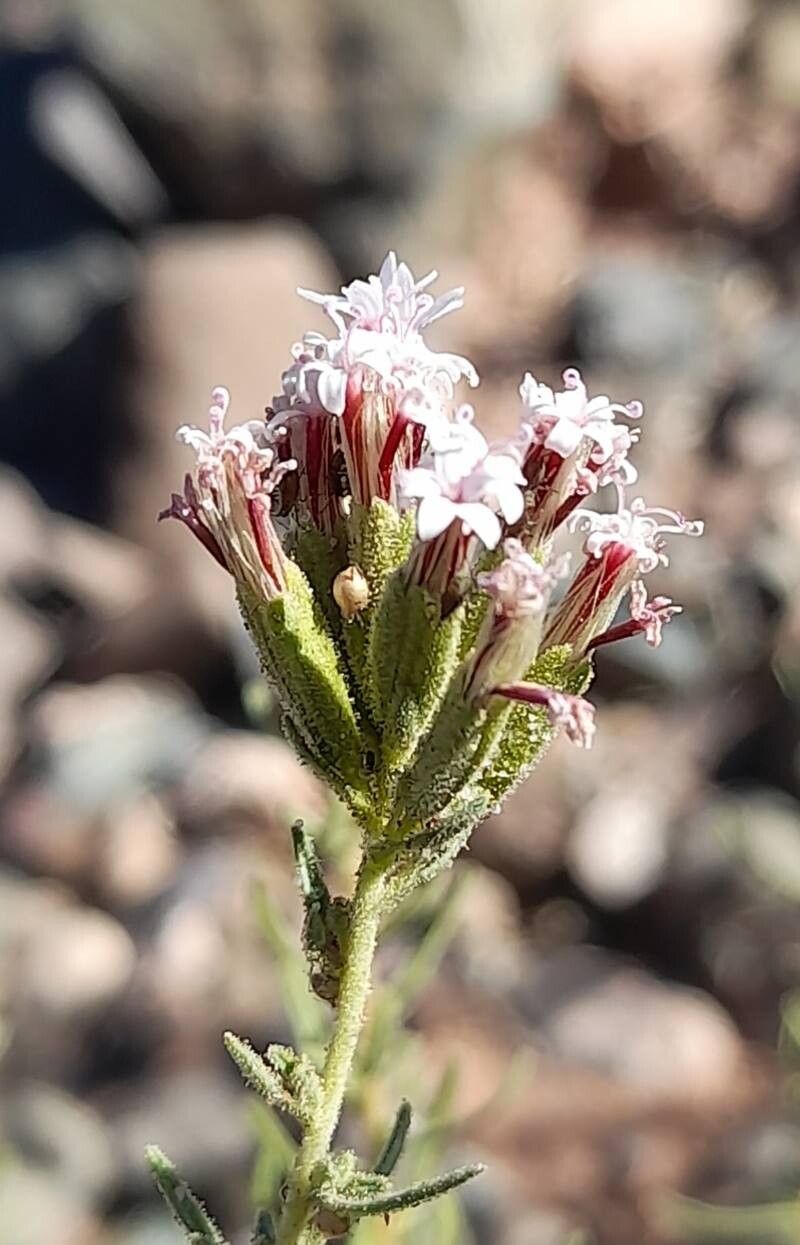
Beyond its sweet appeal, Stevia maimarensis boasts a captivating history. Native to Paraguay, this herbaceous perennial has been cherished for centuries for its natural sweetness and medicinal benefits. With its delicate, aromatic leaves and striking silver-grey foliage, it’s a welcome addition to any garden.
Propagating Stevia maimarensis allows you to:
- Expand your garden: Share this beautiful and functional plant with friends and family, or create a lush patch for your own enjoyment.
- Preserve your favorite plant: Ensure the legacy of a special Stevia maimarensis plant continues to thrive for years to come.
- Save money: Instead of purchasing new plants, start your own with cuttings or seeds, saving you both money and resources.
Methods of Propagation: Unveiling the Possibilities
Stevia maimarensis can be propagated using two common methods: cuttings and seeds. Here’s a breakdown of each:
1. Cuttings: A Simple Approach
This method is the most popular for Stevia maimarensis due to its ease and relatively quick results. Here’s how:
- Select a healthy stem: Choose a non-flowering stem with at least two nodes (the bumps from which leaves grow).
- Cut below a node: Use a sharp, clean knife or pair of scissors to make a 45-degree angle cut just below a node.
- Prepare the cutting: Remove any leaves below the waterline.
- Root in water or soil: You can root your cutting in a glass of water or directly in a pot filled with a well-draining potting mix.
- Maintain moisture: Keep the rooting medium consistently moist but not waterlogged.
- Patience is key: Roots will typically emerge within 2-4 weeks, depending on the environment.
2. Seeds: A Longer Journey
While less common, propagating Stevia maimarensis from seed is possible. Here’s the process:
- Collect seeds: Harvest mature flower heads and carefully extract the small, light brown seeds.
- Sow indoors: Plant the seeds in a seed tray filled with moist, sterile seed-starting mix.
- Provide warmth and light: Maintain a warm and bright environment, ideally with a humidity dome to retain moisture.
- Thin as needed: Once seedlings have established their first true leaves, thin them out to give each plant ample space to grow.
- Transplant outdoors: Once the weather is warm and all risk of frost has passed, transplant your seedlings into their permanent outdoor location.
Essential Tips for Propagation Success
- Fresh cuttings: Use fresh, healthy cuttings for the optimal rooting success.
- Clean tools: Always sterilize your tools with a mild bleach solution to prevent the spread of diseases.
- Ideal conditions: Provide a warm and humid environment for root development and optimal growth.
- Proper watering: Ensure the rooting medium is consistently moist but not overly saturated.
- Patience: Remember that Stevia maimarensis needs time to establish itself. Don’t be discouraged if results don’t appear immediately.
The Sweet Reward
Successfully propagating your own Stevia maimarensis is a rewarding experience. From the moment you witness the first root emerging or the delicate seedlings peeking through the soil, you’ll foster a connection with your plants. Enjoy the sweet satisfaction of growing your own natural sweetener, while adding a touch of beauty and history to your garden. So, grab your shears, a little patience, and get ready to embark on a journey of sweet propagation!