From One to Many: Unlocking the Secrets of Cunonia bullata Propagation
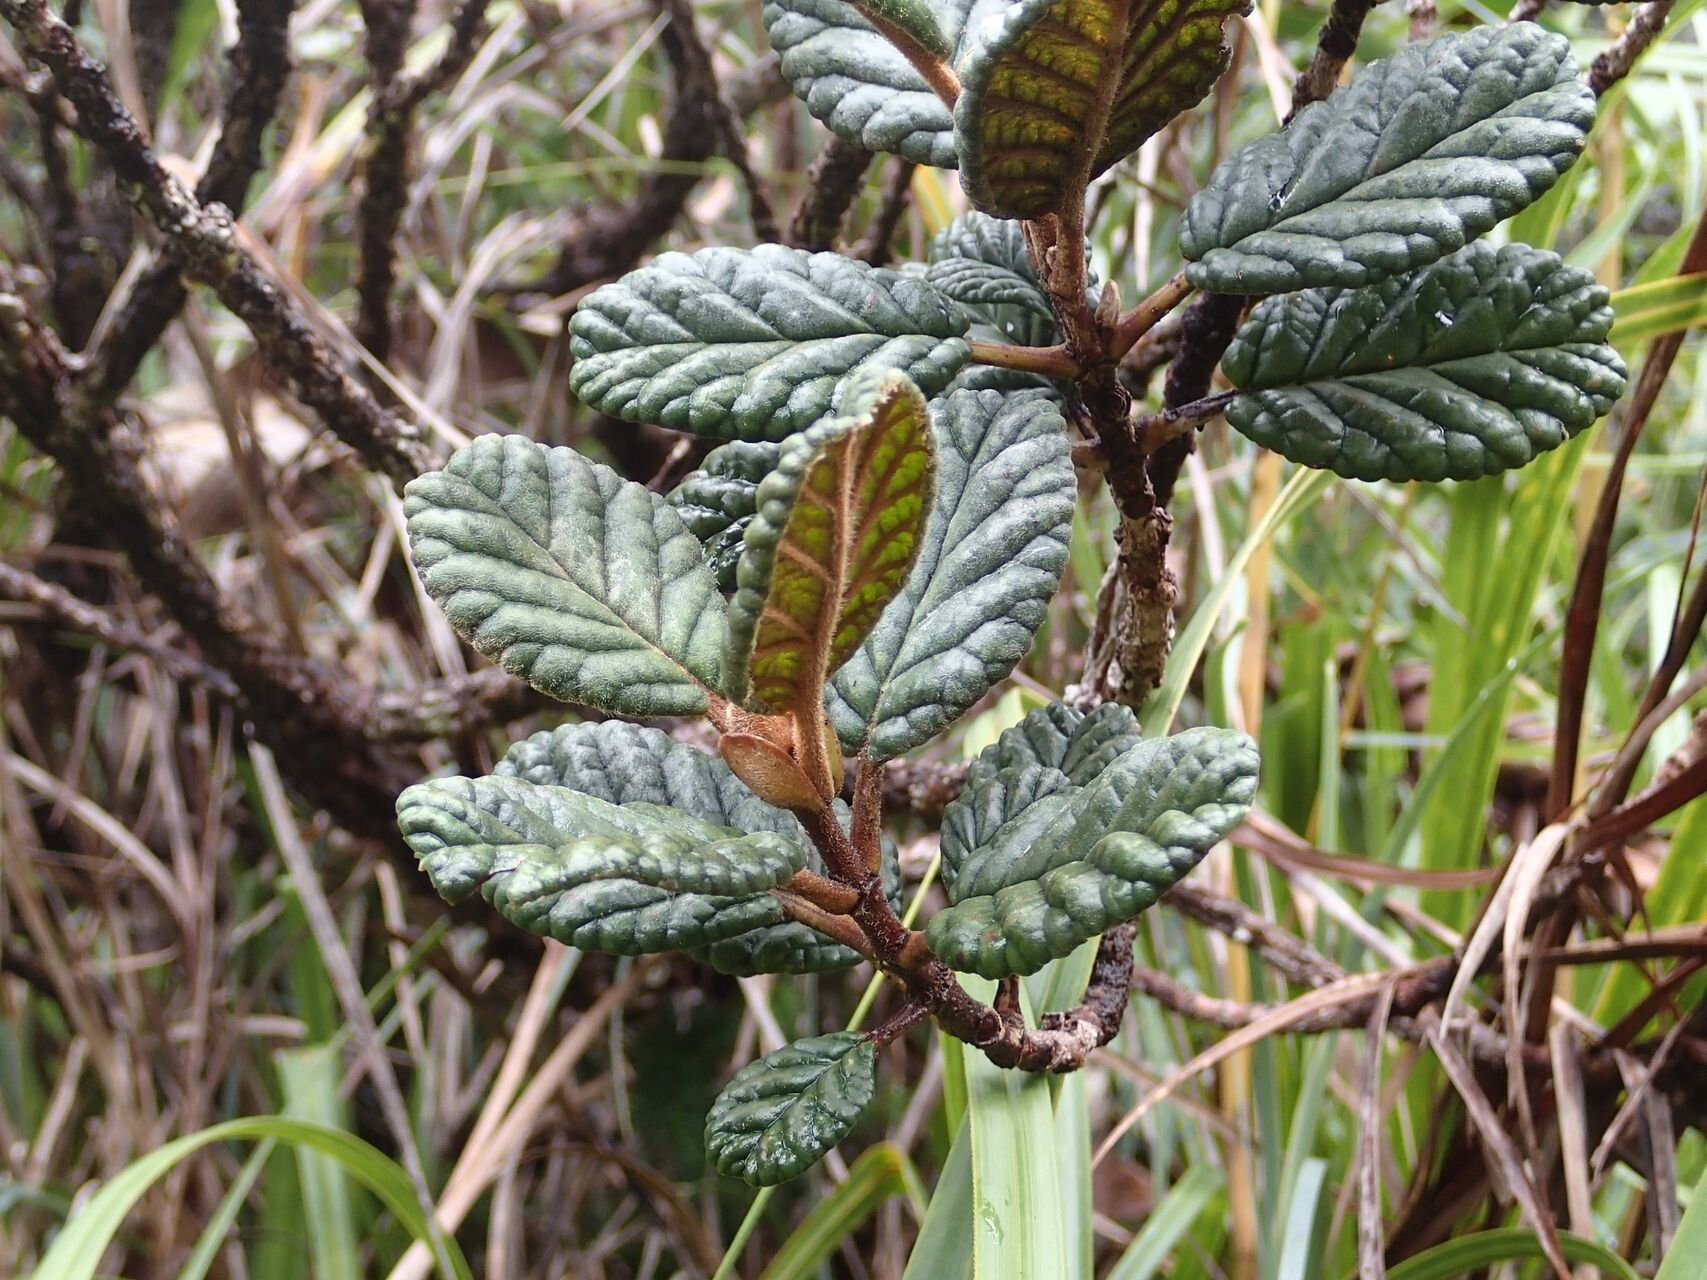
Cunonia bullata, commonly known as the “red tip” or “prickly cunonia,” is a striking evergreen shrub adored for its glossy, dark green leaves and vibrant red tips. But did you know that this stunning foliage can easily be multiplied? Yes! With a little know-how and some patience, you can share the beauty of the Cunonia bullata with your garden or even with friends and family.
The Magic of Propagation
Propagation, in simple terms, is the process of creating new plants from existing ones. For Cunonia bullata, there are two primary methods: cuttings and seed propagation. Each has its own nuances and benefits, so let’s explore both!
1. Cutting Propagation: Quick and Efficient
Cuttings are a popular choice for Cunonia bullata as they offer a faster route to new plants compared to starting from seed. Here’s how to do it:
- Timing is key: The best time to take cuttings is during the spring or early summer when the plant is actively growing.
- Selection is crucial: Choose healthy, non-flowering stems that are at least 6-8 inches long.
- The cut: Make a clean, sharp cut just below a leaf node using a sharp knife or pruning shears.
- Preparation: Remove the leaves from the bottom 2-3 inches of the cutting and dip the cut end in rooting hormone powder.
- Planting: Place the cuttings in a pot filled with a well-draining potting mix. Ensure the lower nodes are submerged in the soil.
- Care: Cover the cuttings with a plastic dome or bag to maintain humidity and provide a warm, bright, but shaded location. Mist regularly and avoid overwatering. Rooting should occur within 4-6 weeks.
2. Seed Propagation: For a Fresh Start
While cuttings offer speed, seed propagation allows you to experience the complete life cycle of the Cunonia bullata. Here’s the process:
- Harvest: Collect mature seed pods from the plant in late summer or early autumn.
- Extraction: Remove the seeds from the pods and allow them to dry thoroughly.
- Stratification: This crucial step mimics the natural winter conditions required for germination. Store seeds in a refrigerator for 4-6 weeks.
- Sowing: After stratification, sow the seeds in a seed tray or pot filled with a well-draining potting mix. Cover with a thin layer of soil.
- Care: Water regularly and keep the soil moist. Germination should occur within a few weeks.
- Transplant: Once seedlings have developed a few true leaves, transplant them to individual pots and continue to nurture them until they are ready to be planted in the garden.
Beyond Propagation: Cunonia bullata Care
Once you’ve successfully propagated your Cunonia bullata, providing proper care is essential for their healthy growth. These plants thrive in well-drained, fertile soil and prefer full sun to partial shade. They are relatively drought-tolerant but benefit from regular watering, especially during dry periods.
Final Thoughts:
Cunonia bullata propagation is a rewarding experience. Whether you choose cuttings or seeds, the process allows you to expand your garden’s beauty and share the joy of this unique plant with others. Remember, patience and proper care are crucial for successful propagation. So gather your tools, get your hands dirty, and enjoy the journey of bringing new life to your garden!