From Seeds to Swaths: Unlocking the Secrets of Calopogonium caeruleum Propagation
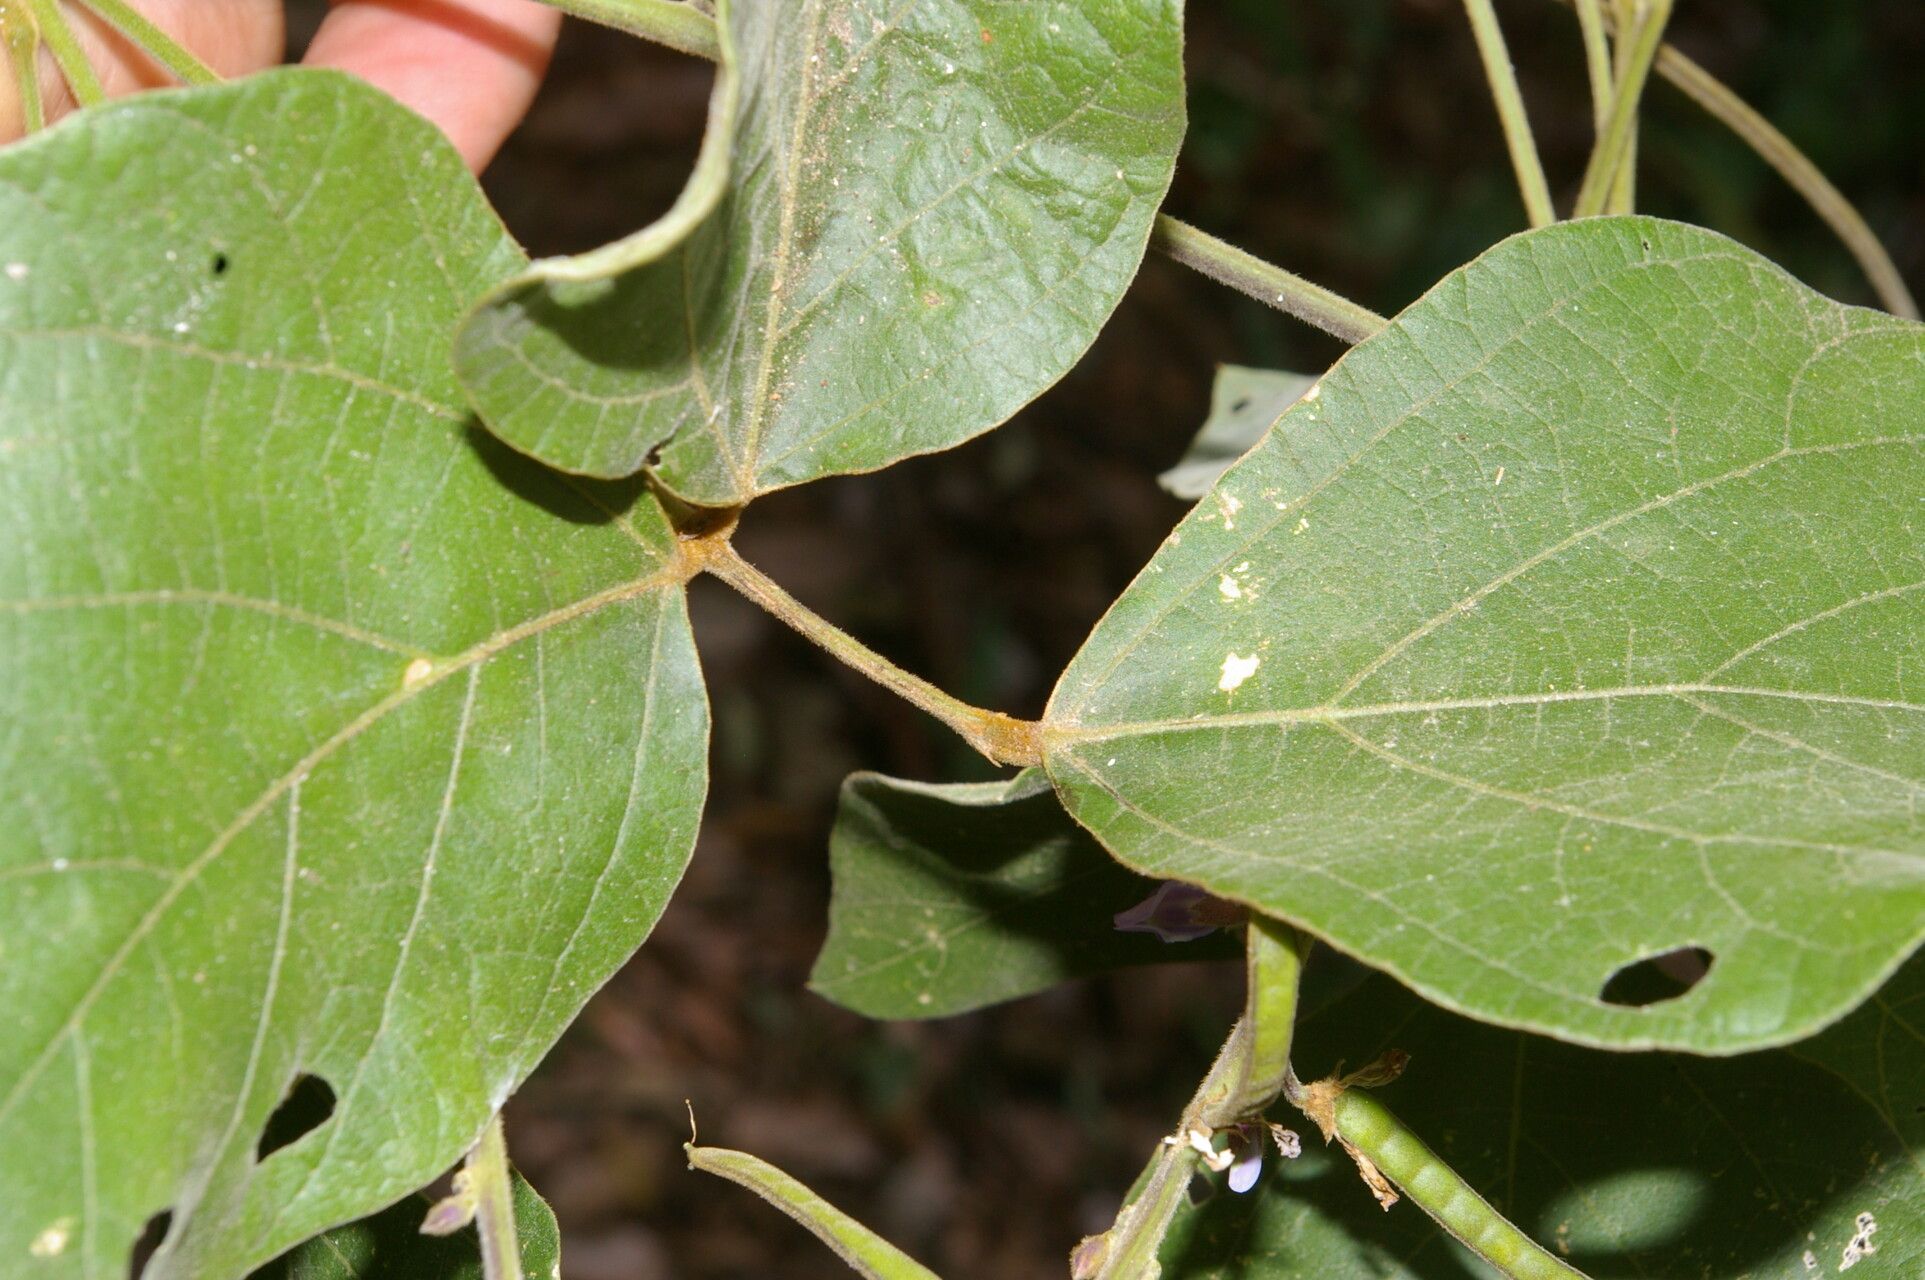
Want to add a touch of vibrant purple to your garden or landscape? Calopogonium caeruleum, also known as the “Blue Butterfly Pea,” is a stunning flowering vine that can quickly transform a bland area into a lush spectacle. But how do you get your hands on this remarkable plant? The answer lies in the art of propagation.
Unlocking the Power of Seeds
Calopogonium caeruleum can be propagated through both seed and vegetative methods. Starting with seeds is a great option for large-scale planting or for those seeking a rewarding experience. The process is relatively straightforward:
- Harvest Mature Seeds: Pick the pods when they turn brown and dry. Carefully extract the seeds, which are small and brown, resembling tiny beans.
- Prepare the Seedbed: A good seedbed consists of well-drained soil mixed with compost or aged manure to ensure proper nutrient availability.
- Sowing the Seeds: Sow the seeds directly into the prepared soil at a depth of about 1/4 inch, spacing them about 1 inch apart.
- Maintain Moisture: Keep the soil consistently moist, but not waterlogged. You can use a fine mist spray or a watering can with a rose attachment for gentle watering.
- Provide Warmth: Calopogonium caeruleum seeds germinate best in warm temperatures between 70-80°F. Consider using a seed heating mat or placing the seedbed in a sunny location.
- Patience is Key: Germination can take a few weeks, so be patient and let nature run its course. Once the seedlings emerge, thin them out to accommodate their growth.
Going Beyond Seeds
While seed propagation is a rewarding experience, vegetative propagation offers a faster and more reliable way to increase your Calopogonium caeruleum stock. The most common vegetative method is through cuttings:
- Choose Healthy Stems: Select strong, non-flowering stems that are about 6-8 inches long. These stems should ideally have at least two nodes (points where leaves emerge).
- Make the Cut: Using a sharp knife or pruning shears, make a clean cut just below a node, ensuring a sharp angle for better root development.
- Prepare the Cuttings: Remove any leaves below the soil line to prevent rotting. You can use rooting hormone powder or gel to stimulate root growth.
- Planting the Cuttings: Plant the cuttings into a pot with well-draining potting mix. The soil should be moist, and the pot should be placed in a warm, bright location, but out of direct sunlight.
- Maintain Humidity: Covering the pot with a plastic dome or bag can create a humid environment, which aids in root development.
- Wait for Roots: Regularly check the soil moisture, and within a few weeks, you should see the beginnings of roots forming. Once established, transplant the cuttings to a larger pot or directly into the ground.
Tips for Success
- Light and Shade: Calopogonium caeruleum likes partial shade to full sun. It thrives in well-drained soil with a good amount of organic matter.
- Watering: Keep the soil consistently moist but not waterlogged. Ensure proper drainage to prevent root rot.
- Fertilization: Regular fertilization with a balanced liquid fertilizer during the growing season will promote robust growth and flowering.
- Pests and Diseases: These plants are relatively pest and disease-resistant, but keep an eye out for common garden pests and address any problems when necessary.
By mastering the art of propagation, you can ensure a steady supply of this vibrant and versatile vine, adding a touch of color to your garden year after year. Whether you choose seeds or cuttings, remember to stay patient, consistent, and follow these simple guidelines. Soon, your garden will be blooming with the beauty of Calopogonium caeruleum!