Unlocking the Secrets of Guioa pleuropteris Propagation: From Seed to Sapling
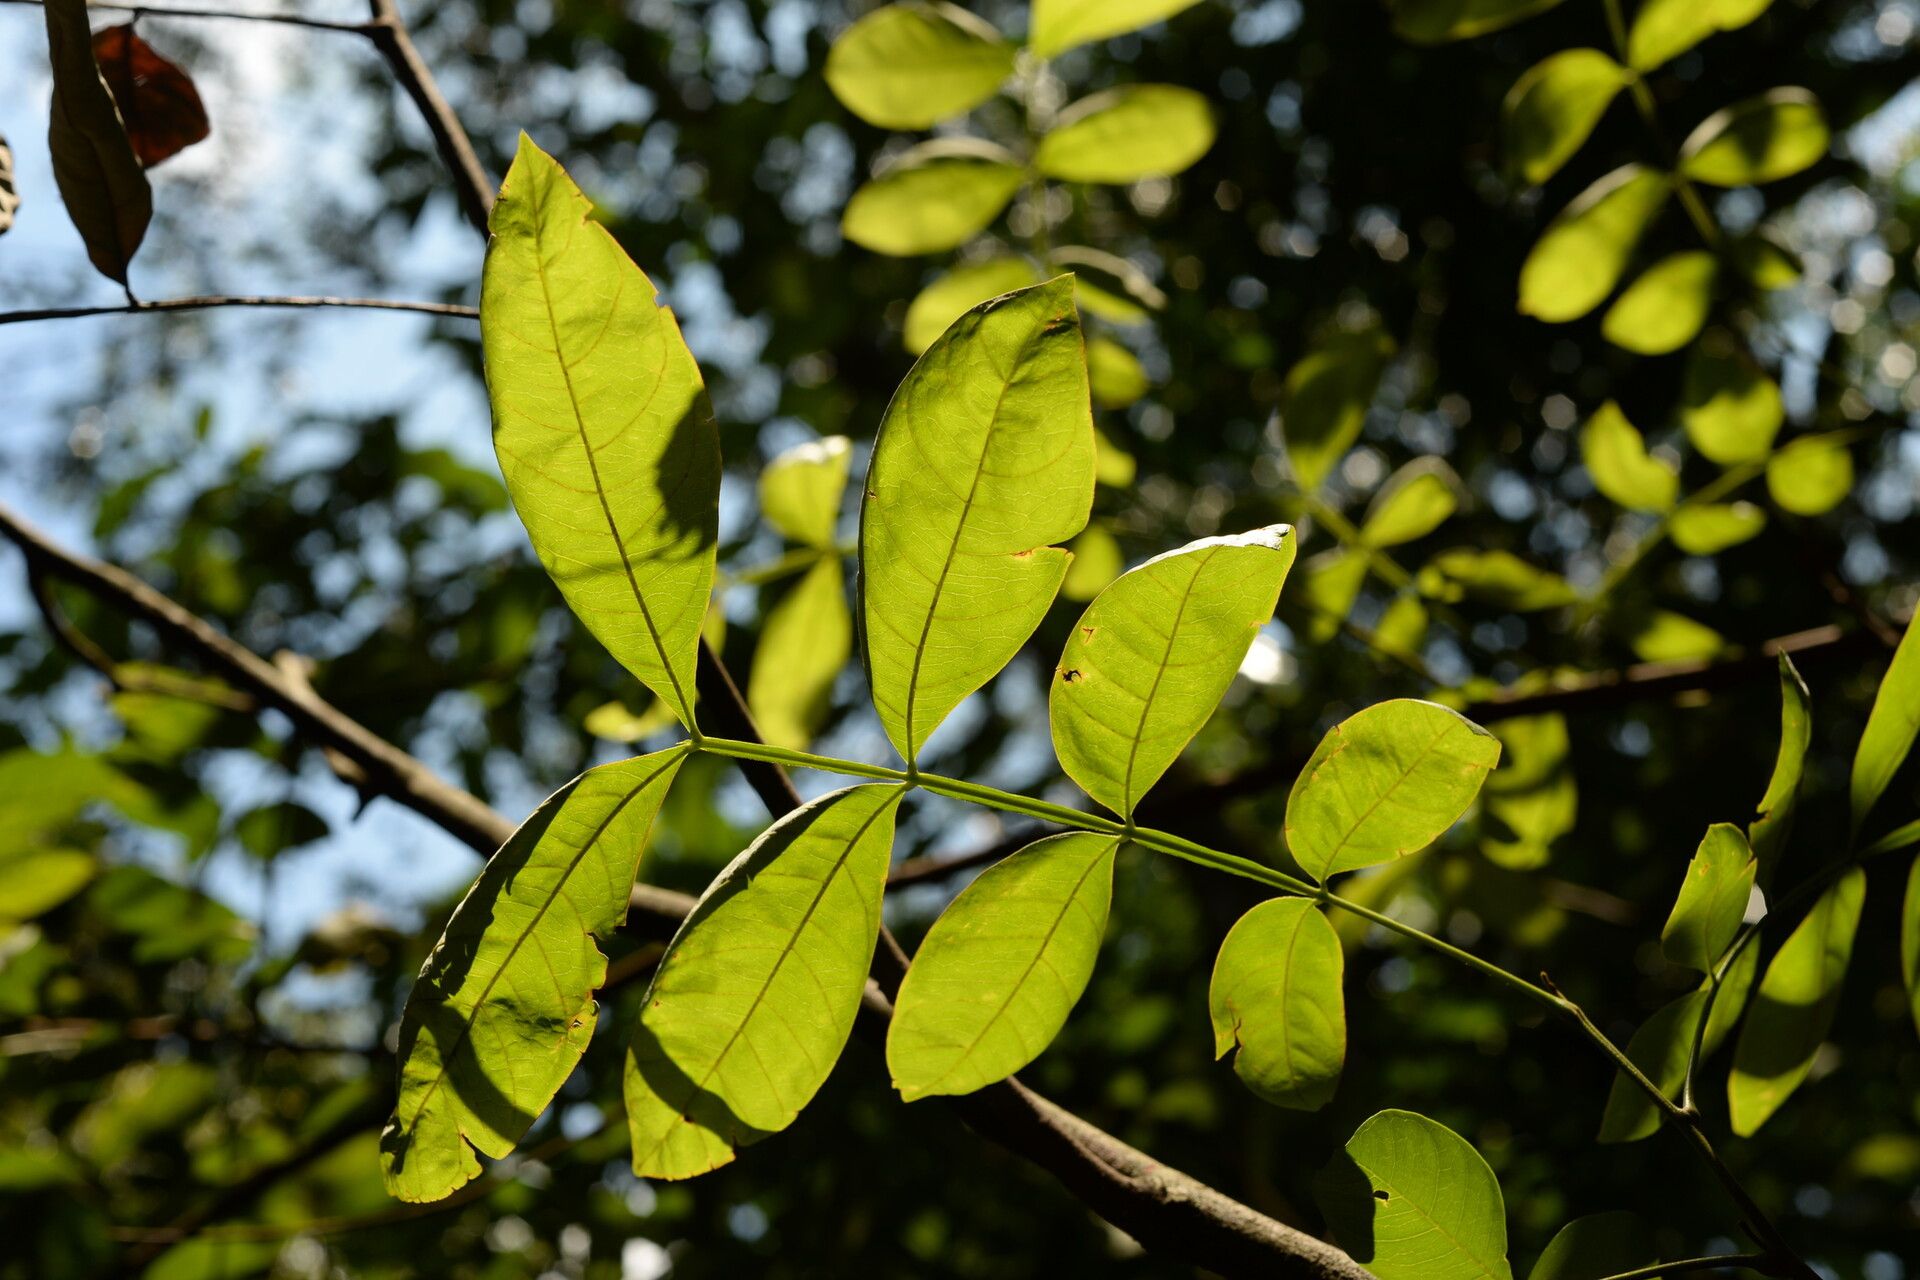
Guioa pleuropteris, with its striking foliage and unique, tropical charm, is a captivating addition to any garden. But how do you bring this stunning plant into your own green space? The answer lies in the art of propagation, a process that allows you to create new plants from existing ones.
While Guioa pleuropteris may appear exotic, propagating it isn’t as daunting as it seems. There are several methods you can explore, each with its pros and cons. Let’s delve into the most effective ways to bring this beautiful plant into your home:
1. Seed Propagation: A Simple Start
Guioa pleuropteris produces seeds within fleshy capsules that split open when ripe. These seeds offer a straightforward way to propagate the plant.
- Collecting the Seeds: Keep an eye out for the mature capsules, which will turn brown and become slightly squishy. Carefully collect these capsules and allow them to dry naturally. Once dry, the capsules will open, revealing the seeds inside.
- Preparing the Seeds: Remove the seeds from the capsules and soak them in lukewarm water for a few hours to encourage germination. This step helps soften the seed coat and aids in water absorption.
- Sowing the Seeds: Fill small pots with a well-draining potting mix and sow the seeds to a depth of about half an inch. Water the soil gently and place the pots in a warm, bright location.
- Patience is Key: Guioa pleuropteris seeds can take several weeks to germinate, so patience is essential. Keep the soil consistently moist, but avoid overwatering.
2. Air Layering: A Proven Method
Air layering is a popular technique for propagating woody plants, and it works remarkably well for Guioa pleuropteris. This method involves stimulating root growth on a branch while it’s still attached to the parent plant.
- Preparing the Branch: Choose a healthy, pliable branch about 1-2 years old. Using a sharp knife, make a shallow cut about 1 inch deep into the bark.
- Encouraging Roots: Apply rooting hormone to the cut and wrap the area with sphagnum moss, securing it with plastic wrap. Keep the moss moist at all times.
- Patience Pays Off: With a bit of patience, roots will develop within a few months. Once the roots are well-established, you can carefully cut the branch below the air layer and pot it in a suitable container.
3. Cuttings: A Classic Choice
Taking cuttings is a well-known method for propagating many plants, and Guioa pleuropteris is no exception. This method involves taking a piece of stem and encouraging it to develop roots.
- Selecting the Cutting: Choose a healthy, non-flowering stem tip about 6-8 inches long. Remove the bottom leaves and ensure the cut is made just below a node (where leaves sprout).
- Rooting the Cutting: Dip the cut end in rooting hormone and plant it in a small pot filled with a light, airy rooting medium. Maintain a warm, humid environment with indirect sunlight.
- Patience and Care: Monitor the growing medium’s moisture levels. Cuttings typically take a few weeks to root, but patience and consistent care will ensure success.
Choosing the Right Propagation Method
The best propagation method for Guioa pleuropteris depends on your preference and resources. Seed propagation is the most affordable and easiest option, while air layering offers a more reliable method for producing a robust new plant. Cuttings are a popular choice for those who seek a faster and more controlled approach.
No matter which method you choose, remember that patience and consistent care are key to propagating Guioa pleuropteris. Experiment with different methods, and enjoy the joy of watching your own Guioa pleuropteris thrive!