Green Thumbs Rejoice! Propagating Your Own Green Ash Trees
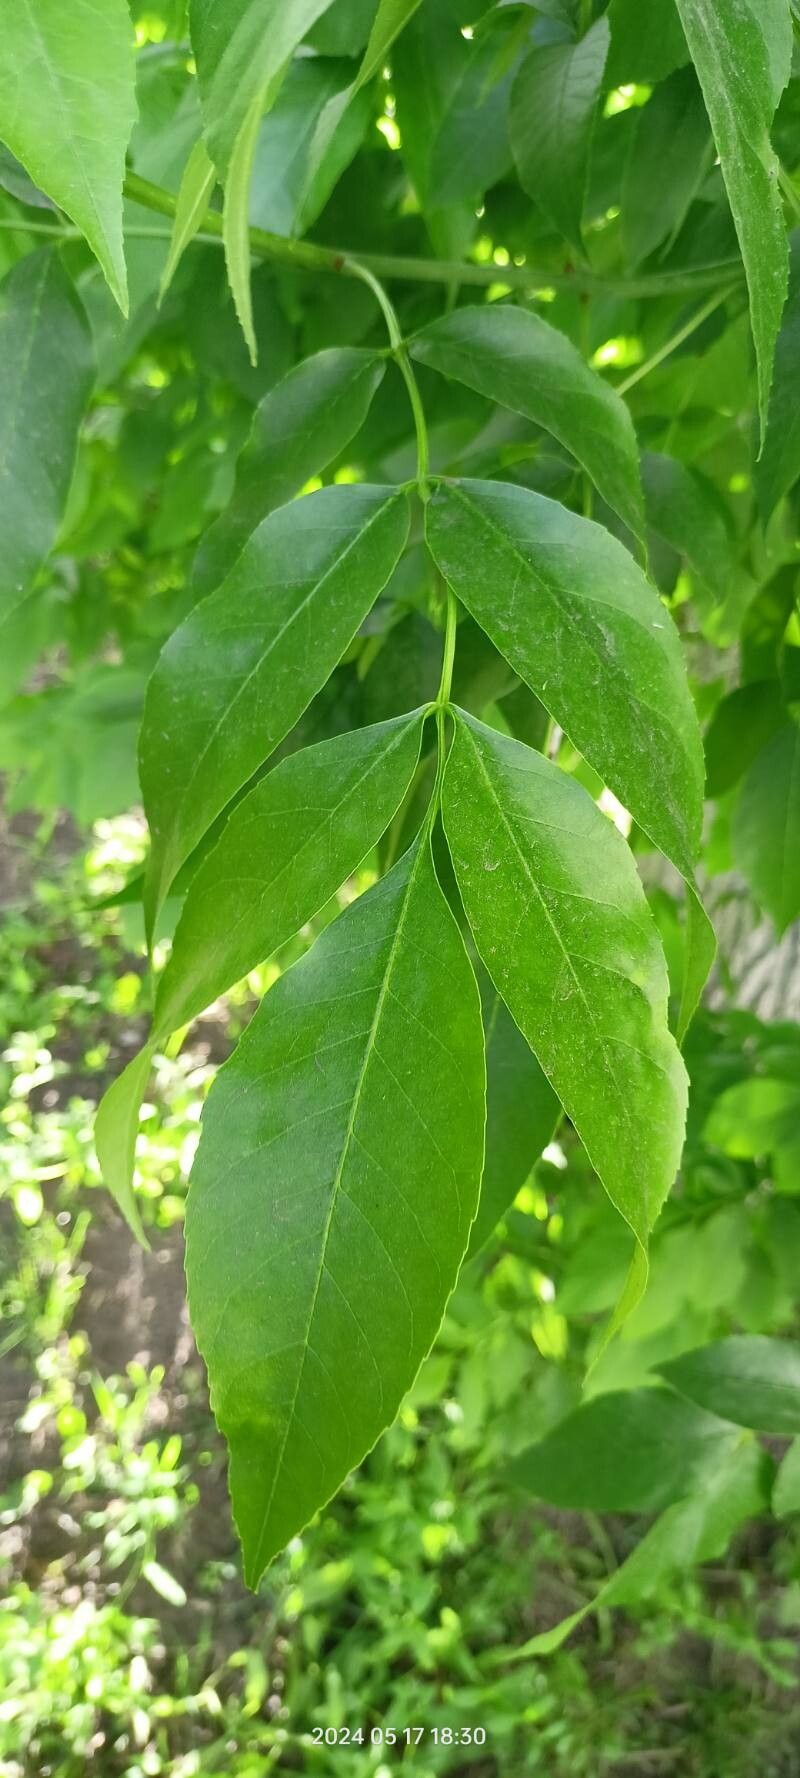
The Green Ash (Fraxinus pennsylvanica) is a popular choice for landscaping, known for its fast growth, resilience, and attractive form. But did you know you can easily grow your own Green Ash trees from cuttings or seeds? This blog post will guide you through the process of propagating these beautiful trees, bringing a touch of nature to your garden.
The Power of Propagation
Propagation lets you create more of the plants you love, be it your favorite flowers or, in our case, a stately Green Ash. Not only does it save money compared to buying new trees, but it also allows you to cultivate a personal connection with each plant you propagate.
Growing Green Ash from Seed
While it’s possible to grow Green Ash from seed, it’s a longer process and involves a few key steps:
- Seed Collection: Collect ripe seeds (samaras) from the tree in autumn. They have a winged shape and readily detach from the tree.
- Stratification: After cleaning the seeds, expose them to cold temperatures for 60-90 days. This mimics the winter conditions necessary for germination. You can achieve this by storing the seeds in a refrigerator or burying them in a cold outdoor location.
- Sowing: In spring, sow the stratified seeds in a seed tray filled with sterile potting mix. Keep the soil moist, and within a few weeks, you should see seedlings emerge.
- Transplanting: Once the seedlings are a few inches tall, transplant them to individual pots, and allow them to grow for a year or two before planting them in your desired location.
The Faster Route: Cuttings
For those looking for faster results, taking cuttings from an existing Green Ash is a preferred method:
- Choosing the Right Cuttings: In late summer or early fall, select healthy, mature branches that are about the thickness of a pencil.
- Taking the Cuttings: Make a clean cut with a sharp knife or pruning shears just below a node (where leaves grow). The ideal length is 6-8 inches.
- Preparing the Cuttings: Remove the leaves from the bottom two inches of the cutting. Dip the cut end in a rooting hormone powder to stimulate root development.
- Planting the Cuttings: Plant the cuttings in a moist rooting medium, like a mixture of peat moss and perlite. Ensure the cuttings are planted at least an inch deep, leaving the top leaves exposed.
- Providing the Right Environment: Cover the pot with a plastic dome or bag to create a humid environment, which promotes root growth. Place the pot in a bright, indirect light location.
- Patience is Key: Regularly check the moisture levels and keep the medium consistently moist. It can take a few weeks to a few months for roots to develop. Once new growth appears, you know the rooting process is successful!
Tips for Success
- Healthy Roots: To ensure proper root formation, choose cuttings from healthy, disease-free trees.
- Soil Matters: The soil should be well-drained and fertile. A mixture of compost and garden soil is ideal.
- Water Wisely: Keep the soil consistently moist, but avoid overwatering, which can lead to root rot.
- Light and Shade: Green Ash trees prefer full sun to partial shade. Choose a location that provides adequate light for your sapling to thrive.
Enjoy Your Green Ash Tree
Growing your own Green Ash tree offers a rewarding experience. With a little effort and patience, you can nurture a young sapling into a majestic tree that will provide shade and beauty for years to come. Remember to enjoy the process and watch your Green Ash flourish, a testament to your green thumb and dedication to growing your own unique piece of nature.