Unlocking the Secrets to Astridia Longifolia Propagation: Easy Steps for Gardeners of All Levels
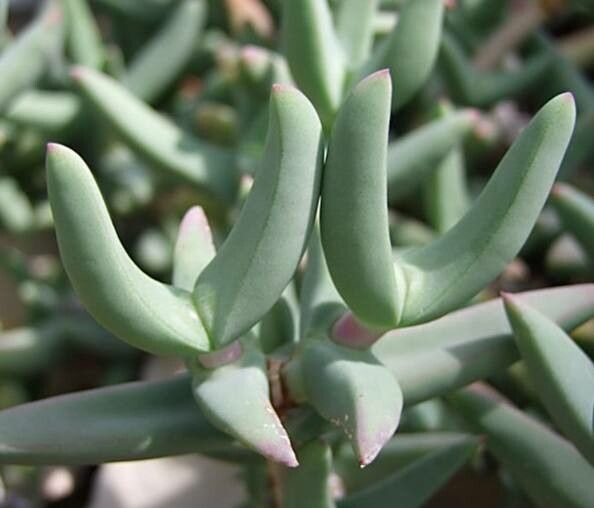
Astridia longifolia, commonly known as the “long-leaved astridia,” boasts vibrant, daisy-like flowers and a hardy, drought-tolerant nature. Want to expand your garden with this beautiful plant? Propagation is the key! Whether you’re a seasoned green thumb or a budding gardener, this guide offers simple and effective methods to successfully grow new astridia plants from existing ones.
Understanding Astridia Longifolia Propagation
Astridia longifolia primarily propagates through seed and cuttings. These methods allow you to create new plants from existing material, ensuring their genetic diversity and resilience. Let’s delve into each method:
1. Seed Propagation:
- Step 1: Collect Seeds: Once your astridia blooms fade, leave the seed heads on the plant until they turn brown and dry. This signals seed maturity. Gently collect the seeds by shaking them into a paper bag or container.
- Step 2: Prepare the Seedbed: Fill a seed tray or pot with a well-draining seed compost. Lightly moisten the soil and create shallow furrows for sowing.
- Step 3: Sow Seeds: Gently scatter the seeds onto the prepared surface, ensuring they are evenly spaced. Cover them with a thin layer of compost and lightly mist the surface.
- Step 4: Provide Ideal Conditions: Position the seed tray in a bright spot, avoiding direct sunlight. Maintain consistent moisture by misting regularly and covering the tray with a plastic dome to create a humid environment.
- Step 5: Transplant: Once seedlings develop their first set of true leaves, transplant them into individual pots or directly into your garden bed.
2. Cutting Propagation:
- Step 1: Choose Healthy Cuttings: Select non-flowering stems from a healthy plant. Cuttings should be about 4-6 inches long and have at least two sets of leaves.
- Step 2: Prepare the Cuttings: Use a sharp, sterilized knife or pruning shears to make a clean cut at an angle just below a leaf node. Remove the bottom leaves and dip the cut end in rooting hormone powder, which encourages root development.
- Step 3: Plant Cuttings: Fill a pot with a rooting mix like peat moss and perlite. Make small holes in the mix and insert the cuttings, making sure the bottom node is submerged.
- Step 4: Provide Ideal Conditions: Place the pot in a bright, humid environment, either outdoors under a shade cloth or indoors with a propagator. Ensure the rooting mix remains consistently moist but not soggy.
- Step 5: Transplant: Once new growth appears, it indicates the cuttings have successfully rooted. You can then carefully transplant them into individual pots or your garden.
Bonus Tips for Success:
- Timing is Key: The best time for seed propagation is in the spring or early summer, while summer is best for cuttings.
- Light Matters: Astridia plants thrive in full sun to partial shade. Choose a suitable location to ensure optimal growth.
- Water Wisely: While astridia longifolia is drought-tolerant, it benefits from regular watering, especially during hot and dry periods.
With these simple techniques, you can easily propagate your own astridia longifolia plants. Enjoy the satisfaction of growing these vibrant flowers and sharing them with friends and family! Remember, patience and a little care will reward you with a beautiful display of blooms in your garden.