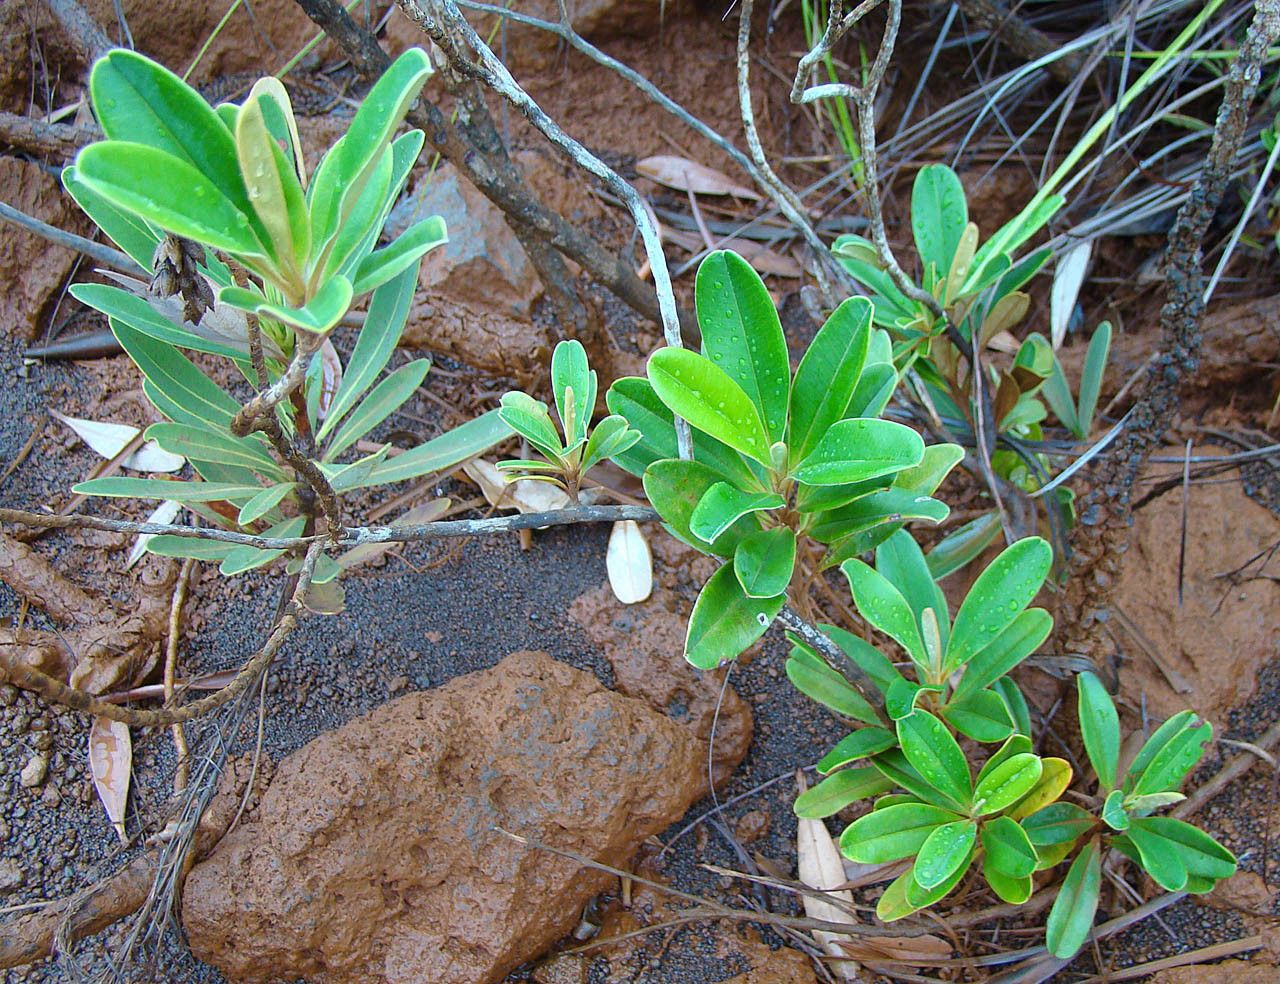
Unleashing the Beauty of Hibbertia Favieri: A Guide to Propagation
Hibbertia favieri, with its captivating yellow blooms and delicate foliage, is a true gem among Australian native plants. But getting your hands on this beauty can be a challenge, as it’s not commonly found in nurseries. Fear not, gardening enthusiasts! This blog post will guide you through the art of propagating Hibbertia favieri, allowing you to create your own flourishing collection of this delightful species.
The Power of Propagation
Propagation is the magic trick of creating new plants from existing ones. With Hibbertia favieri, you have two primary methods:
1. Seed Propagation: A Journey From Seed to Bloom
- Collecting Seeds: Wait patiently for the seed pods to turn brown and dry on the plant. Carefully collect these pods and allow them to dry completely. Once dry, gently shake the pods to release the tiny seeds.
- Sowing: Select a well-drained potting mix and fill shallow seed trays or pots. Lightly press the seeds into the mix, covering them with a thin layer of soil.
- Watering: Keep the soil consistently moist but not waterlogged. You can create a mini-greenhouse effect by covering the seed trays with a clear plastic dome to help maintain humidity.
- Patience is Key: Germination for Hibbertia favieri seeds can take anywhere from 4 to 8 weeks. Once the seedlings have developed a few true leaves, you can carefully transplant them into individual pots.
2. Cuttings: A Quick and Easy Method
- Timing is Everything: The best time to take cuttings for Hibbertia favieri is during the spring or early summer. Select healthy, non-flowering stems with several nodes (the bumps on the stem where leaves emerge).
- The Cut: Using sharp, clean shears, make a diagonal cut just below a node. Remove any leaves that will be submerged in the rooting medium.
- Rooting Hormones: Dip the cut end of the stem in a rooting hormone powder to encourage root development.
- Planting: Choose a well-drained potting mix and fill small pots or trays. Make a hole with a pencil and insert the cutting, ensuring that at least one node is buried. Firm the soil around the cutting.
- Humidity and Light: Cover the pot with a clear plastic bag or dome to create a humid environment. Place the container in a bright, indirect light location.
- Patience Again: Hibbertia favieri cuttings may take 4 to 6 weeks to root. Keep the soil consistently moist, and monitor the cuttings regularly for any signs of fungal growth.
Cultivating Your Hibbertia Favieri
Once your plants are established, whether from seeds or cuttings, there are a few key points to keep in mind for optimal growth:
- Sunlight: Hibbertia favieri thrives in full sun to partial shade.
- Watering: Water regularly, especially during dry periods. Allow the soil to dry slightly between waterings.
- Fertilizer: Feed your plants with a balanced liquid fertilizer during the growing season.
- Pruning: Pruning after flowering can help maintain a compact shape and encourage bushier growth.
A Journey of Beauty and Joy
Propagating Hibbertia favieri is a rewarding experience. Watching these delicate plants grow from seeds or cuttings is a testament to the wonders of nature. By following these steps, you can enjoy the captivating blooms and graceful foliage of Hibbertia favieri for years to come. Happy gardening!