Unlock the Secrets of Zebra Plant Propagation: From Snip to Thriving New Plant
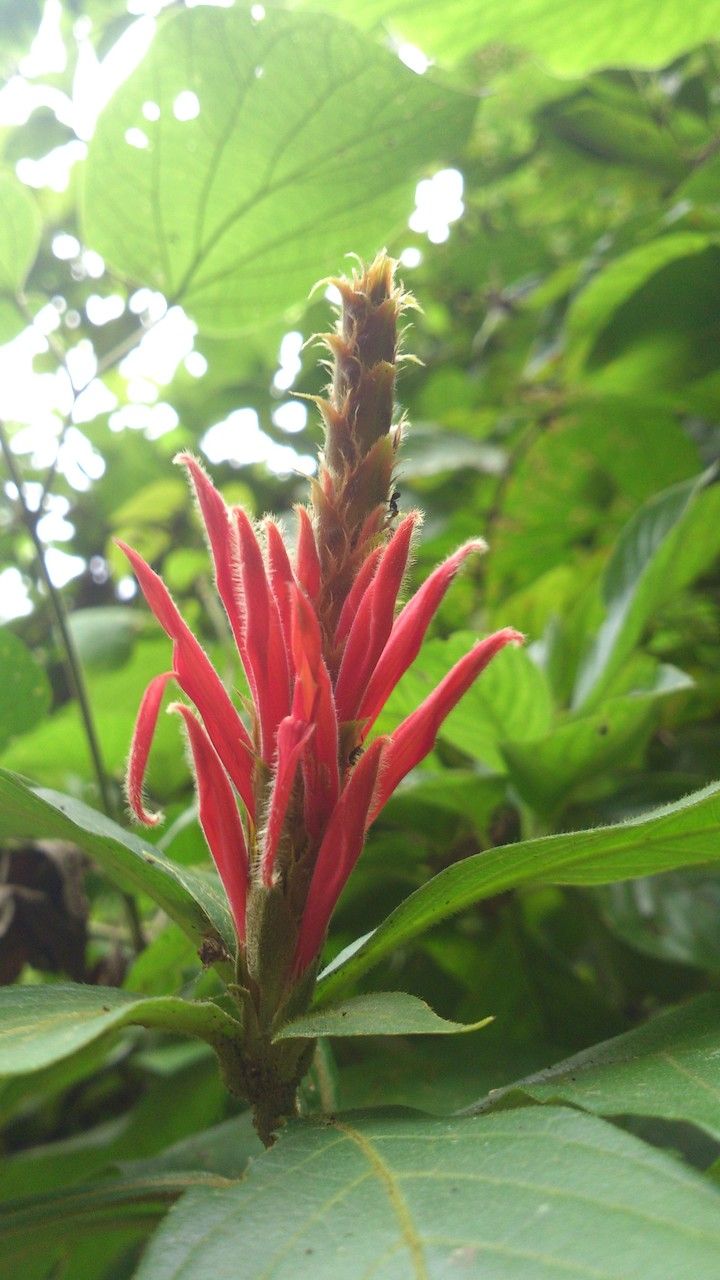
The Aphelandra scabra, or Zebra Plant, is a popular houseplant known for its striking, zebra-striped foliage and vibrant orange bracts. But did you know you can easily create new Zebra Plants from your own existing one?
Propagation, the process of creating new plants from existing ones, is a rewarding and cost-effective way to expand your plant collection. It’s also a fun way to connect with nature and share your love of plants with others.
In this blog post, we’ll dive deep into the world of Zebra Plant propagation, exploring the most effective methods and providing tips for success.
Two Proven Methods for Propagating Your Zebra Plant:
Stem Cuttings: This is the most popular and straightforward method for propagating Zebra Plants. Here’s a step-by-step guide:
- Choose the Right Cuttings: Select healthy, non-flowering stems from your Zebra Plant. Cuttings should be around 4-6 inches long and have at least two sets of leaves.
- Prepare the Cuttings: Remove the bottom set of leaves from your cuttings and make a fresh cut just below a node (the point where a leaf grows). Dip the cut end in rooting hormone powder, if desired.
- Potting Up: Plant your cuttings in a small pot filled with a well-draining potting mix. Gently press the cuttings into the soil, leaving the top two sets of leaves exposed.
- Provide Ideal Conditions: Water your cuttings thoroughly and place them in a warm, bright location with indirect sunlight. Cover the pot with a clear plastic bag or dome to create a humid environment.
- Patience is Key: It generally takes 4-6 weeks for cuttings to root. Keep the soil consistently moist but not soggy, and monitor for signs of new growth.
Air Layering: This method allows you to root new plants directly on the parent plant, creating a unique and fascinating visual. Here’s how it works:
- Select a Healthy Stem: Choose a healthy stem around 6 inches long, preferably one that has several leaves.
- Slit the Stem: Using a sharp knife, make a small incision (about 1 inch long) down the stem, carefully peeling back the bark slightly.
- Apply Rooting Hormone: Apply rooting hormone to the exposed area and wrap it with moistened sphagnum moss. Secure the moss with plastic wrap and rubber bands, creating a small “nest” around the cut.
- Wait & Watch: Keep the moss moist and monitor for root development. This process can take anywhere from 6 to 8 weeks.
- Sever and Pot: Once roots have formed, carefully cut the stem below the rooted section and pot it up as a new plant.
Tips for Success:
- Fresh Cuttings: Use freshly cut stems for optimal root development.
- Sterilize Tools: Always sterilize your pruning shears or knife with rubbing alcohol to prevent the spread of diseases.
- Consistent Moisture: Maintain a consistently moist environment for your cuttings to encourage rooting.
- Moderate Light: Avoid direct sunlight, which can dry out the cuttings.
- Patience: Propagation takes time, so be patient and don’t give up if you don’t see results immediately.
Conclusion:
Propagating your Zebra Plant is a satisfying way to grow your collection while enjoying a unique and rewarding experience. With a bit of patience and the right techniques, you can easily create new plants and share the beauty of the Zebra Plant with others. So, get your hands dirty, embrace the beauty of propagation, and watch your Zebra Plant family flourish!