Unlocking the Secrets of Salvia alamosana Propagation: Bring the Stunning Purple Bloom Home
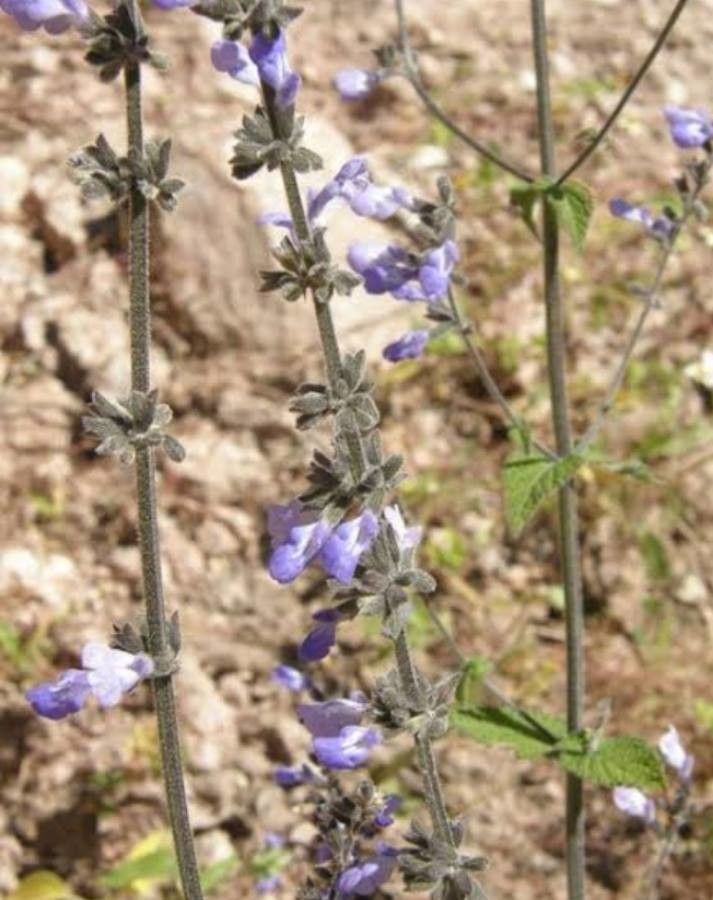
Salvia alamosana, with its vibrant purple flowers and captivating scent, is a sight to behold. But did you know that you can easily share this beauty with your garden, balcony, or even indoors? Propagation, the process of creating new plants from existing ones, is an achievable and rewarding endeavor for any plant enthusiast.
This blog post will guide you through the ins and outs of propagating your own Salvia alamosana, empowering you to enjoy this stunning plant in abundance.
The Power of Seeds:
For a fresh start, seeds are a fantastic way to propagate Salvia alamosana. Here’s how:
- Timing is Key: Sow seeds directly in the garden after the last frost or start them indoors 6-8 weeks before your last frost date.
- Starting Indoors: Fill seed trays with a seed starting mix, moisten it, and sprinkle seeds evenly on the surface. Cover the tray with a plastic dome to maintain humidity and place it in a warm, sunny location. Maintain consistent moisture and thin out seedlings once they develop their first true leaves.
- Direct Sowing: Once the soil has warmed, select a sunny spot in your garden and rake the top layer to create a fine seedbed. Sow seeds thinly and cover them with a thin layer of soil. Water gently and wait patiently for germination.
The Magic of Cuttings:
For a faster and more predictable outcome, try taking softwood cuttings from your Salvia alamosana:
- Choose Your Cuttings: Select healthy stems with new growth. Ideally, pick stems that are about 4-6 inches long. Snip them just below a leaf node, ensuring that the cut is clean.
- Prepare the Cuttings: Remove the lower leaves from the stem, leaving the top few intact. Dip the cut end of the stem into a rooting hormone powder or gel for added success.
- Planting and Care: Fill a pot with a well-draining potting mix and make a small hole with your finger. Insert the prepared cutting, ensuring that at least 2 nodes are buried. Water generously and cover the pot with a clear plastic bag or dome to create a humid environment. Place the pot in a bright, indirect light location and keep the soil consistently moist. Within a few weeks, roots should start to form.
Taking Care of Your New Plants:
Once your Salvia alamosana seedlings are established or your cuttings have rooted, you can transplant them to their permanent homes:
- Planting Out: Choose a sunny location with well-drained soil. Dig a hole slightly larger than the root ball. Place the seedling or cutting in the hole and fill in with soil, ensuring the root ball is covered. Firm the soil around the plant and water thoroughly.
- Ongoing Care: Keep the soil moist, especially during hot or dry weather. Fertilize every few weeks with a balanced fertilizer to promote healthy growth. Deadhead spent blooms to encourage more flowers.
Embrace the Joy of Propagation:
Salvia alamosana propagation is a fulfilling experience. You can witness the wonder of nature at work and create new plants, all from the comfort of your own home. Not only will you enjoy the stunning beauty of your own Salvia alamosana, but you can also share the joy by gifting them to friends and family. So, get your hands dirty, give propagation a try, and discover the endless possibilities of bringing this magnificent plant into your world.