Unlocking the Secrets of Cloezia Artensis Propagation: Bringing the Beauty of the Bush Home
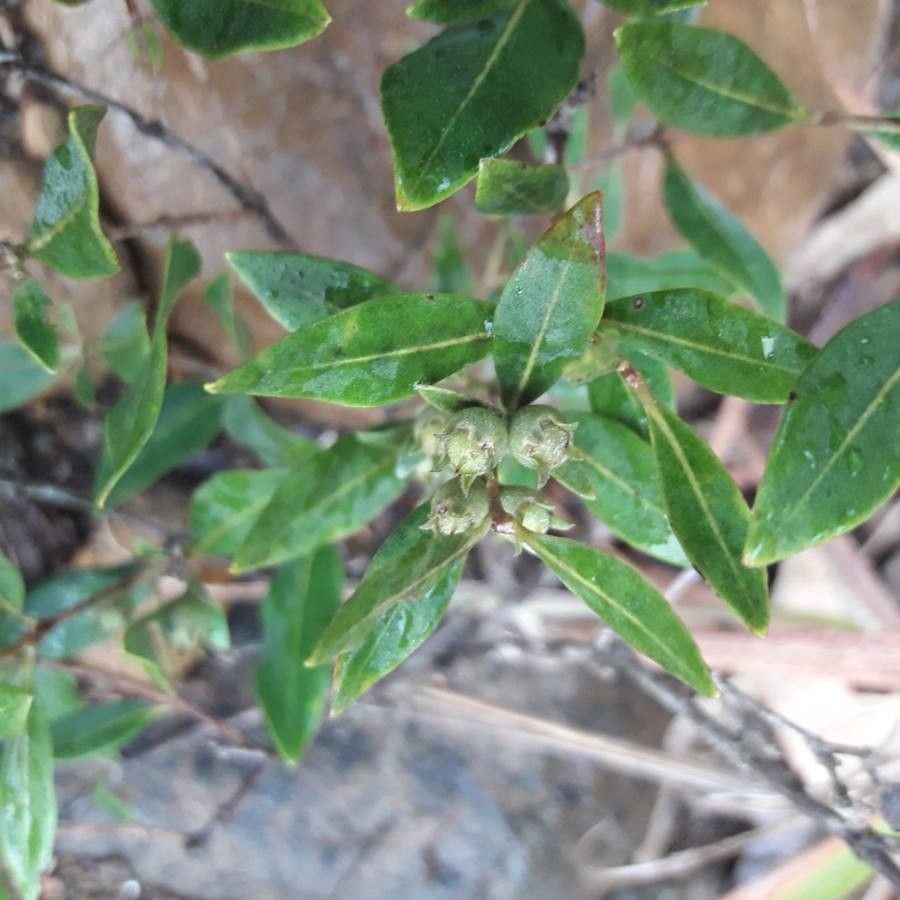
If you’re a plant enthusiast, you’ve likely been captivated by the delicate beauty of Cloezia artensis, a flowering shrub native to Australia’s southwest. Its vibrant pink flowers and captivating foliage make it a prized addition to gardens and landscapes. But did you know you can actually grow your own Cloezia artensis from cuttings? This blog post dives into the fascinating world of Cloezia propagation, revealing techniques that allow you to share the magic with friends, family, or simply expand your own collection.
The Basics of Propagation:
Propagation is the process of creating new plants from existing ones, offering a cost-effective and rewarding way to grow your garden. For Cloezia artensis, the most success is found through semi-hardwood cuttings. This method involves taking cuttings from partially hardened stems, usually taken in late spring or early summer.
Steps to Successful Propagation:
Here’s a step-by-step guide to propagate your very own Cloezia artensis:
- Choose Your Cuttings: Select healthy, non-flowering stems from the current season’s growth. The best cuttings are about 4-6 inches long and have at least four nodes (the bumps on the stem where leaves and branches emerge).
- Prepare the Cuttings: Carefully remove the leaves from the bottom 2 inches of the cutting. Make a clean, sharp cut just below a node using a sharp knife or pruning shears.
- Root Hormone: Dip the cut end of your cuttings into a rooting hormone powder or gel. This will encourage root development.
- Planting Medium: Fill pots or containers with a well-draining potting mix. A mix of peat moss and perlite works well.
- Planting the Cuttings: Make a small hole in the potting mix for each cutting. Insert the cutting into the hole, making sure the bottom 2 inches are buried in the soil.
- Watering and Care: Water your cuttings thoroughly, taking care not to dislodge them. Place your pots in a bright location with indirect sunlight and maintain humidity around the cuttings. If using a plastic dome or humidity tent, ensure proper ventilation to prevent rot.
Tips for Success:
- Timing is Everything: The most successful propagation time is during late spring or early summer when the plant is actively growing.
- Maintain Humidity: Provide a consistently moist environment for your cuttings, especially in the initial stage. A plastic dome or humidity tent can help retain moisture.
- Patience is Key: Expect it to take anywhere from 6 to 8 weeks for roots to develop.
- Regular Monitoring: Check your cuttings regularly for signs of wilting, over-watering, or disease.
Why Propagate Cloezia Artensis?
- Cost-effective: Propagation allows you to create new plants without spending a fortune on costly nursery stock.
- Preservation of Unique Traits: You can propagate specific varieties of Cloezia artensis, ensuring their unique characteristics continue to thrive.
- Gifting: Sharing your propagated plants with friends and family is a wonderful way to spread the joy of gardening.
- Expansion: It allows you to expand your garden more readily, creating stunning displays with this beautiful shrub.
Beyond the Basics:
For those eager to delve deeper into Cloezia propagation, experiment with layering techniques. This involves bending a stem of the parent plant and covering it with soil, encouraging roots to develop from the buried portion. With the right techniques, you can unlock the potential of Cloezia artensis and enjoy its beauty in your garden for years to come.
By understanding the basics of propagation and applying these tips, you can easily create new plants, ensuring that the beauty of Cloezia artensis continues to bloom in your home and beyond.