From Cutting to Crown: Propagating Your Very Own Eugenia Albicans
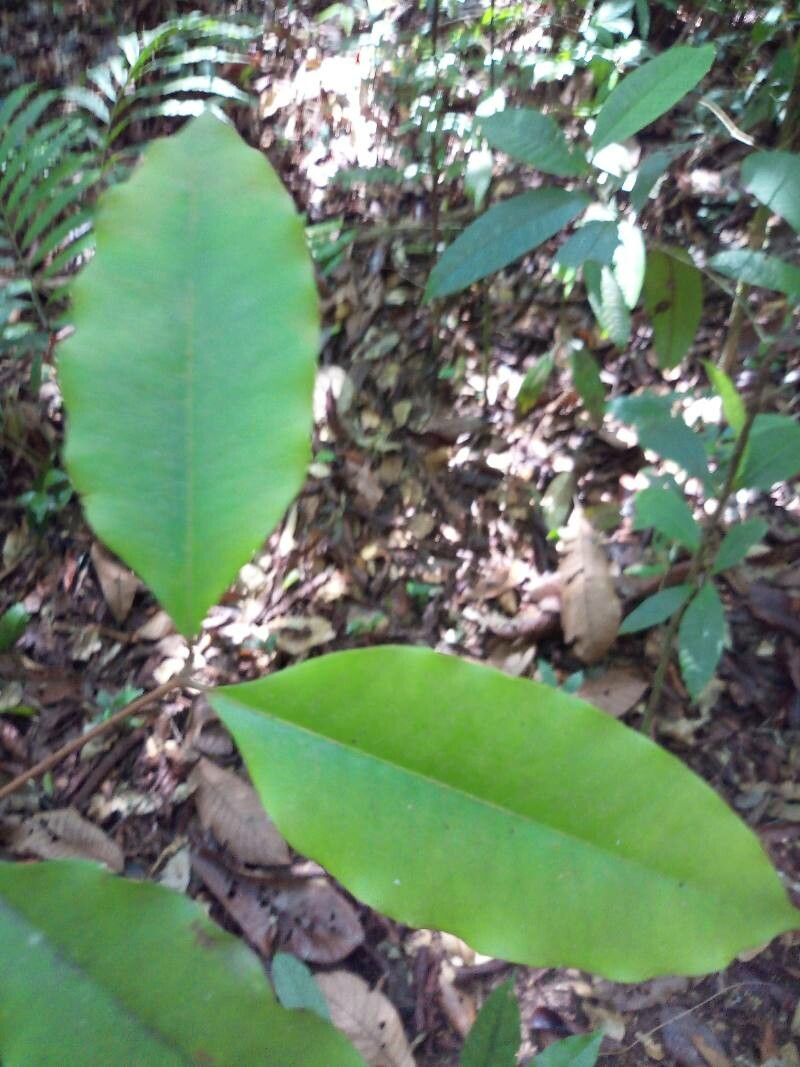
The Eugenia albicans, also known as the “White Wax Myrtle,” is a beautiful and hardy shrub with glossy, evergreen foliage and fragrant white flowers. If you’re lucky enough to have one gracing your garden, you might be wondering how to share its beauty with others. The good news is, this plant is surprisingly easy to propagate, allowing you to create new plants from your existing one.
Let’s explore two common methods for propagating Eugenia albicans:
1. Stem Cuttings:
This is perhaps the easiest and most straightforward method. Here’s how to do it:
- Timing is Key: The best time for taking cuttings is during the spring or early summer when the plant is actively growing.
- Select Your Cuttings: Choose healthy, non-flowering stems that are about 6-8 inches long. Look for stems that are firm and vigorous with at least two sets of leaves.
- The Cutting Process: Use a sharp, clean knife or pruning shears to make a cut just below a node (the point where a leaf grows from the stem). Remove the leaves from the bottom inch or two of the cutting.
- Rooting Medium: Fill a pot with a well-draining rooting mix like a blend of perlite and peat moss.
- Planting: Dip the cut end of the stem in rooting hormone powder (optional) and insert it into the rooting mix. Water thoroughly and keep the mix moist.
- The Waiting Game: Place the potted cuttings in a bright, indirect location indoors or in a greenhouse. It can take anywhere from 4 to 8 weeks for roots to develop. Keep the soil consistently moist, but not soggy.
- Transplanting: Once the cuttings have developed roots, you can transplant them into individual pots with a well-draining potting mix and gradually acclimate them to outdoor conditions.
2. Air Layering:
Air layering is a slightly more advanced method, but it allows you to propagate a larger branch. Here’s a breakdown:
- Choosing the Branch: Select a healthy, mature branch that’s at least pencil-thick.
- The Air Layering Process: Gently scrape a small section of bark about 2-3 inches long from the branch. Be careful not to damage the wood beneath. This exposes the cambium layer, where new roots will form.
- Wrap and Wait: Wrap the scraped area with moist sphagnum moss, securing it in place with plastic wrap or aluminum foil.
- Roots Emerge: Keep the moss moist by misting it regularly. Roots will begin to develop within a few weeks to a few months.
- Sever and Transplant: Once roots have formed, cut the branch below the air layer and carefully remove the moss. Plant the new rooted branch in a pot with well-draining soil.
Tips for Success:
- Use a Rooting Hormone: This can help stimulate root development, especially when starting with stem cuttings.
- Maintain Proper Humidity: Cuttings and air layers need high humidity to thrive. You can create a humid environment by covering the cuttings with a plastic dome or bag.
- Avoid Direct Sunlight: Direct sunlight can dry out the cuttings and prevent root formation.
- Patience is Key: Propagation takes time, so be patient and keep an eye on your cuttings and air layers.
No matter which propagation method you choose, starting your own Eugenia albicans plants is a rewarding experience. It’s a great way to share the beauty of this plant with others and create a unique piece of your own garden. So, grab your pruning shears, get your hands dirty, and enjoy the process of bringing new life to your favorite plant.