Unveiling the Secrets to Propagating Vatairea erythrocarpa: A Guide for Gardeners
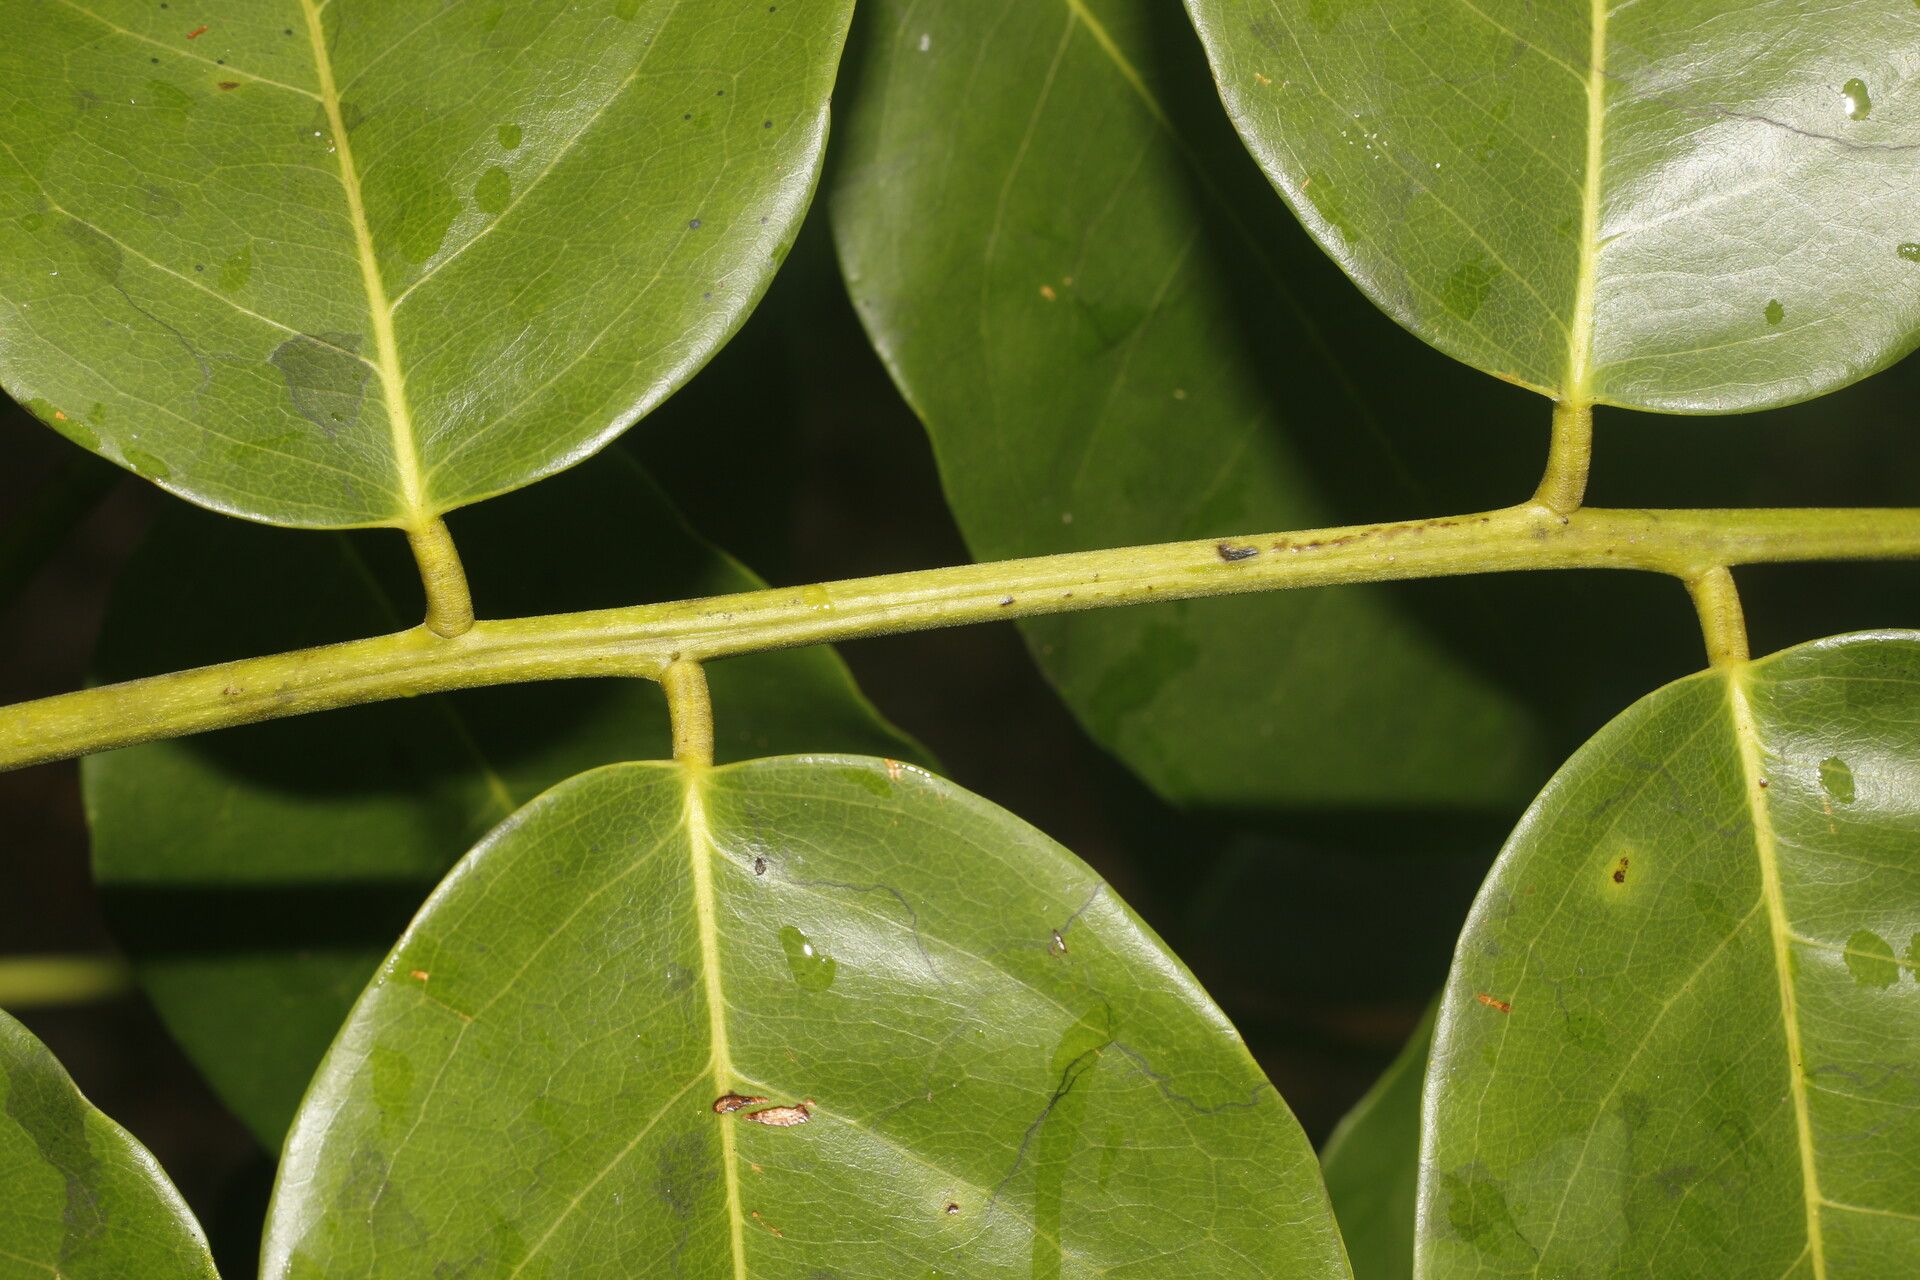
Vatairea erythrocarpa, a striking and unique tree native to the Amazon rainforest, has captivated plant enthusiasts with its vibrant red seed pods and beautiful foliage. But did you know that you can bring a piece of this tropical wonder into your own garden?
Propagating Vatairea erythrocarpa, while slightly more complex than some common plants, is achievable with a little knowledge and patience. This blog post will equip you with the tools and techniques to successfully propagate this fascinating species.
The Two Main Methods
There are two primary ways to propagate Vatairea erythrocarpa:
- Seeds: This is the most common and accessible method. It involves collecting ripe seed pods, extracting the seeds, and sowing them in a suitable medium.
- Cuttings: This method, whilst more challenging, can be rewarding for the experienced propagator. It involves taking cuttings from healthy branches and encouraging them to root.
Propagating from Seeds
- Collecting Seeds: The first step is to obtain viable seeds. This might involve collecting them from mature seed pods on your existing Vatairea erythrocarpa, or sourcing them from a reputable nursery. Ripe seed pods will have a deep red color and will release the seeds when shaken.
- Seed Preparation: Once you have the seeds, it’s essential to break dormancy. This can be done by soaking the seeds in lukewarm water for 24 hours before planting.
- Sowing: Choose a well-draining seed-starting mix and fill a seed tray with it. Create shallow planting holes (about 1/4 inch deep) and place one seed in each hole. Lightly cover the seeds with soil and gently water them.
- Environment: Maintain a warm and humid environment for the seeds to germinate. Place the seed tray in a warm location (around 75°F) and cover it with a plastic dome or wrap to create a humid environment.
- Germination: Vatairea erythrocarpa seeds typically take several weeks to germinate. Keep the soil moist and provide indirect sunlight. Once the seedlings have a few sets of true leaves, they can be transplanted into individual pots.
Propagating from Cuttings
- Selecting Cuttings: Choose healthy, mature branches that are about 6-8 inches long. The best cuttings are semi-hardwood, meaning they have partly hardened but are not completely woody.
- Preparing the Cuttings: Using a sharp knife or pruning shears, make a clean cut just below a node (the point where leaves or branches sprout). Remove the leaves from the bottom 2-3 inches of the cutting.
- Rooting Medium: Fill a pot with a rooting medium like perlite or a mixture of sand and peat moss. Dip the cut end of the cutting in rooting hormone powder to encourage root development.
- Planting: Make a hole in the rooting medium and insert the cutting, ensuring that the bottom node is buried below the soil line. Firm the rooting medium around the cutting.
- Environment: Keep the rooting medium moist and provide a humid environment for the cutting to root. You can cover the pot with a plastic bag or dome to create a mini-greenhouse effect.
- Rooting Time: Depending on the conditions, it can take several weeks or months for cuttings to root.
Care and Patience
Regardless of the propagation method, remember that Vatairea erythrocarpa requires patience. The plants are slow-growing, so don’t be discouraged if you don’t see immediate results. Provide them with adequate sunlight, water, and proper drainage to ensure their successful growth.
Conclusion
Propagating Vatairea erythrocarpa is not for the faint of heart. It requires a bit of expertise and a good dose of patience. However, the reward of witnessing this unique and beautiful tree thrive in your own garden is well worth the effort. So, get your hands dirty, follow these simple steps, and explore the exciting world of Vatairea erythrocarpa propagation!