Unlocking the Secrets of the Olax obtusifolia: A Comprehensive Guide to Propagation
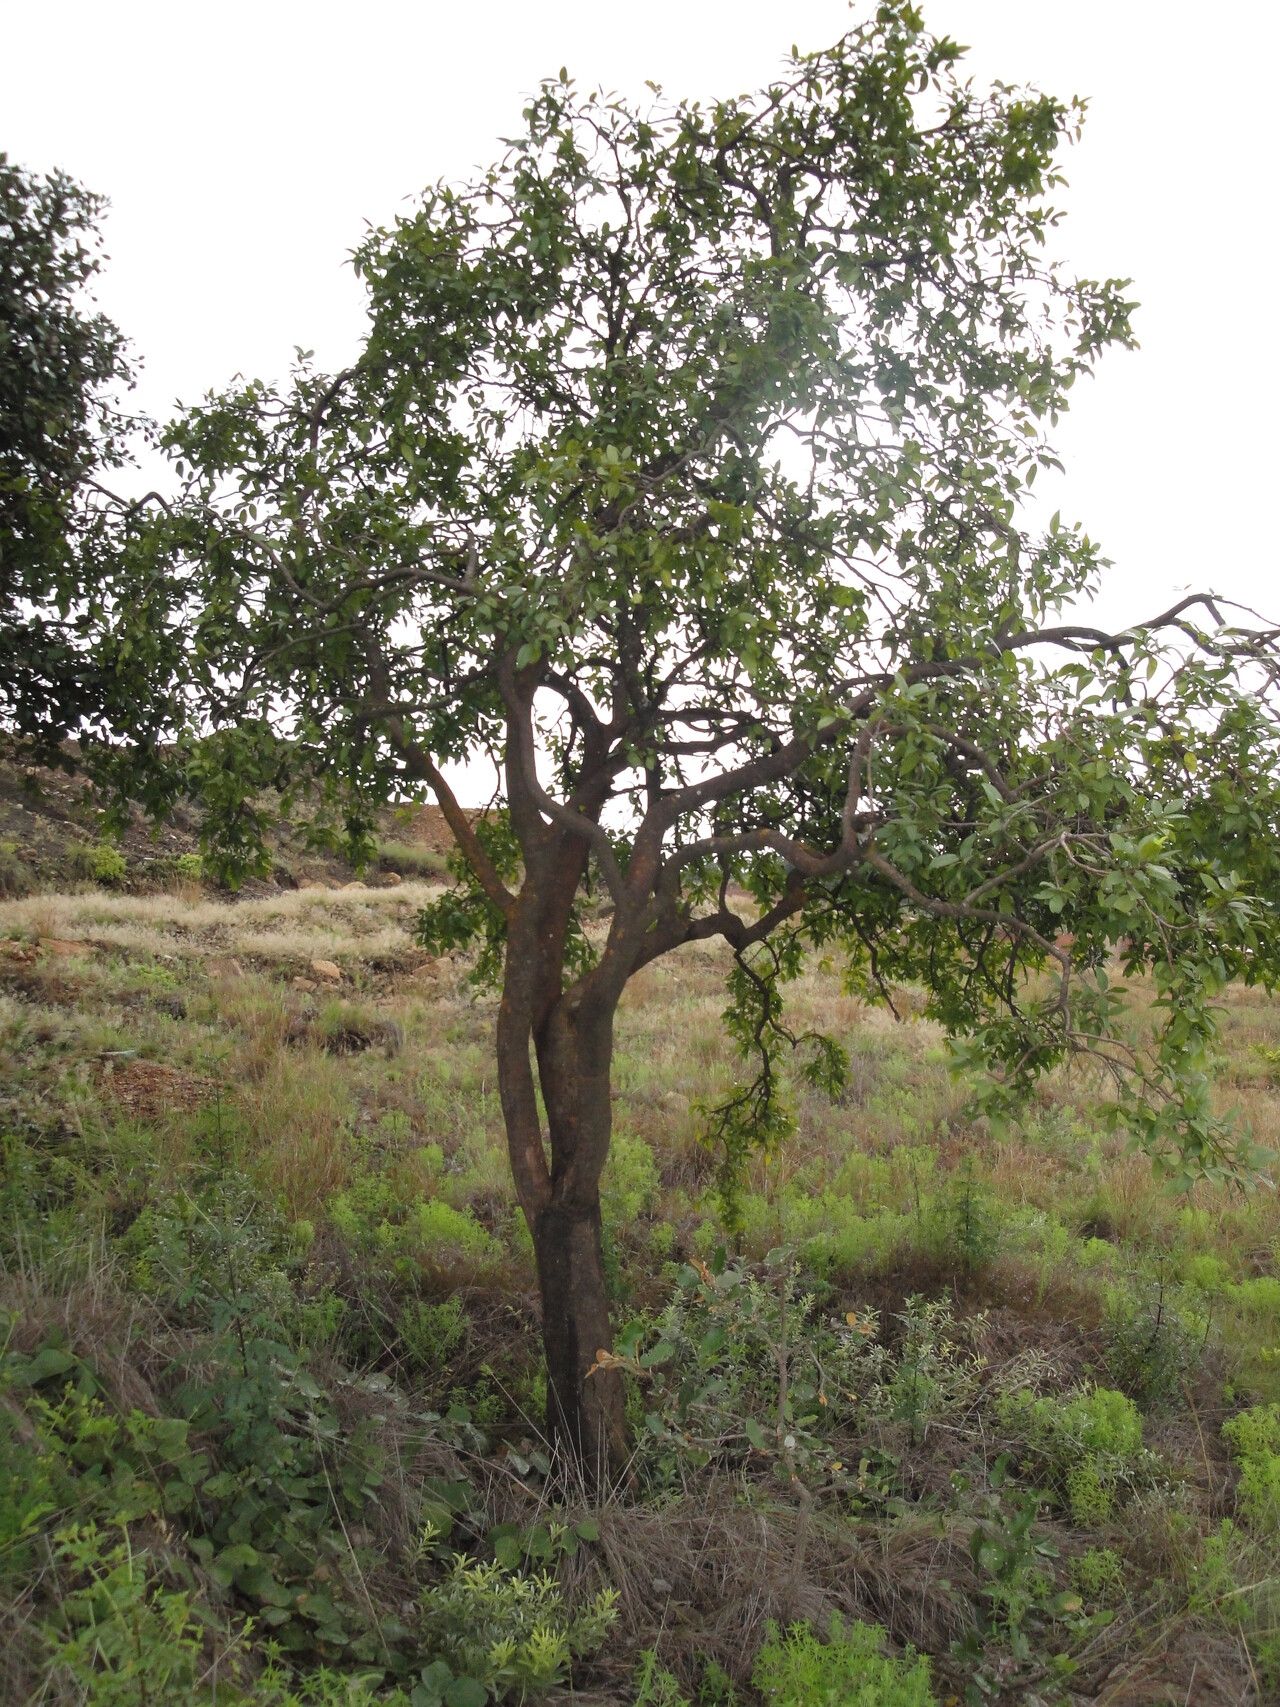
The Olax obtusifolia, a captivating and hardy shrub native to the tropics, offers a unique charm to any garden. Its glossy, dark green leaves and delicate white flowers create a stunning visual appeal. But what if you could share this beauty with friends or expand your own collection? Propagation is the key!
While the Olax obtusifolia might seem a bit mysterious, its propagation isn’t as intimidating as it might appear. This guide will walk you through the various methods, ensuring you successfully grow new plants from your existing ones.
1. Seed Propagation: A Journey of Patience
While seeds offer the potential to create a large number of new plants, the Olax obtusifolia takes its time with this method. Here’s how to do it:
- Harvest Mature Seeds: Look for the small, round, black seeds within the fleshy drupes (fruits) that form after the flowers fade.
- Seed Preparation: Gently remove the pulp surrounding the seed. Let the seeds air dry in a well-ventilated area until they feel firm to the touch.
- Sowing: Fill a shallow seed tray with a well-draining seed-starting mix. Sow the seeds individually, spaced about an inch apart, and lightly cover with soil.
- Moisture and Light: Keep the soil consistently moist but not soggy. Place the tray in a bright but indirect location.
- Germination: Patience is key! Olax obtusifolia seeds can take several months to germinate, so don’t give up hope.
2. Cuttings: A Faster Approach to Propagation
If you’re seeking a quicker route to a new Olax obtusifolia, cuttings offer a faster solution:
- Prepare Cuttings: Take semi-hardwood cuttings, around 4-6 inches long, from healthy stems in the spring or early summer.
- Cutting Preparation: Make a clean cut just below a node (the point where a leaf grows). Remove the lower leaves and dip the cut end in rooting hormone powder.
- Potting: Plant the cuttings in a potting mix specifically designed for cuttings, providing them with a warm and humid environment.
- Moisture and Light: Keep the potting mix consistently moist, and place the cuttings in a bright, indirect light location.
- Success: You should see roots develop within a few weeks. Transplant the rooted cuttings into individual pots once they are well-established.
3. Air Layering: A Unique Technique for Patience
Air layering is a rewarding technique that allows you to propagate new Olax obtusifolia plants from existing branches without severing them from the mother plant:
- Choose a Branch: Select a healthy branch with a diameter of about ½ inch.
- Create a Wound: Carefully remove a ring of bark around the branch, about an inch wide.
- Promote Rooting: Wrap the exposed area with moist sphagnum moss, secured with plastic wrap or aluminum foil to create a humid environment.
- Monitor and Patience: Regularly check the moss to ensure it remains moist. It can take several months for roots to develop.
- Cut and Plant: Once you see roots forming, carefully cut the rooted portion below the wrapped area and pot it into a suitable container.
Important Considerations for Success:
- Soil Mix: Use a well-draining soil mix to prevent root rot. A mix of potting soil and perlite or vermiculite works well.
- Humidity: Maintain high humidity levels, especially during the early stages of propagation.
- Watering: Water consistently, but avoid overwatering, which can suffocate the roots.
- Light: Place your new Olax obtusifolia cuttings or seedlings in a bright, indirect location.
By following these steps, you can successfully propagate your Olax obtusifolia and expand your garden with its elegant charm. With a little patience and care, you’ll enjoy the satisfaction of watching your new plants thrive.