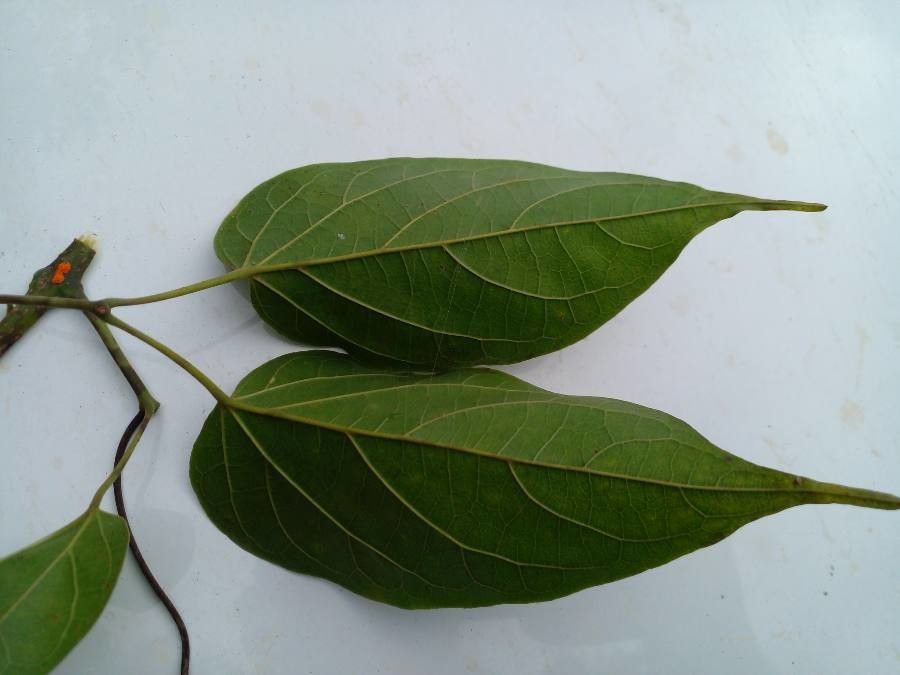
Unlocking the Secrets of Lundia puberula Propagation: Bringing This Rare Beauty Home
If you’re a plant enthusiast searching for a truly unique and captivating addition to your collection, then the Lundia puberula might just be the answer to your green dreams. This stunning vine, with its cascading foliage and delicate, bell-shaped flowers, is a true botanical treasure. But getting your hands on a Lundia puberula can sometimes feel like finding a hidden gem.
Fear not, fellow plant lovers! Propagation is the key to unlocking the secrets of this rare beauty and bringing its charm into your own home. While the Lundia puberula might seem enigmatic, propagation, believe it or not, is surprisingly straightforward.
Why Propagate?
The beauty of propagating a Lundia puberula lies not just in the reward of a new plant, but also in its potential for growth and experimentation. Unlike buying a pre-grown plant, propagation allows you to:
- Start with a fresh, vibrant plant: It’s exciting to see a young plant you’ve grown yourself thrive.
- Share the beauty: Propagating your Lundia puberula lets you share this unique plant with friends and family.
- Experiment with different propagation techniques: Every plant responds differently to various methods, and you can find out what works best for your Lundia.
Propagation Methods: Finding the Right Path for You
Two primary methods offer success with Lundia puberula propagation:
1. Cuttings:
This method is considered the most common and effective for this plant. Here’s how to do it:
* **Choose your cuttings:** Select healthy, non-flowering stems with several nodes (points where leaves grow).
* **Trim your cuttings:** Cut just below a node with a sharp, sterilized blade.
* **Prep your cuttings:** Remove lower leaves and dip the cut end in rooting hormone.
* **Plant your cuttings:**  Use a well-draining potting mix and place your cuttings in a pot with drainage holes.
* **Provide optimal conditions:** Maintain high humidity by covering the pot with a clear plastic bag or dome. Give them bright, indirect light and warm temperatures.
2. Air Layering:
This method allows for a less intrusive approach, growing roots while the stem is still attached to the parent plant.
* **Choose a suitable stem:**  Select a healthy stem with minimal leaves.
* **Gently wound the stem:** Create a small incision using a sharp blade.
* **Apply rooting hormone:** Apply a rooting hormone powder or gel to the wound.
* **Wrap the wounded area:** Carefully wrap the wounded area with sphagnum moss, which should be kept moist.
* **Secure the moss:** Enclose the moss with plastic wrap, ensuring the humidity stays high.
* **Observe for roots:** Monitor the moss for root formation, which typically takes 4-6 weeks. Once roots develop, you can cut the stem below the roots and separate it from the parent plant.
The Journey to Flourishing: Care and Patience
Like any new plant, patience is key! Once your cuttings or air layers have developed roots, you can transplant them into individual pots.
Here are some tips for caring for your newly propagated Lundia puberula:
- Watering: Water regularly, allowing the soil to dry slightly between waterings.
- Humidity: Maintain high humidity by placing the pot on a humidity tray or misting regularly.
- Light: Provide bright, indirect light.
- Fertilizer: Use a balanced liquid fertilizer diluted to half strength once a month during the growing season.
With the right care, your propagated Lundia puberula will flourish, delivering a captivating display of lush greenery and delicate blooms. Remember, propagation isn’t just about growing a new plant – it’s about connecting with nature, understanding its intricacies, and nurturing a unique piece of the world in your own home.