Bringing New Life to Your Drymonia: A Guide to Propagation
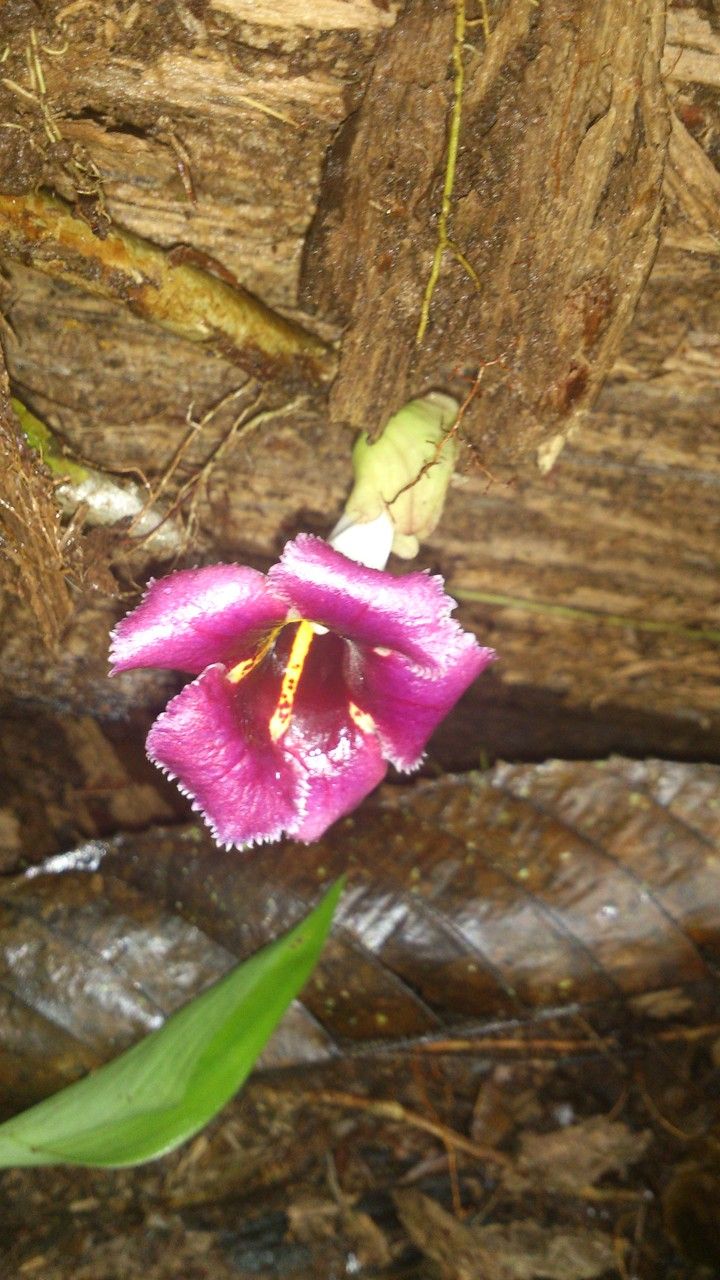
Drymonia glandulosa, with its charming, cascading foliage and delicate, bell-shaped flowers, is a plant that’s sure to add a touch of elegance to your home. But what if you want to share this beauty with others or simply expand your own collection? That’s where propagation comes in!
This guide will walk you through the process of successfully propagating Drymonia glandulosa, helping you create new plants from cuttings or seeds.
Method 1: Stem Cuttings – A Quick and Easy Approach
Stem cuttings are the most common and easiest method for propagating Drymonia glandulosa. Here’s a step-by-step guide:
- Choose your cuttings: Select healthy, non-flowering stems that are at least 4-6 inches long. Ensure the stem has a few nodes (where leaves grow) and at least one leaf.
- Prepare the cuttings: Use a sharp, clean knife or pruning shears to make a clean cut just below a node. Remove the bottom leaves, leaving only the top leaves.
- Promote root growth: Dip the cut end of the stem in rooting hormone powder. This is optional, but it greatly increases the chances of successful rooting.
- Plant the cutting: Fill a small pot with a well-draining potting mix. Make a hole and insert the cutting, burying about an inch of stem into the soil.
- Keep it moist: Water the cutting thoroughly and keep the soil consistently moist. Place the pot in a bright, humid location, but out of direct sunlight.
- Patience is key: Rooting typically takes 4-6 weeks. Be patient, and don’t overwater! You can check for root development by gently tugging the cutting. If it offers resistance, it’s rooted!
Method 2: Seeds – A Long-Term Option
While it takes more time, propagating Drymonia glandulosa from seed is rewarding and allows for genetic diversity.
- Collect seeds: Allow the flowers to mature and produce seed pods. Once the pods dry and turn brown, you can collect the tiny seeds inside.
- Prepare the seedbed: Use a seed tray or small pots filled with seed-starting mix. Lightly moisten the mix and sprinkle the seeds evenly on the surface.
- Cover lightly: Gently press the seeds into the soil, but don’t bury them deep. Lightly mist the surface with water.
- Maintain humidity: Cover the seed tray with a plastic dome or wrap to maintain humidity. Keep the tray in a warm, bright location out of direct sunlight.
- Patience is a virtue: Seed germination can take anywhere from 2-4 weeks. Once seedlings have developed a few true leaves, you can transplant them into individual pots.
Tips for Successful Propagation
- Maintain humidity: Drymonia glandulosa prefers a humid environment. You can create a humid environment by using a propagator dome, placing a humidity tray near the cuttings, or grouping plants together.
- Watering: Water regularly but avoid overwatering. Check the soil moisture before watering.
- Ventilation: Ensure proper air circulation around the cuttings or seedlings to prevent fungal growth.
- Indirect light: Avoid placing your Drymonia in direct sunlight, as it can scorch the leaves.
- Patience: Root development and seed germination can take time. Be patient and watch your Drymonia grow.
Enjoy the Rewards
Successfully propagating Drymonia glandulosa is a satisfying experience. It’s a wonderful way to expand your collection, share this beautiful plant with others, or simply enjoy the thrill of creating new life. With a little care and attention, you’ll be rewarded with thriving, cascading Drymonia plants that will bring life and beauty to your home for years to come.