From Cutting to Cascading Beauty: Propagating Your Fuchsia ‘Paniculata’
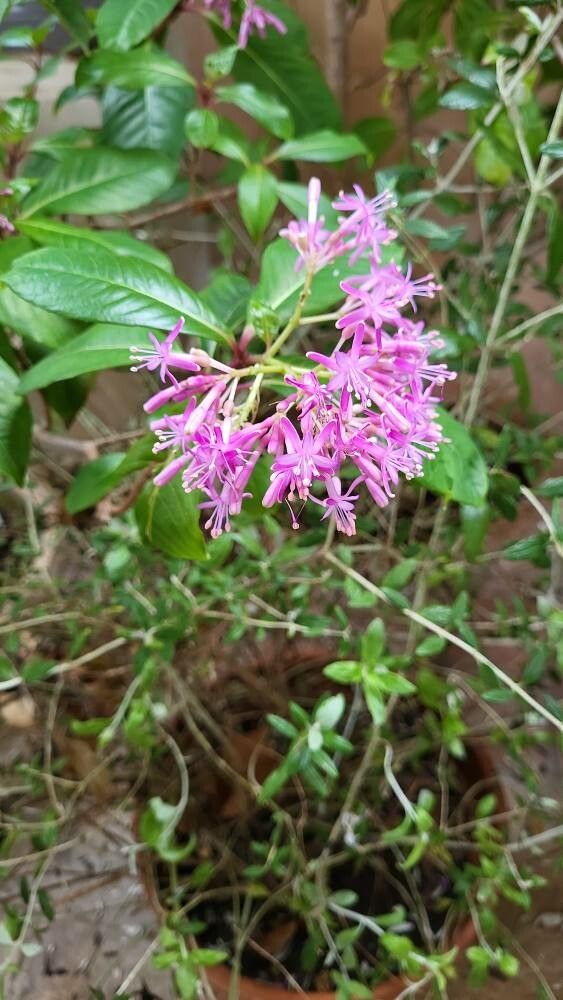
Fuchsia ‘Paniculata’, with its vibrant, dangling blooms and graceful, cascading habit, is a true showstopper. But did you know you can easily multiply this beautiful plant, creating a vibrant garden full of these lovely flowers? Propagation through cuttings is a simple and rewarding process, allowing you to enjoy more Fuchsia ‘Paniculata’ in your garden, share them with friends, or even start a new collection.
Understanding the Art of Cuttings
Propagation through cuttings essentially involves coaxing a plant to grow a new root system from a piece of its stem. Fuchsia ‘Paniculata’ is a relatively easy plant to propagate in this way, making it the perfect project for beginner gardeners.
Timing is Everything: When to Take Cuttings
The best time to take cuttings from your Fuchsia ‘Paniculata’ is during the growing season, typically spring or early summer. This is when the plant is actively growing and has ample energy to develop new roots.
The Cutting Process: Step-by-Step
- Select your cuttings: Choose healthy, non-flowering stems from your Fuchsia ‘Paniculata’ plant. Aim for a section that has at least 4-6 nodes (the bumps on the stem where leaves grow) and is about 4-6 inches long.
- Prepare your cutting: With a sharp knife or scissors, make a clean cut just below a node. Remove the leaves from the bottom two nodes, leaving a few leaves at the top for photosynthesis.
- Dip the cutting into rooting hormone: Rooting hormone is optional but helpful, promoting faster root development. Dip the cut end of your cutting into the hormone powder and gently tap off the excess.
- Insert the cuttings into a rooting medium: Fill a pot or tray with a well-draining potting mix or a mix of peat moss and perlite. Create small holes and gently insert the cuttings, ensuring at least two nodes are buried.
- Create a humid environment: Cover the pot with a plastic bag or a dome to retain moisture and warmth. Place the pot in a bright, indirect light location, away from direct sunlight which can dry out the cuttings.
- Maintain moisture and patience: Keep the rooting medium consistently moist but not soggy. Avoid overwatering, as this can lead to rot. Rooting typically takes 4-6 weeks, but patience is key.
Signs of Successful Rooting
You’ll know your cuttings are successfully rooting when you see new growth emerging from the top of the cutting. This indicates that the plant has developed a root system and is now drawing nutrients from the soil.
From Cutting to Planted Beauty
Once your cuttings have rooted, you can gradually acclimate them to outdoor conditions. Remove the plastic cover for short periods each day, gradually increasing the time until they can handle the open air.
Finally, it’s time to pot your new Fuchsia ‘Paniculata’ plants! Choose a pot with drainage holes and fill it with a well-draining potting mix. Gently remove the cuttings from their rooting medium, taking care not to damage the developing roots, and plant them in their new homes.
Sharing the Joy of Propagation
The beauty of propagation lies not just in building your own thriving garden but also in sharing the joy with others. A simple cutting can easily be transformed into a stunning gift, allowing a friend or loved one to experience the wonder of Fuchsia ‘Paniculata’ firsthand.
So, get ready to discover the secrets of successful propagation and watch your Fuchsia ‘Paniculata’ flourish, creating a vibrant and captivating garden sanctuary that will delight for years to come.