From Snipping to Thriving: Your Guide to Propagating the Exotic Chiococca nitida
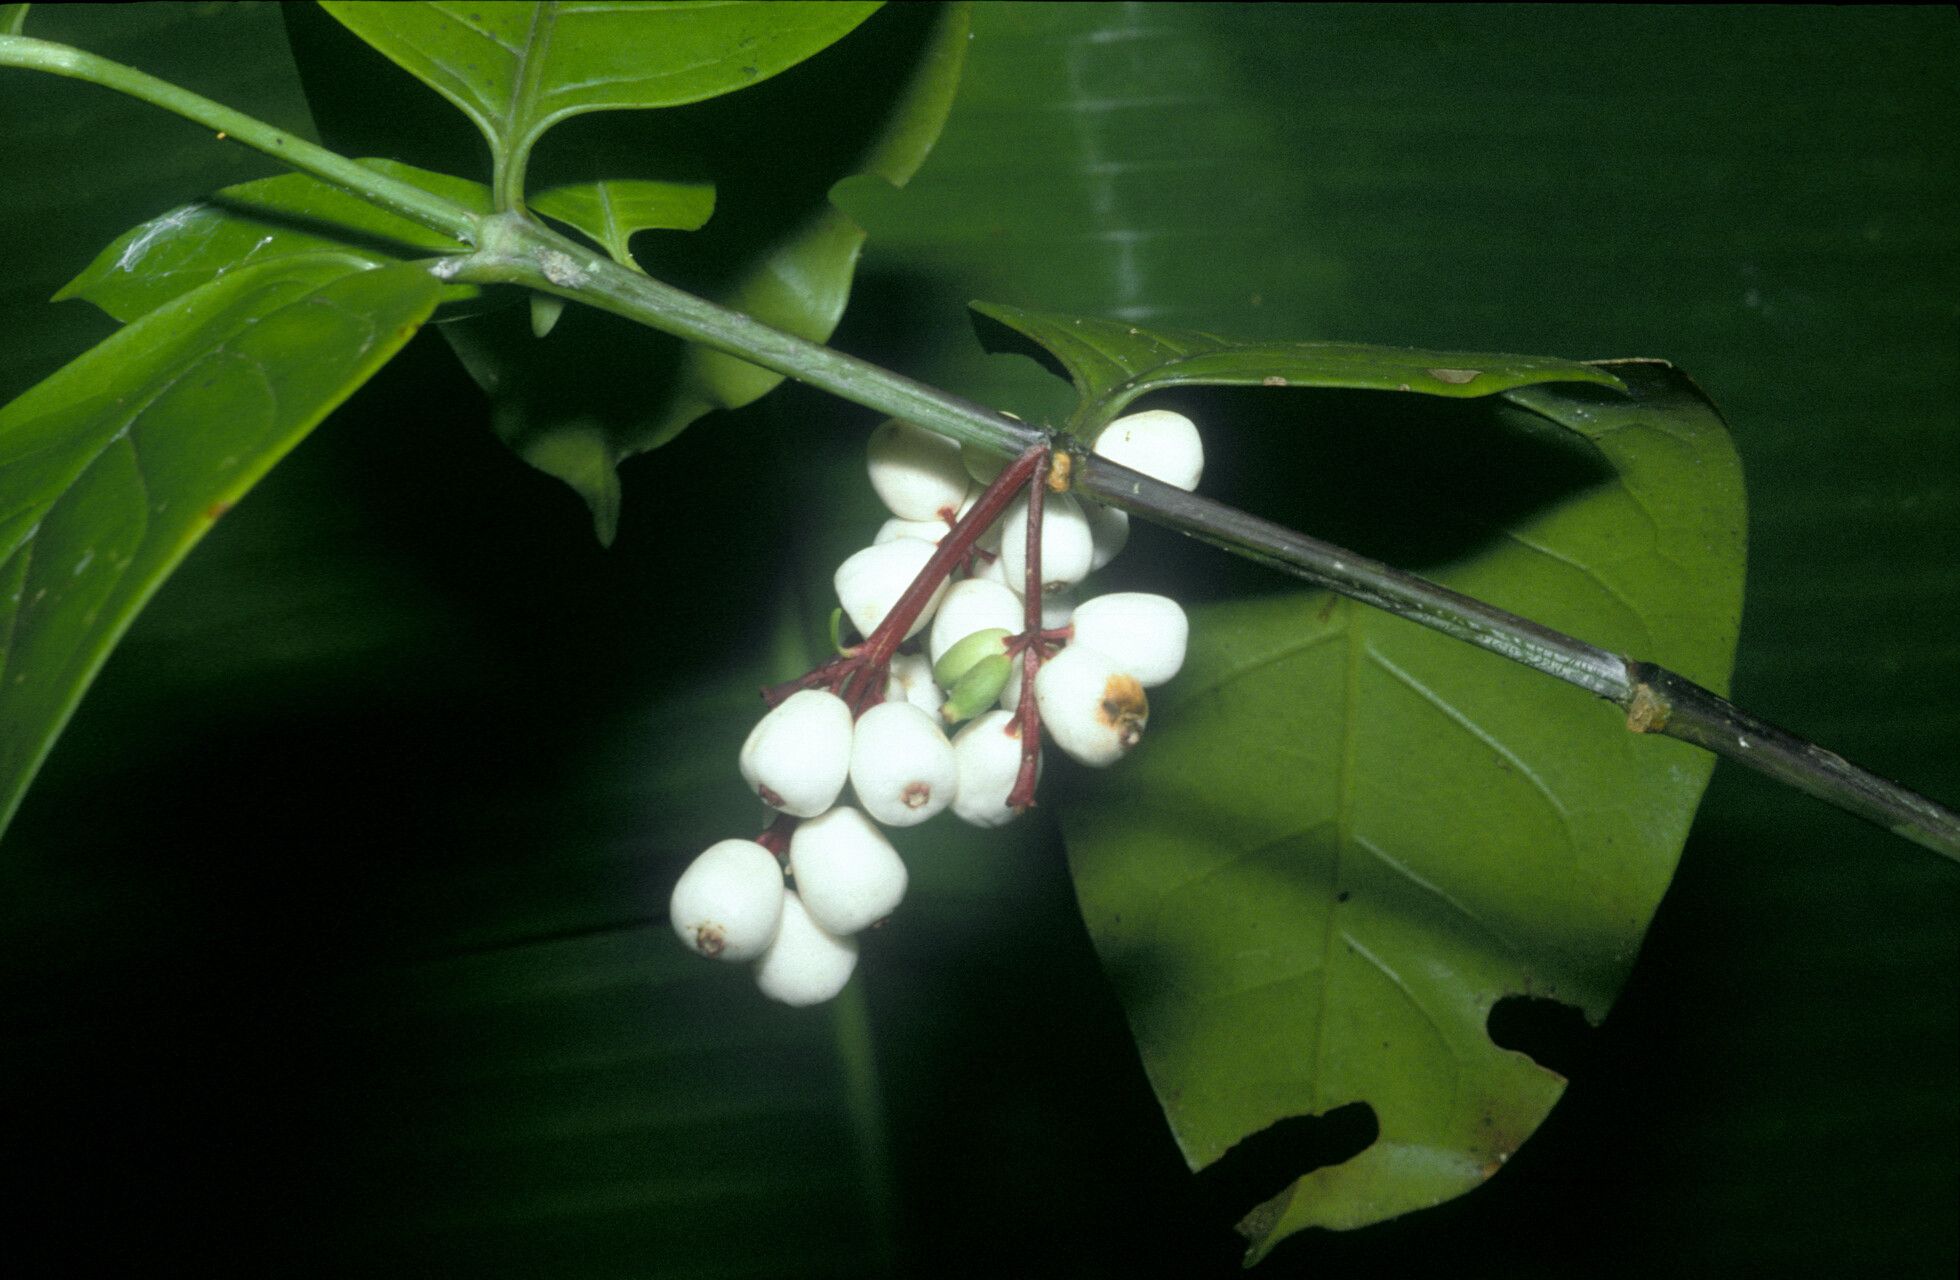
Looking to add a touch of tropical elegance to your garden? The alluring Chiococca nitida, also known as the “Snowberry” or “West Indian Snowberry,” is a fantastic choice. Its glossy leaves and clusters of white berries offer a captivating display, but did you know you can easily multiply this beauty through propagation? This guide will walk you through the different methods, enabling you to share the magic of Chiococca nitida with friends or simply expand your own collection.
Understanding the Basics of Propagation
Before diving into the techniques, let’s define what propagation actually means. In simple terms, it’s the process of creating new plants from existing ones. Chiococca nitida readily lends itself to propagation through both cuttings and seeds, offering you options based on your preferences and available resources.
1. The Art of Cuttings
- Stem Cuttings: This is the most common method for propagating Chiococca nitida.
- Timing: The best time is during the active growing season, typically spring or early summer.
- Technique: Take a 4-6 inch cutting from a healthy, non-flowering stem. Use clean, sharp pruning shears and make an angled cut just below a node (the area where leaves grow). Remove the lower leaves and dip the cut end into rooting hormone for better results.
- Planting: Pot the cutting in a well-draining potting mix, ensuring the cut end is buried in the soil. Keep the soil consistently moist, but avoid overwatering.
- Care: Cover the cutting with a plastic dome or bag to maintain humidity. Place it in a bright location, avoiding direct sunlight. Once roots develop (usually within 4-6 weeks), you can gradually acclimate the new plant to the outdoors.
2. The Magic of Seeds
- Harvesting Seeds: Chiococca nitida produces small, white berries that contain seeds. Allow the berries to ripen fully before harvesting. Gently squeeze the berries to extract the seeds and allow them to dry completely.
- Sowing: Plant the seeds in a seed tray filled with a well-draining potting mix. Cover the seeds lightly with soil and mist them gently. Keep the soil consistently moist.
- Germination: Chiococca nitida seeds can take a few weeks to germinate; patience is key! Provide a warm, bright location, but avoid direct sunlight.
- Transplanting: Once seedlings have developed a few true leaves, you can transplant them into individual pots.
Tips for Success
- Water Wisely: Avoid overwatering, which can lead to root rot. Check the soil moisture regularly, allowing it to dry slightly between waterings.
- Provide Light: Chiococca nitida thrives in bright, indirect sunlight. Give it a spot where it can receive ample light, but protect it from scorching midday sun.
- Nutrient Boost: Once your new plants are established, you can apply a balanced fertilizer monthly during the active growing season to encourage healthy growth.
Enjoy Your New Plants
Propagating Chiococca nitida unlocks a world of possibilities. You can share your creations with friends, build a thriving jungle in your home, or simply delight in the rewarding process of bringing new life to a beloved plant. With a little care and attention, you’ll be amazed by how quickly these cuttings and seedlings will transform into vibrant, beautiful additions to your garden.