Unlocking the Secrets of Cercestis Congensis Propagation: A Beginner’s Guide to Growing This Unique Vine
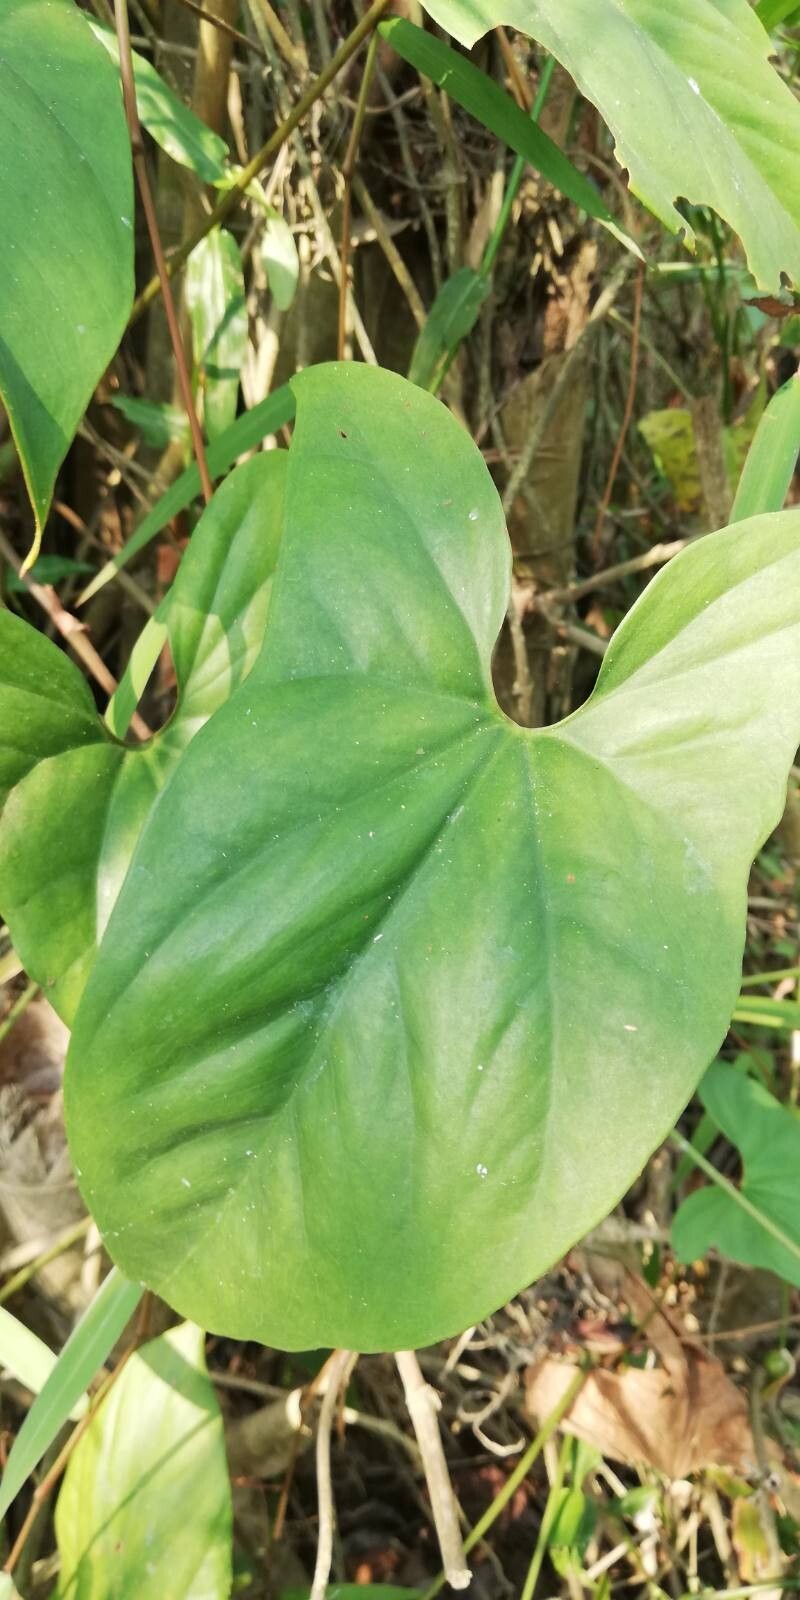
If you’re looking for a plant with striking foliage that adds a touch of drama and tropical flair to your home, look no further than Cercestis congensis. This captivating vine captivates with its deep green, heart-shaped leaves and intricate veins that create a mesmerizing texture. But what if you could double your enjoyment by propagating your existing plant and sharing its beauty with others?
Fear not, plant lovers! Propagation of Cercestis congensis is achievable even for beginner plant parents. This article will guide you through the basics of growing your own Cercestis congensis, from choosing the right propagation method to nurturing your new plantlets.
Method 1: Stem Cuttings – The Go-To for Beginners
Stem cuttings offer the most accessible method for propagating Cercestis congensis. Here’s how to make it happen:
- Choose your cutting: Select a healthy, non-flowering stem with a few nodes (the bumps on the stem where leaves emerge).
- Make the cut: Use sharp, clean scissors or a knife to make a diagonal cut just below a node.
- Prep the cutting: Remove the leaves below the waterline of the cutting and apply a rooting hormone powder to the exposed end for quicker root development.
- Planting time: Prepare a pot with a well-draining potting mix and insert the cutting, ensuring the nodes are buried in the soil.
- Care and patience: Keep the soil moist but not soggy. Place the pot in a warm, bright location with indirect sunlight. With regular care, roots should appear within a few weeks.
Method 2: Air Layering – A Technique for Larger Plants
For established Cercestis congensis, air layering is a highly successful method. This technique encourages root development directly on the stem before cutting it from the mother plant.
- Choose your stem: Select a healthy stem that’s at least a year old.
- Make an incision: Use a sharp knife to make a shallow cut through the stem just below a node.
- Wrap it up: Surround the incision with moistened sphagnum moss and wrap it tightly with plastic wrap to maintain moisture.
- Wait for roots: The moss will encourage root formation within a few months. Once roots are visible, you can cut the stem below the moss and plant it in a pot.
Essential Tips for Success
- Moisture is key: Keep the soil consistently moist but not waterlogged. Check for dryness with your finger and water when needed.
- Bright, indirect light: Cercestis congensis thrive in bright, indirect light. Avoid direct sunlight, which can burn the leaves.
- Humidity boost: Cercestis congensis appreciate humidity. Consider using a humidifier or placing the pot on a pebble tray filled with water to increase humidity.
- Maintain the pot: Repot the plant into a larger pot as it grows.
Sharing the Joy of Propagation:
As your Cercestis congensis cuttings grow, you’ll have a remarkable opportunity to share this gorgeous plant with friends and family. With these simple techniques and a bit of patience, you can easily expand your collection and create a stunning display of lush greenery in your home. So, dive into the world of propagation and uncover the joy of nurturing new life from your beloved Cercestis congensis!