Unlocking the Secrets of Matayba oppositifolia Propagation: A Step-by-Step Guide
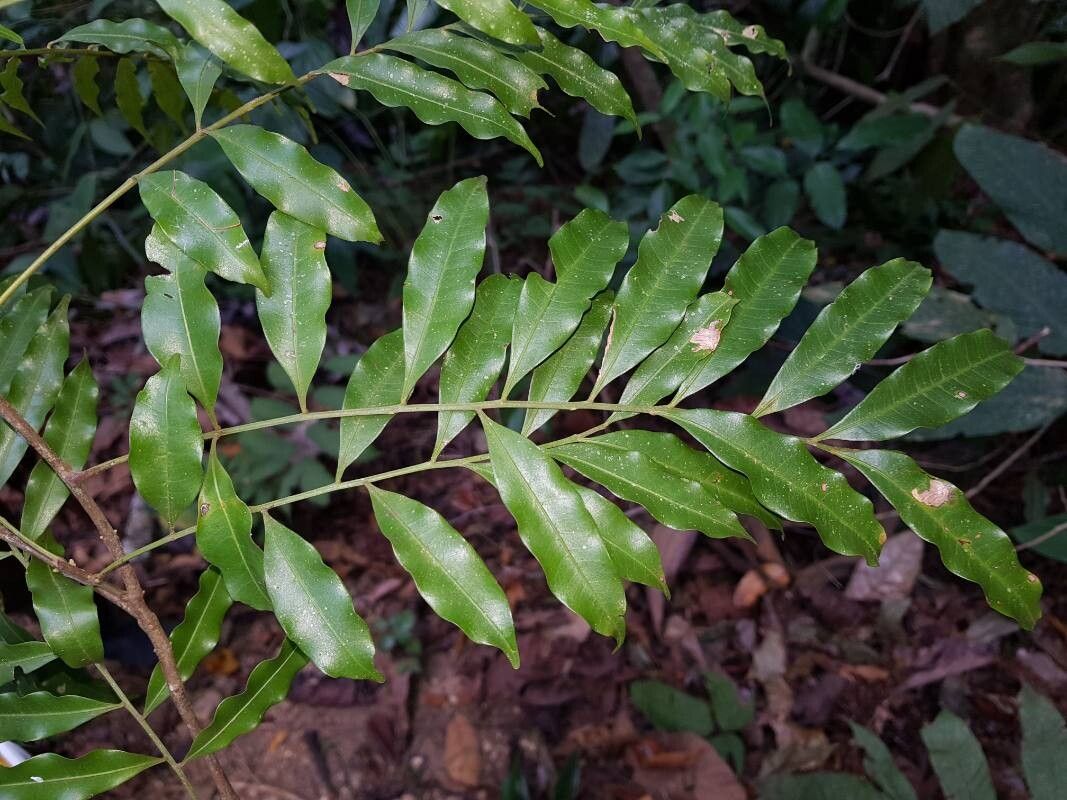
The Matayba oppositifolia, with its striking foliage and captivating tropical charm, is a coveted addition to any plant enthusiast’s collection. But acquiring this beauty might require more than a quick trip to the nursery. Fortunately, propagation offers a rewarding and exciting way to expand your Matayba family.
This guide will walk you through the key methods for propagating Matayba oppositifolia, shedding light on the process and equipping you with the knowledge to cultivate your own stunning specimens.
1. The Power of Seeds:
Matayba oppositifolia can be readily propagated from seeds, though this method demands a bit of patience. Here’s a step-by-step approach:
- Gather ripe seeds: Harvest seeds from mature fruits, ensuring they are plump and fully developed.
- Clean and prepare: Gently remove the fleshy outer coating and any remaining fruit pulp. Rinse the seeds thoroughly under running water.
- Scarification: To enhance germination, lightly scarify the seed coat with sandpaper or a file. This helps break down the hard outer layer.
- Sowing: Sow the seeds in a well-draining seed-starting mix. Place them about half an inch deep and maintain a temperature between 70-80°F (21-27°C).
- Patience is key: Seed germination can take several weeks or even months. Maintain consistent moisture and a warm environment.
2. The Art of Cuttings:
For those seeking a faster propagation method, taking cuttings is an excellent option:
- The ideal time: Cuttings are best taken during the spring or summer when the plant is actively growing.
- Choose your cutting: Select a healthy, non-flowering stem, ideally about 4-6 inches long.
- Prepare the cutting: Make a clean cut just below a node (where leaves emerge). Remove any leaves below the waterline.
- Root hormone: Dip the cut end of the cutting in rooting hormone for enhanced root development.
- Planting: Insert the cutting into a propagation mix, leaving the top couple of leaves exposed.
- Maintain humidity: Cover the cutting with a clear plastic dome or bag to create a humid environment, mimicking greenhouse conditions.
- Watch for roots: Roots should appear within a few weeks. Monitor the humidity levels and provide indirect sunlight.
3. Air Layering: A Novel Approach:
Air layering is a more advanced propagation technique that involves stimulating root development directly on a branch without detaching it from the parent plant.
- Select a branch: Identify a healthy branch, ideally about 1-2 years old.
- Girdling: Remove a section of bark about 1 inch wide, exposing the cambium layer.
- Hormone application: Apply rooting hormone powder to the exposed area.
- Wrap and cover: Wrap the girdled area with damp sphagnum moss and secure it with plastic wrap.
- Monitor for roots: Over time, roots will develop within the moss. Once they’re established, gently remove the moss and separate the branch from the mother plant.
A Word of Caution:
Propagation, while a rewarding endeavor, requires a certain level of patience and care. Remember to provide a suitable growing environment and select healthy, vigorous sections for optimal results. Keep in mind that environmental factors like humidity and temperature can significantly impact the success of propagation methods.
Embrace the Journey:
Whether you opt for seeds, cuttings, or air layering, propagating Matayba oppositifolia will be a personal journey filled with anticipation and fulfillment. With a little dedication and the right techniques, you can enjoy the splendor of this unique and captivating plant for years to come.